Debian12 安装教程
Debian12 安装教程

以前在个人电脑上一直使用的是Ubuntu,Debian仅作为服务器使用,作为前者的上游分支,Debian是一个完全开源稳定的操作系统,这次打算将其安装到本地的vmware,于是写下本文记录。
准备
Debian在国内有中文论坛,有什么问题可以去论坛搜索:Debian中文论坛 - (debiancn.org)
官方网站完全支持中文:Debian -- 通用操作系统
中文安装手册:Debian GNU/Linux 安装手册
Vmware官网:下载 VMware Workstation Pro | CN
你需要有:
- 基本的Linux使用能力
- 了解vmware的基本使用
- 一台足以支持Vmware12+运行的电脑
- 内存建议2GB以上
- 磁盘空间建议有20GB以上的剩余
安装
截至本文写下的时候,我的电脑系统是win10,Debian发行版已经来到了12.6,下面将讲述Debian12在Vmware16中的安装过程作为参考,最终目标即为系统可以与宿主机建立SSH连接,且能正常联网安装软件。
镜像
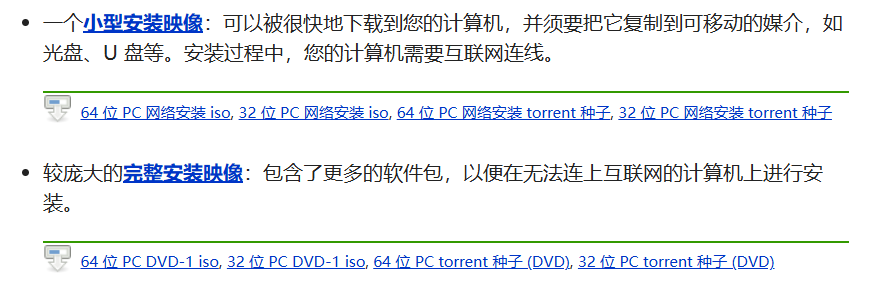
普通用户安装的时候镜像一般会用以下两种
- 网络版(netinst):只包含操作系统运行所需要的最基本工具,其他软件需要在安装时联网下载,大小600MB左右。
- DVD版(dvd):内置了大部分系统工具和软件,支持离线安装,大小为3.5GB左右。
网络版在安装过程中的软件下载阶段默认使用的是官方的安全源,对于国内用户而言会极其缓慢,除非临时修改sources.list为国内源,而且只能纯手敲,关于这个问题你可以在网络上找到很多类似的回答,足以见得有多麻烦。
所以我的建议是使用DVD版,因为它支持离线安装,可以将操作系统完全安装成功后再去修改国内源,这种做法更为方便。
下载

下方是下载链接,点进去后直接下载对应的ISO文件即可,本文用的是amd64,主流的指令集Debian基本上都支持,把amd64替换掉即可。官方的链接需要科学上网,国内用户使用中科大的即可。
网络版
DVD版
后面的内容统一使用DVD版进行讲解。
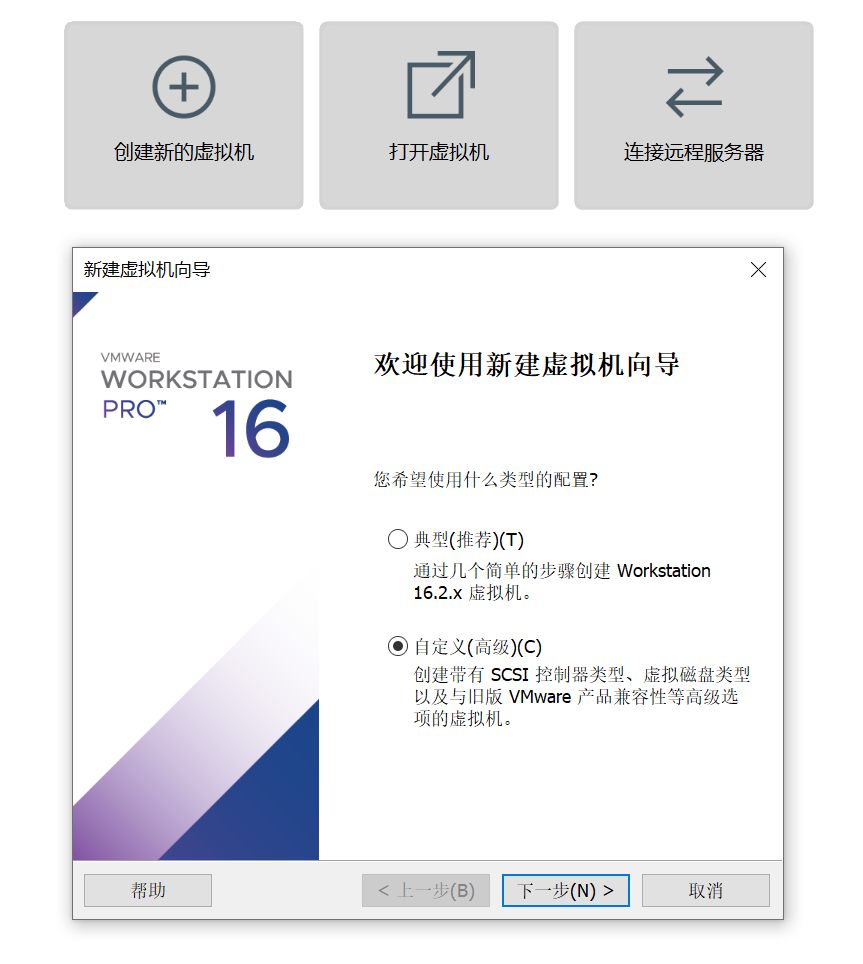
创建
选择创建新的虚拟机,使用自定义创建
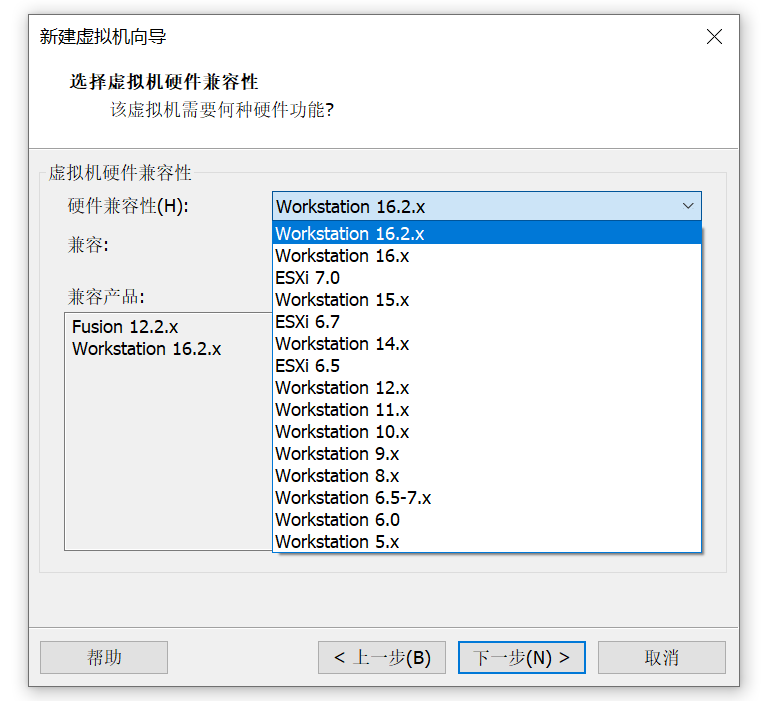
硬件兼容性看个人喜好,版本越低兼容性越好,如果你的电脑比较老的话建议选12
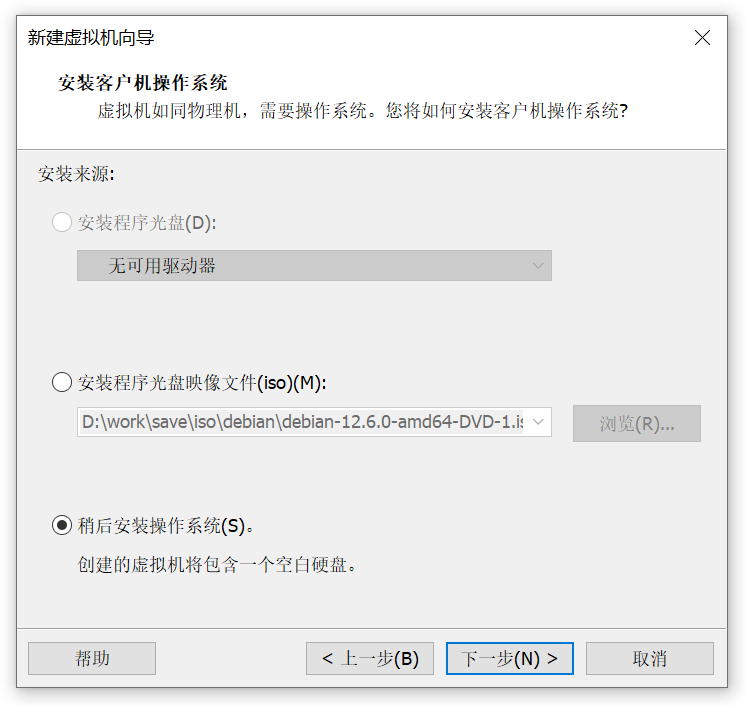
选择稍后安装操作系统
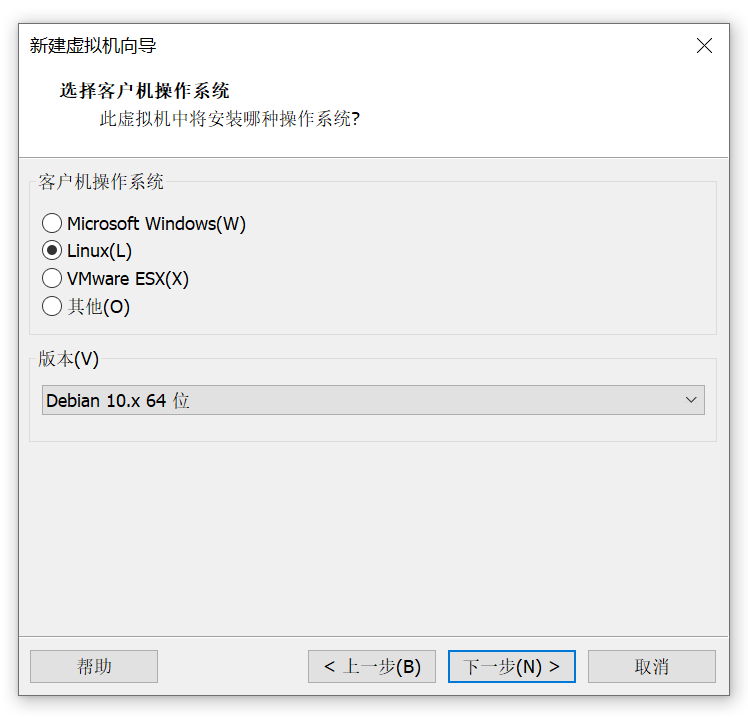
在客户机操作系统这一步选择Linux和Debian10.x 64位,列表中最高版本也只有10.x,不过这并不会有什么影响。
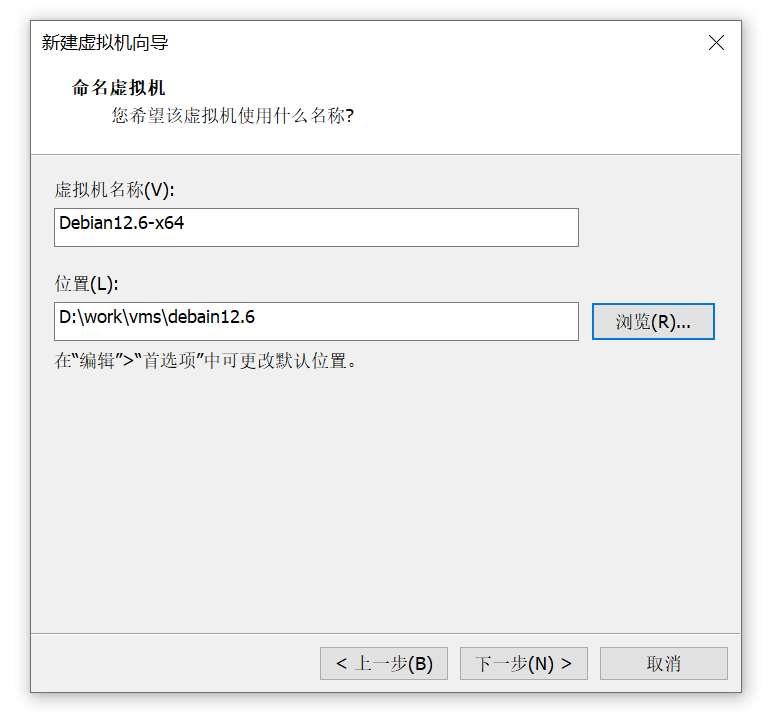
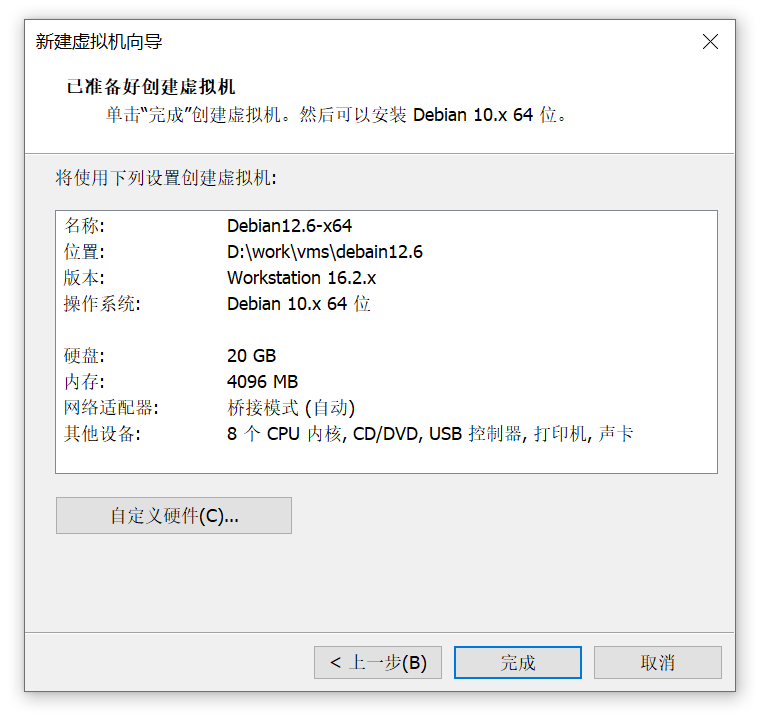
指定安装位置,建议放在除C盘以外的其他盘,因为虚拟机大小基本上20G起步,比较占空间。
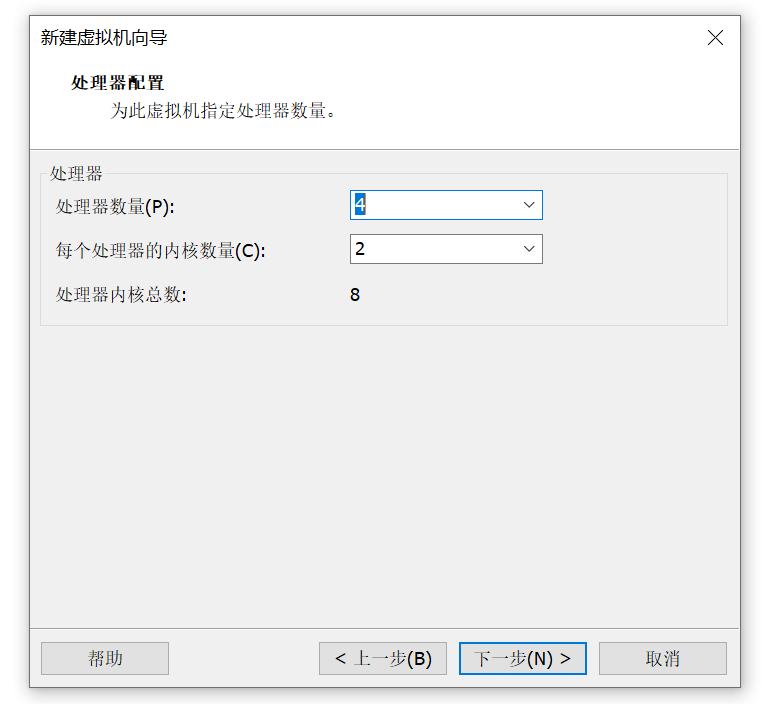
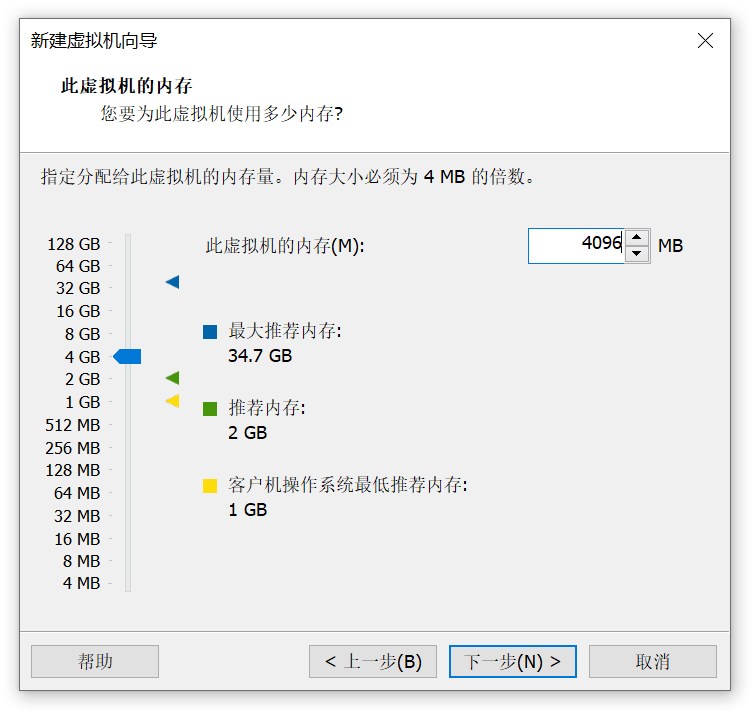
CPU,内存,磁盘空间根据自己电脑的配置来选择,我的电脑有16核40G内存,所以这里选择的配置稍微高了一些,一般情况下默认就足够了。
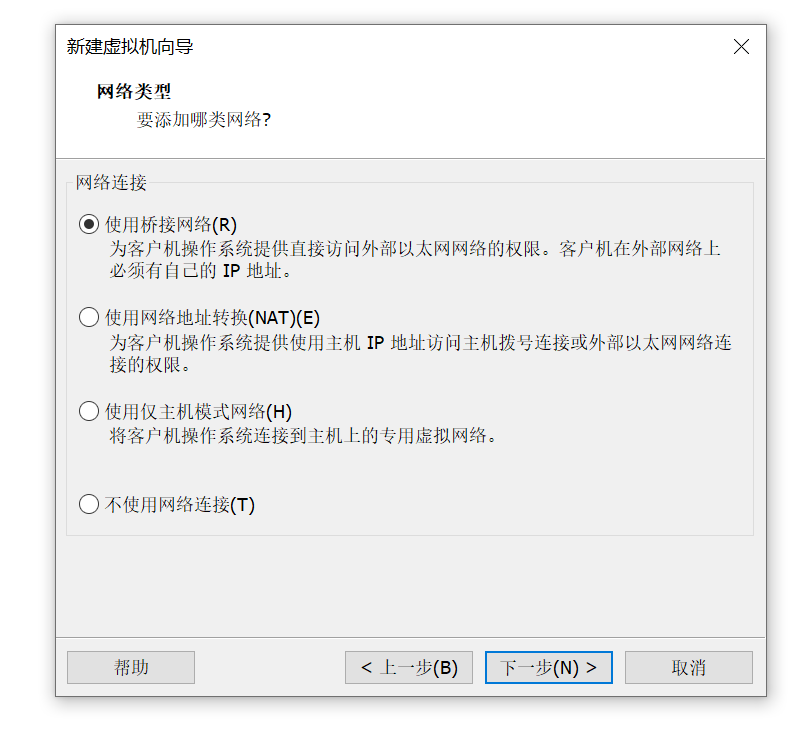
网络类型看个人需要,关于三种网络模式的详解请看:Vmware虚拟机三种网络模式,我一般使用桥接模式。
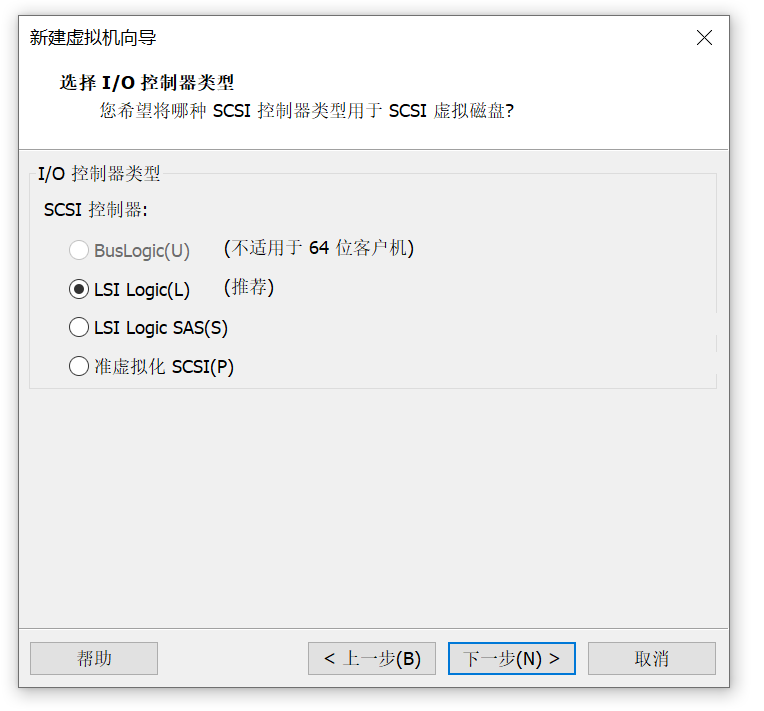
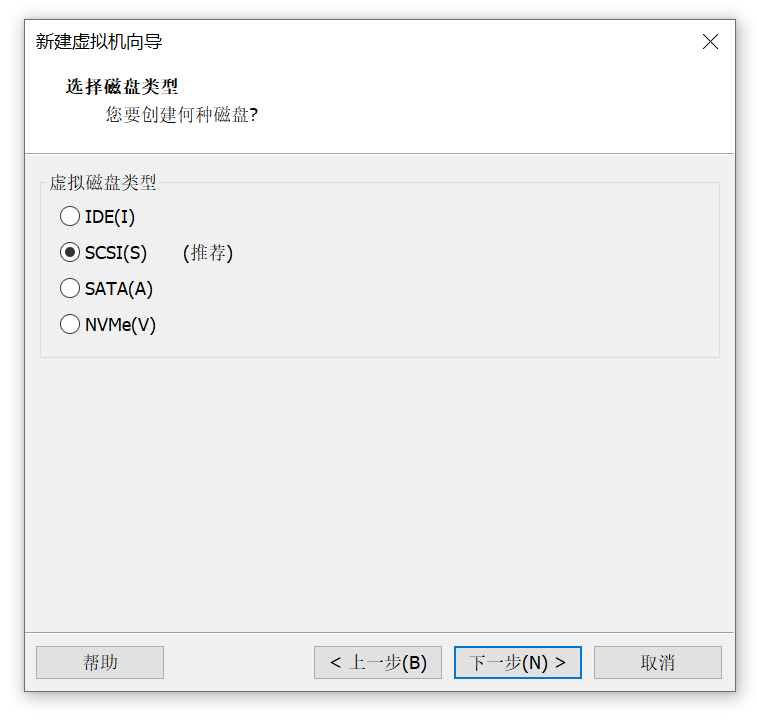
IO控制器和磁盘类型都建议默认选项
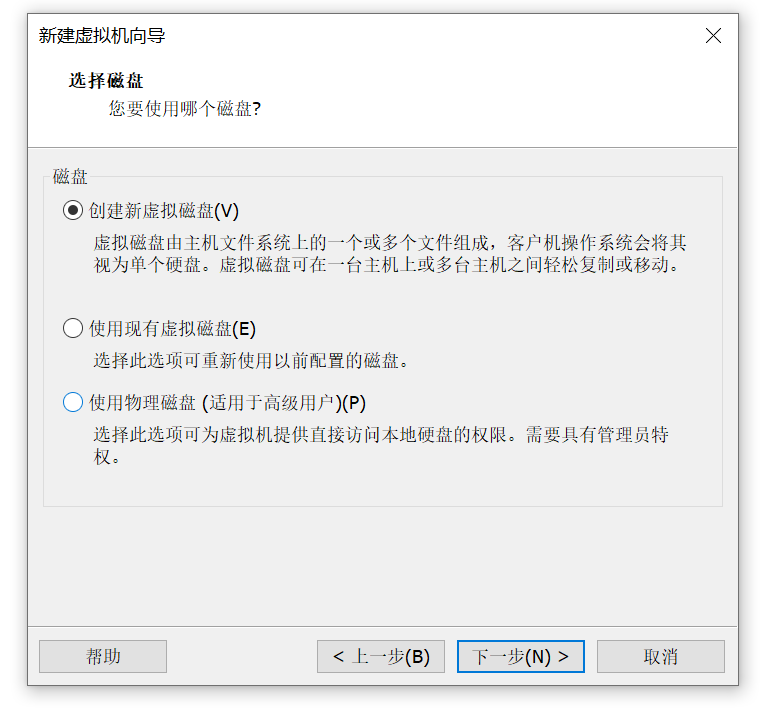
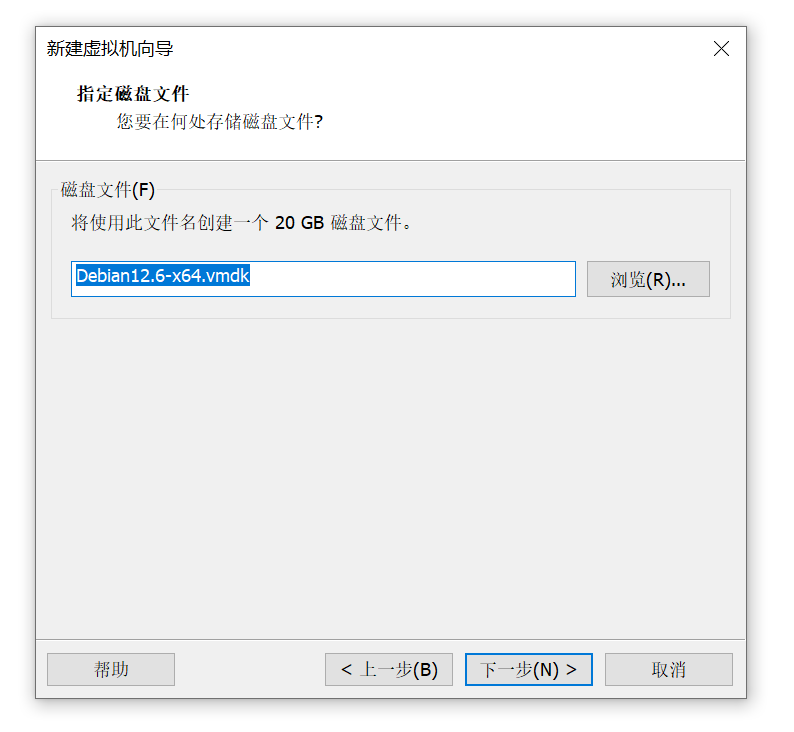
磁盘容量建议设置20G以上,虚拟磁盘的存储类型根据个人需要来进行设置,建议选择存储为单个文件。

到最后一步,选择自定义硬件
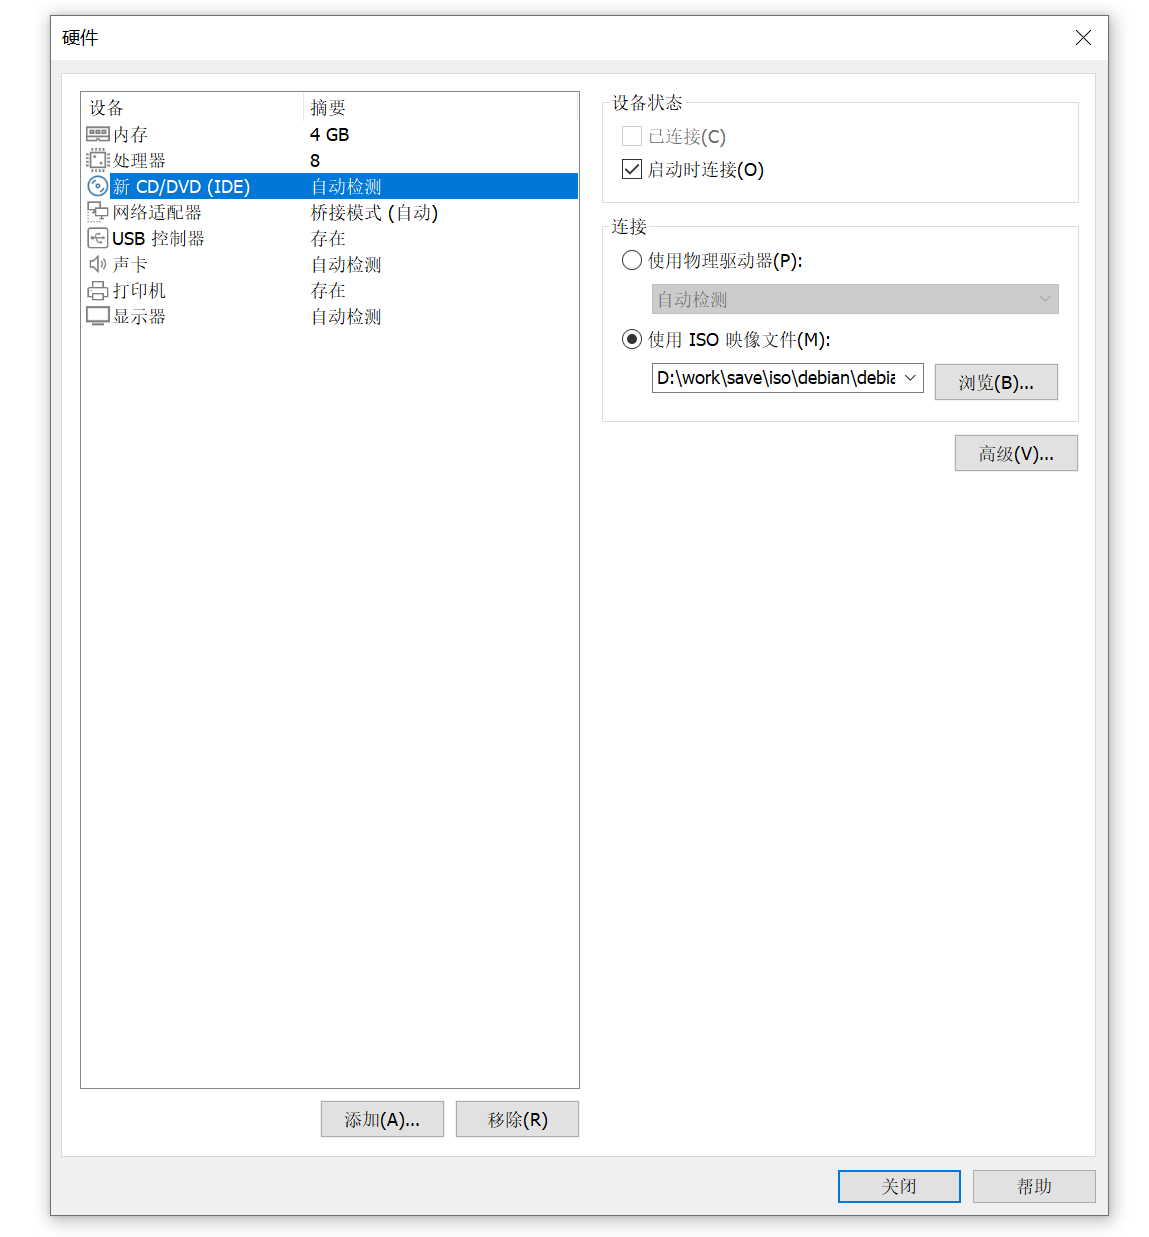
然后在CD/DVD中设置之前下载好的系统镜像
到此虚拟机创建完毕,接下来是操作系统的引导过程。
引导
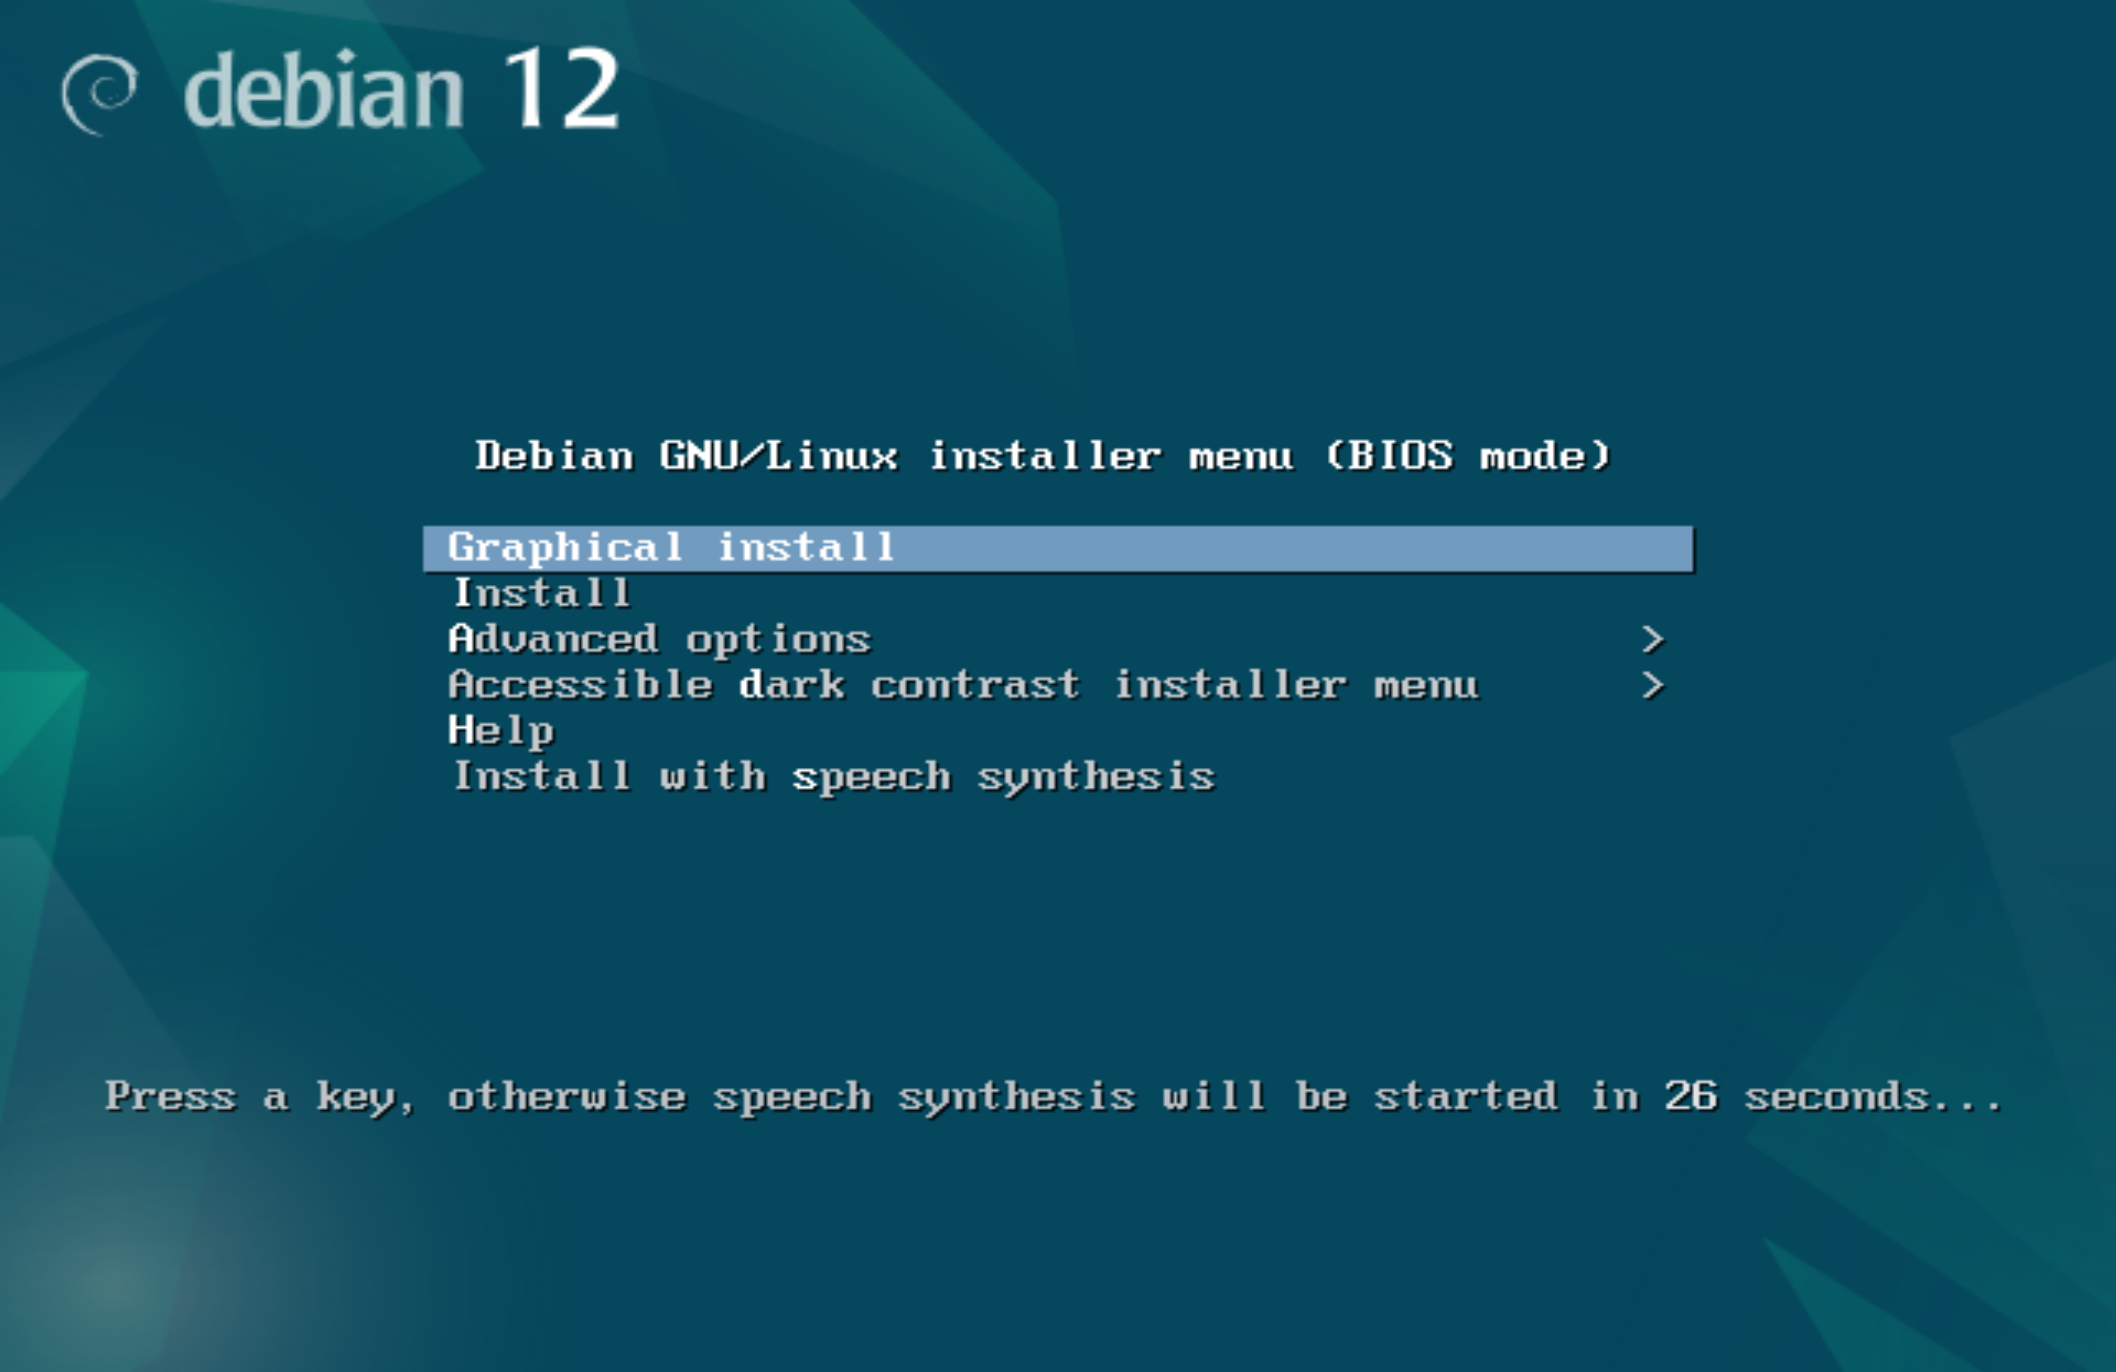
启动虚拟机,会有下面这样一个界面,第一个是图形化安装,第二个是命令行安装,下面会以图形化安装的方式进行。
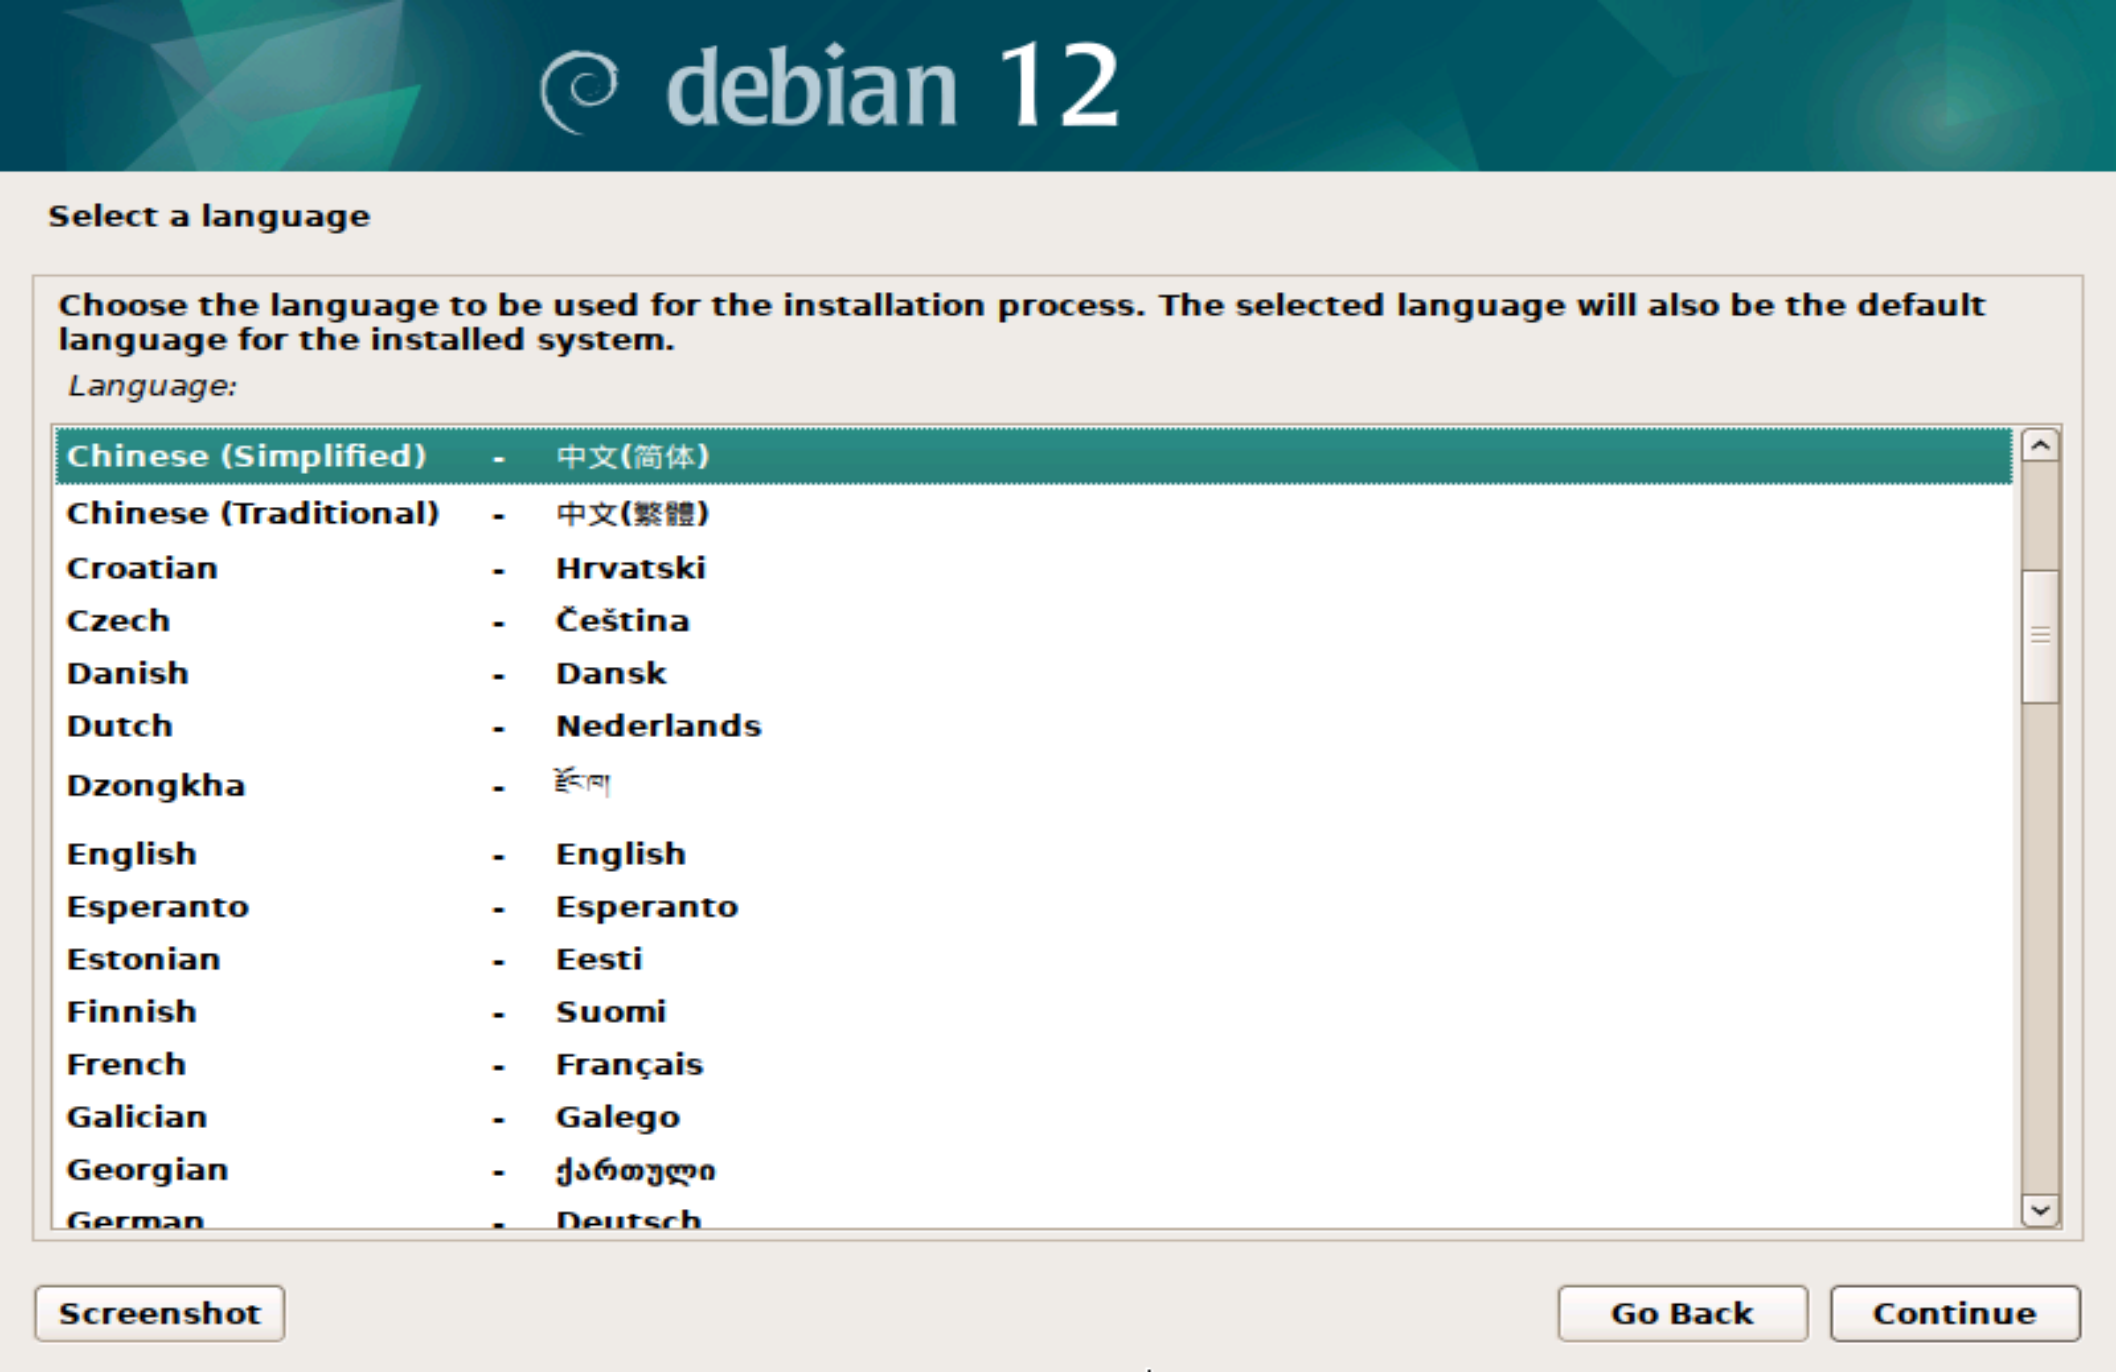
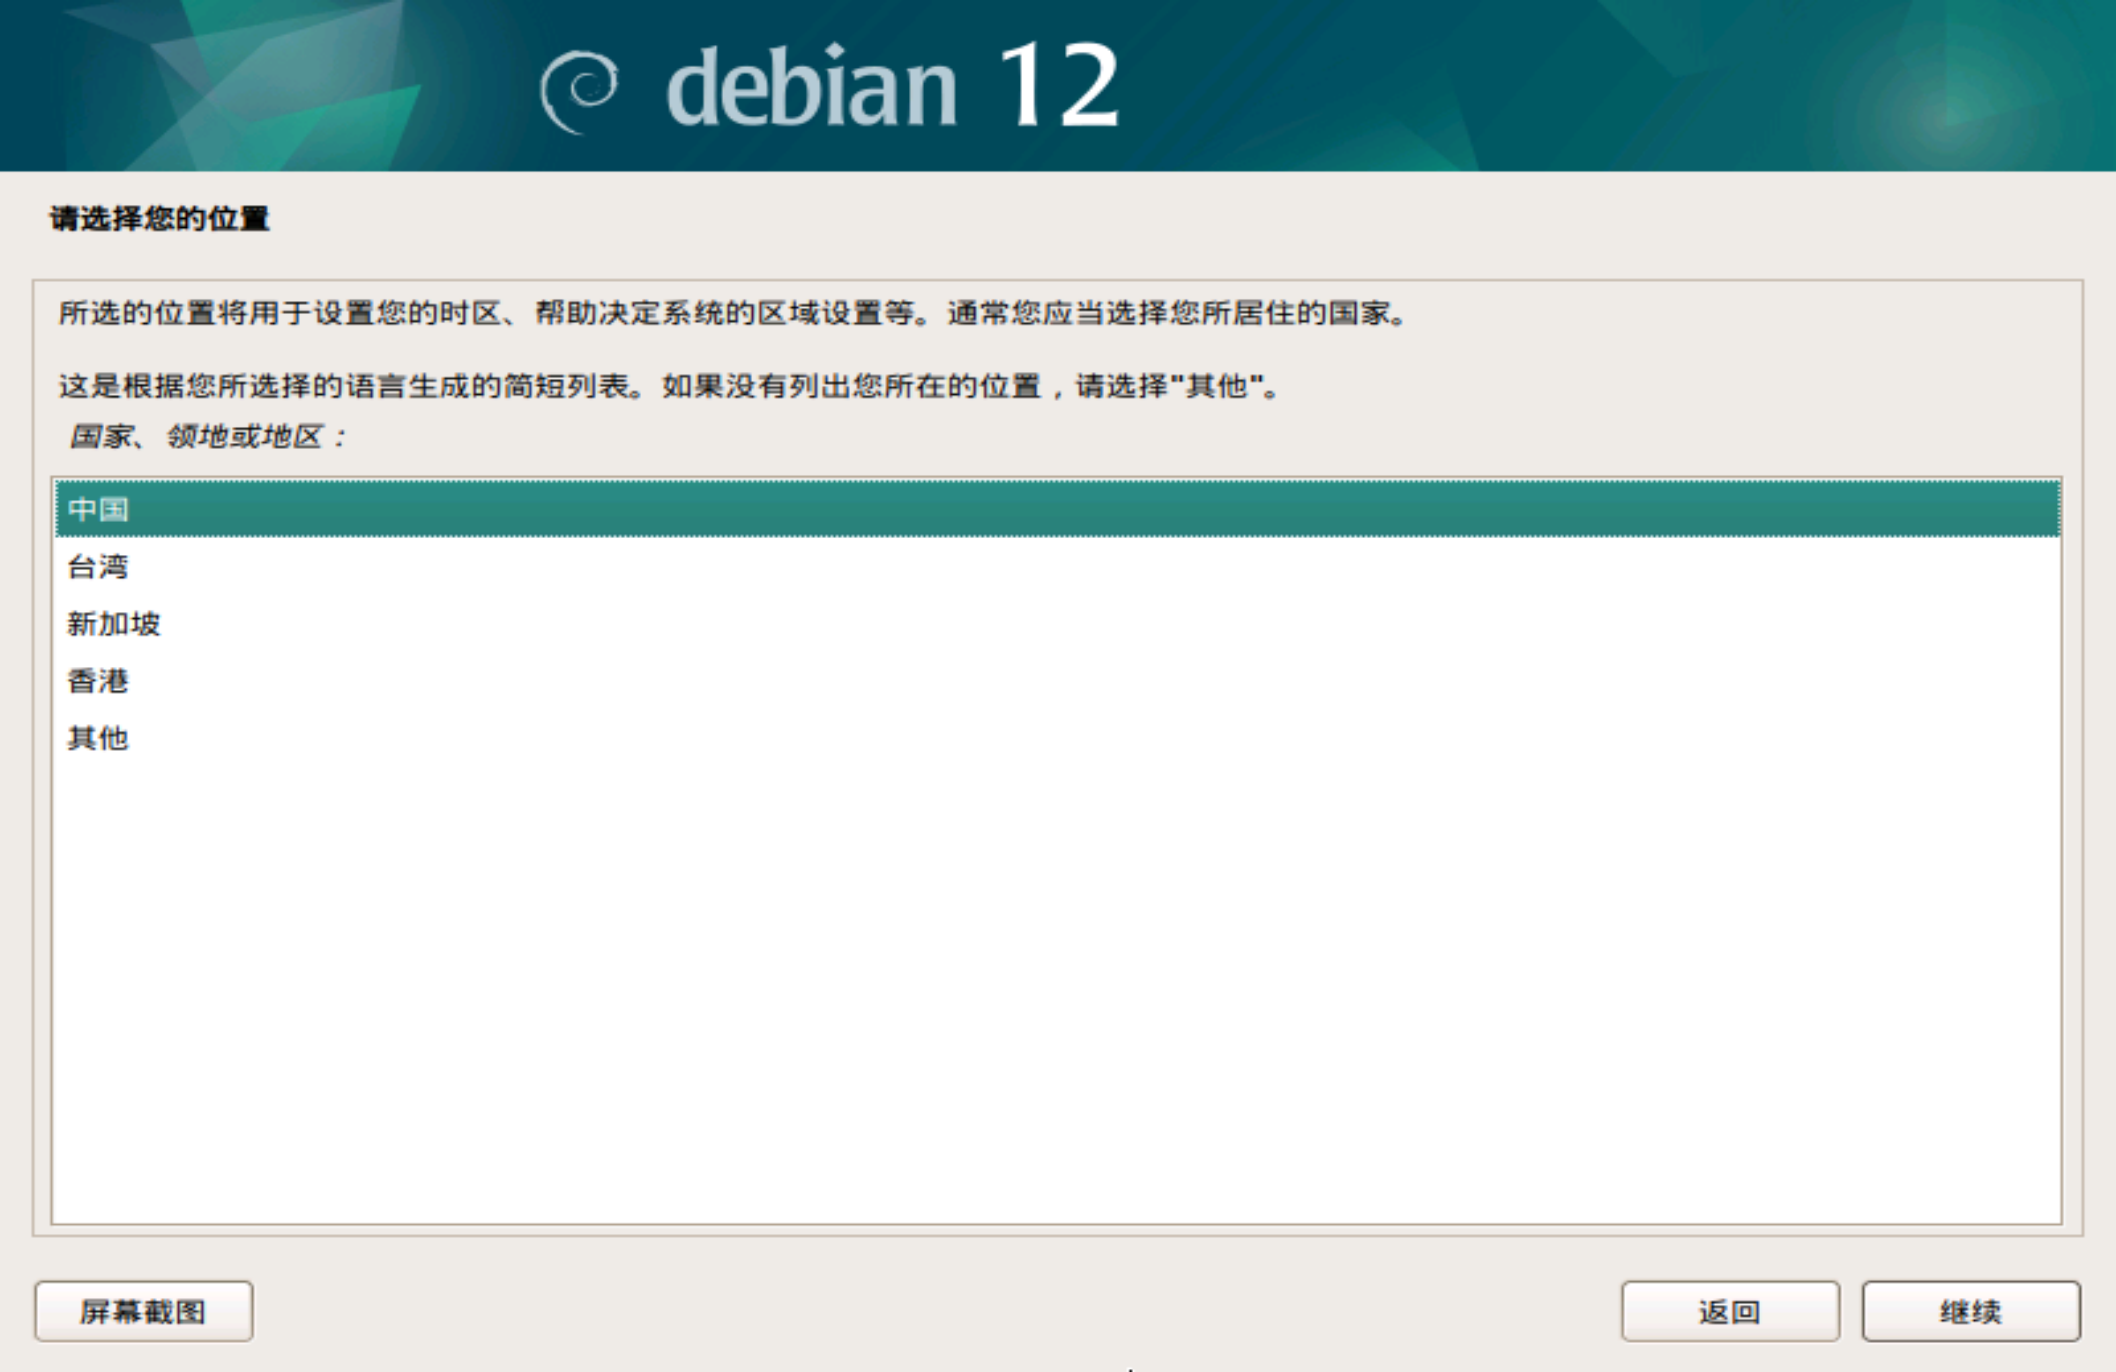
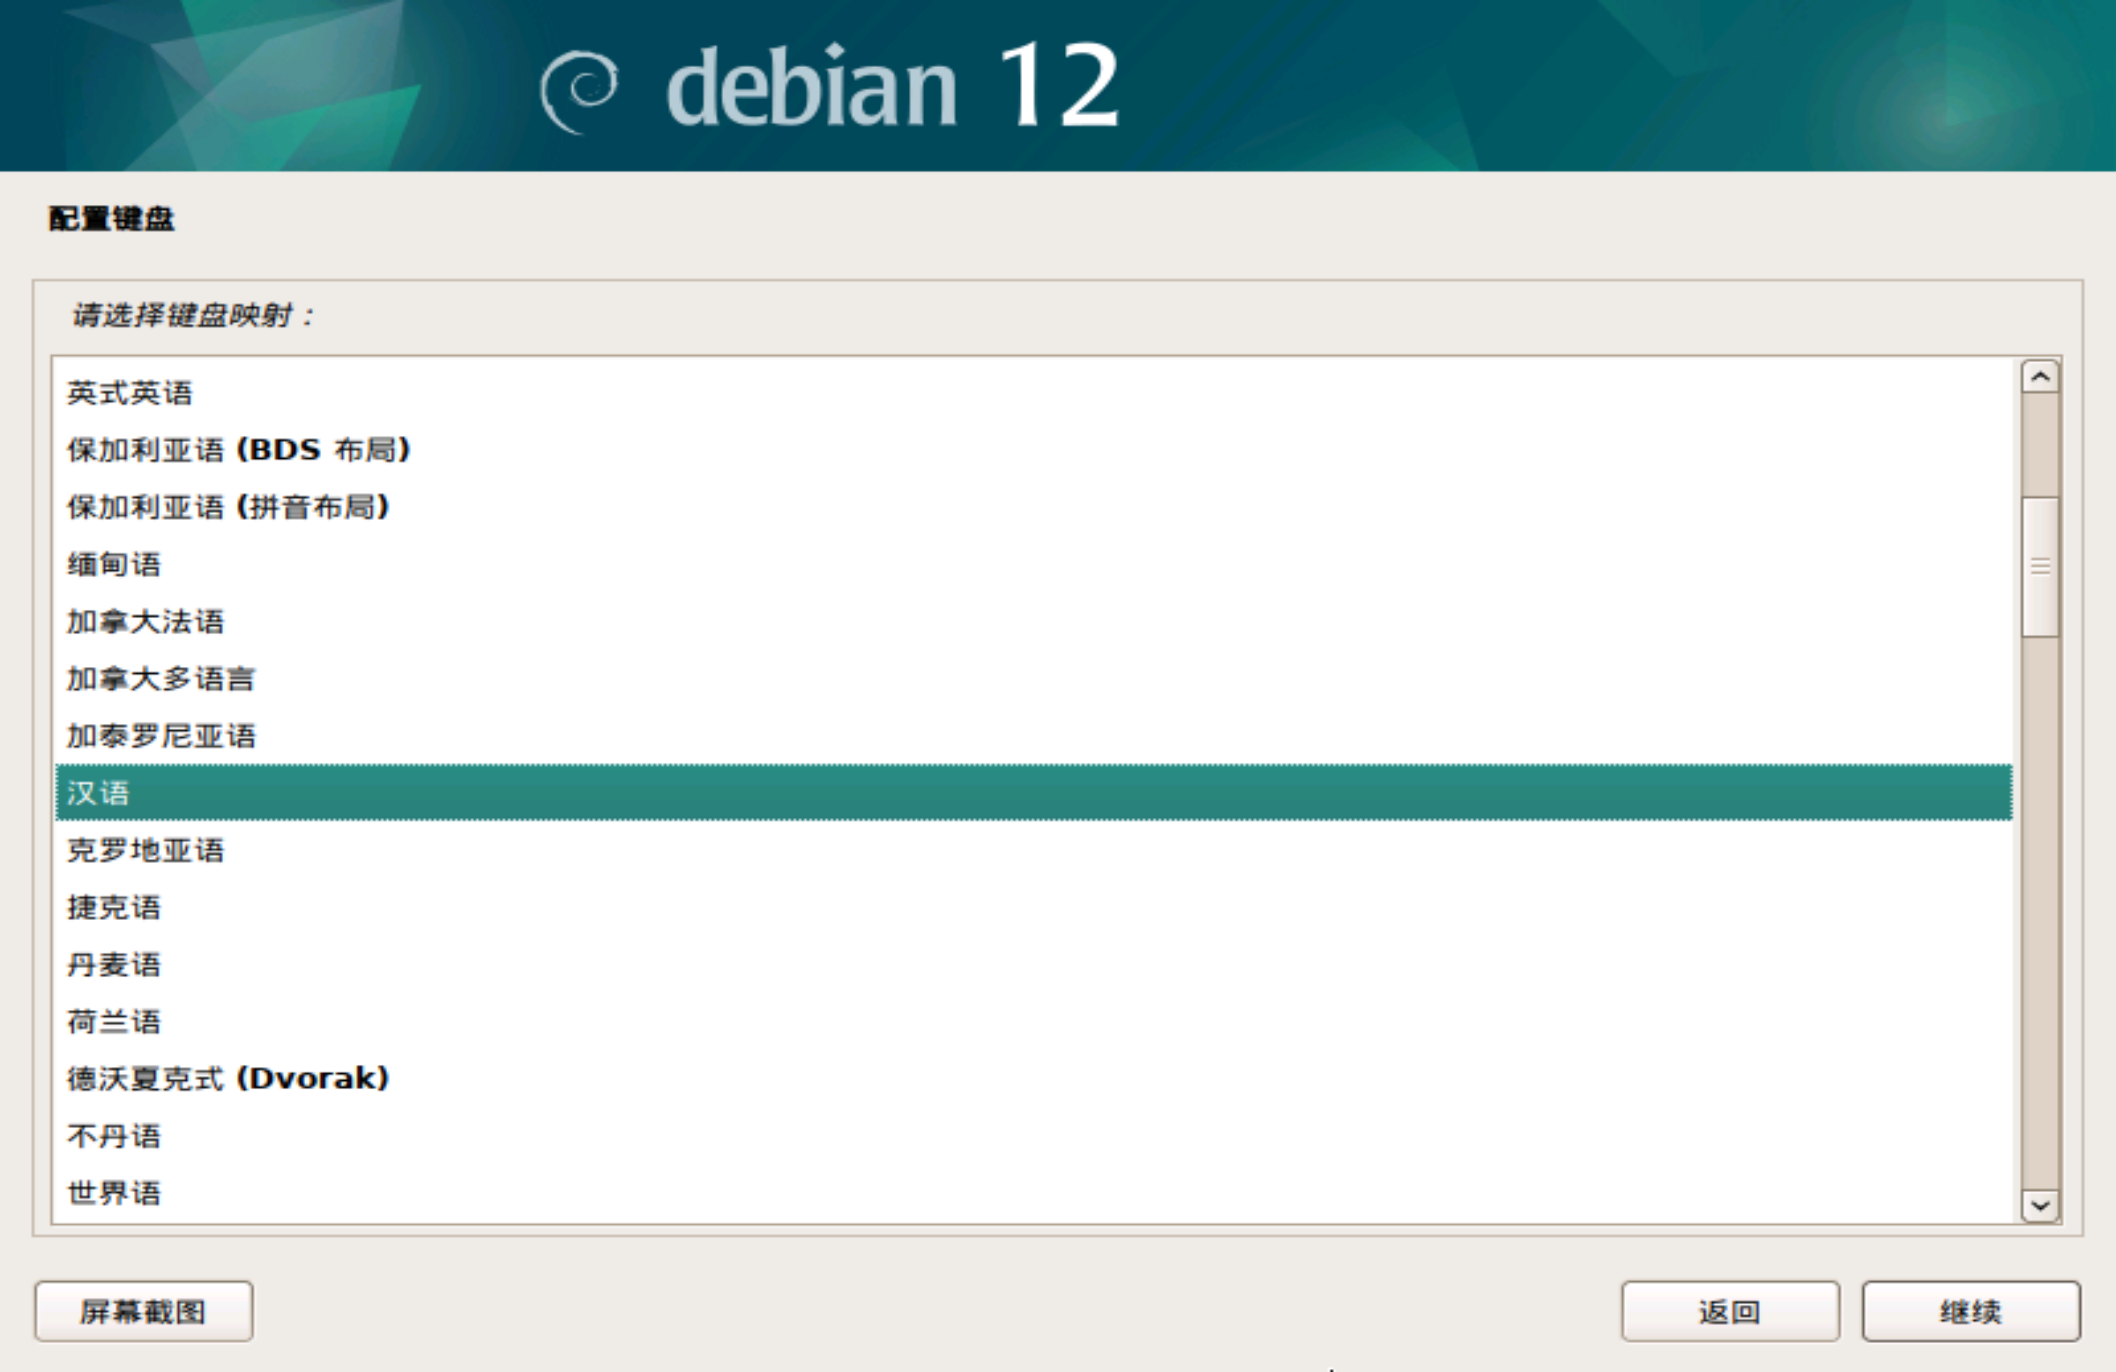
选系统语言和输入法
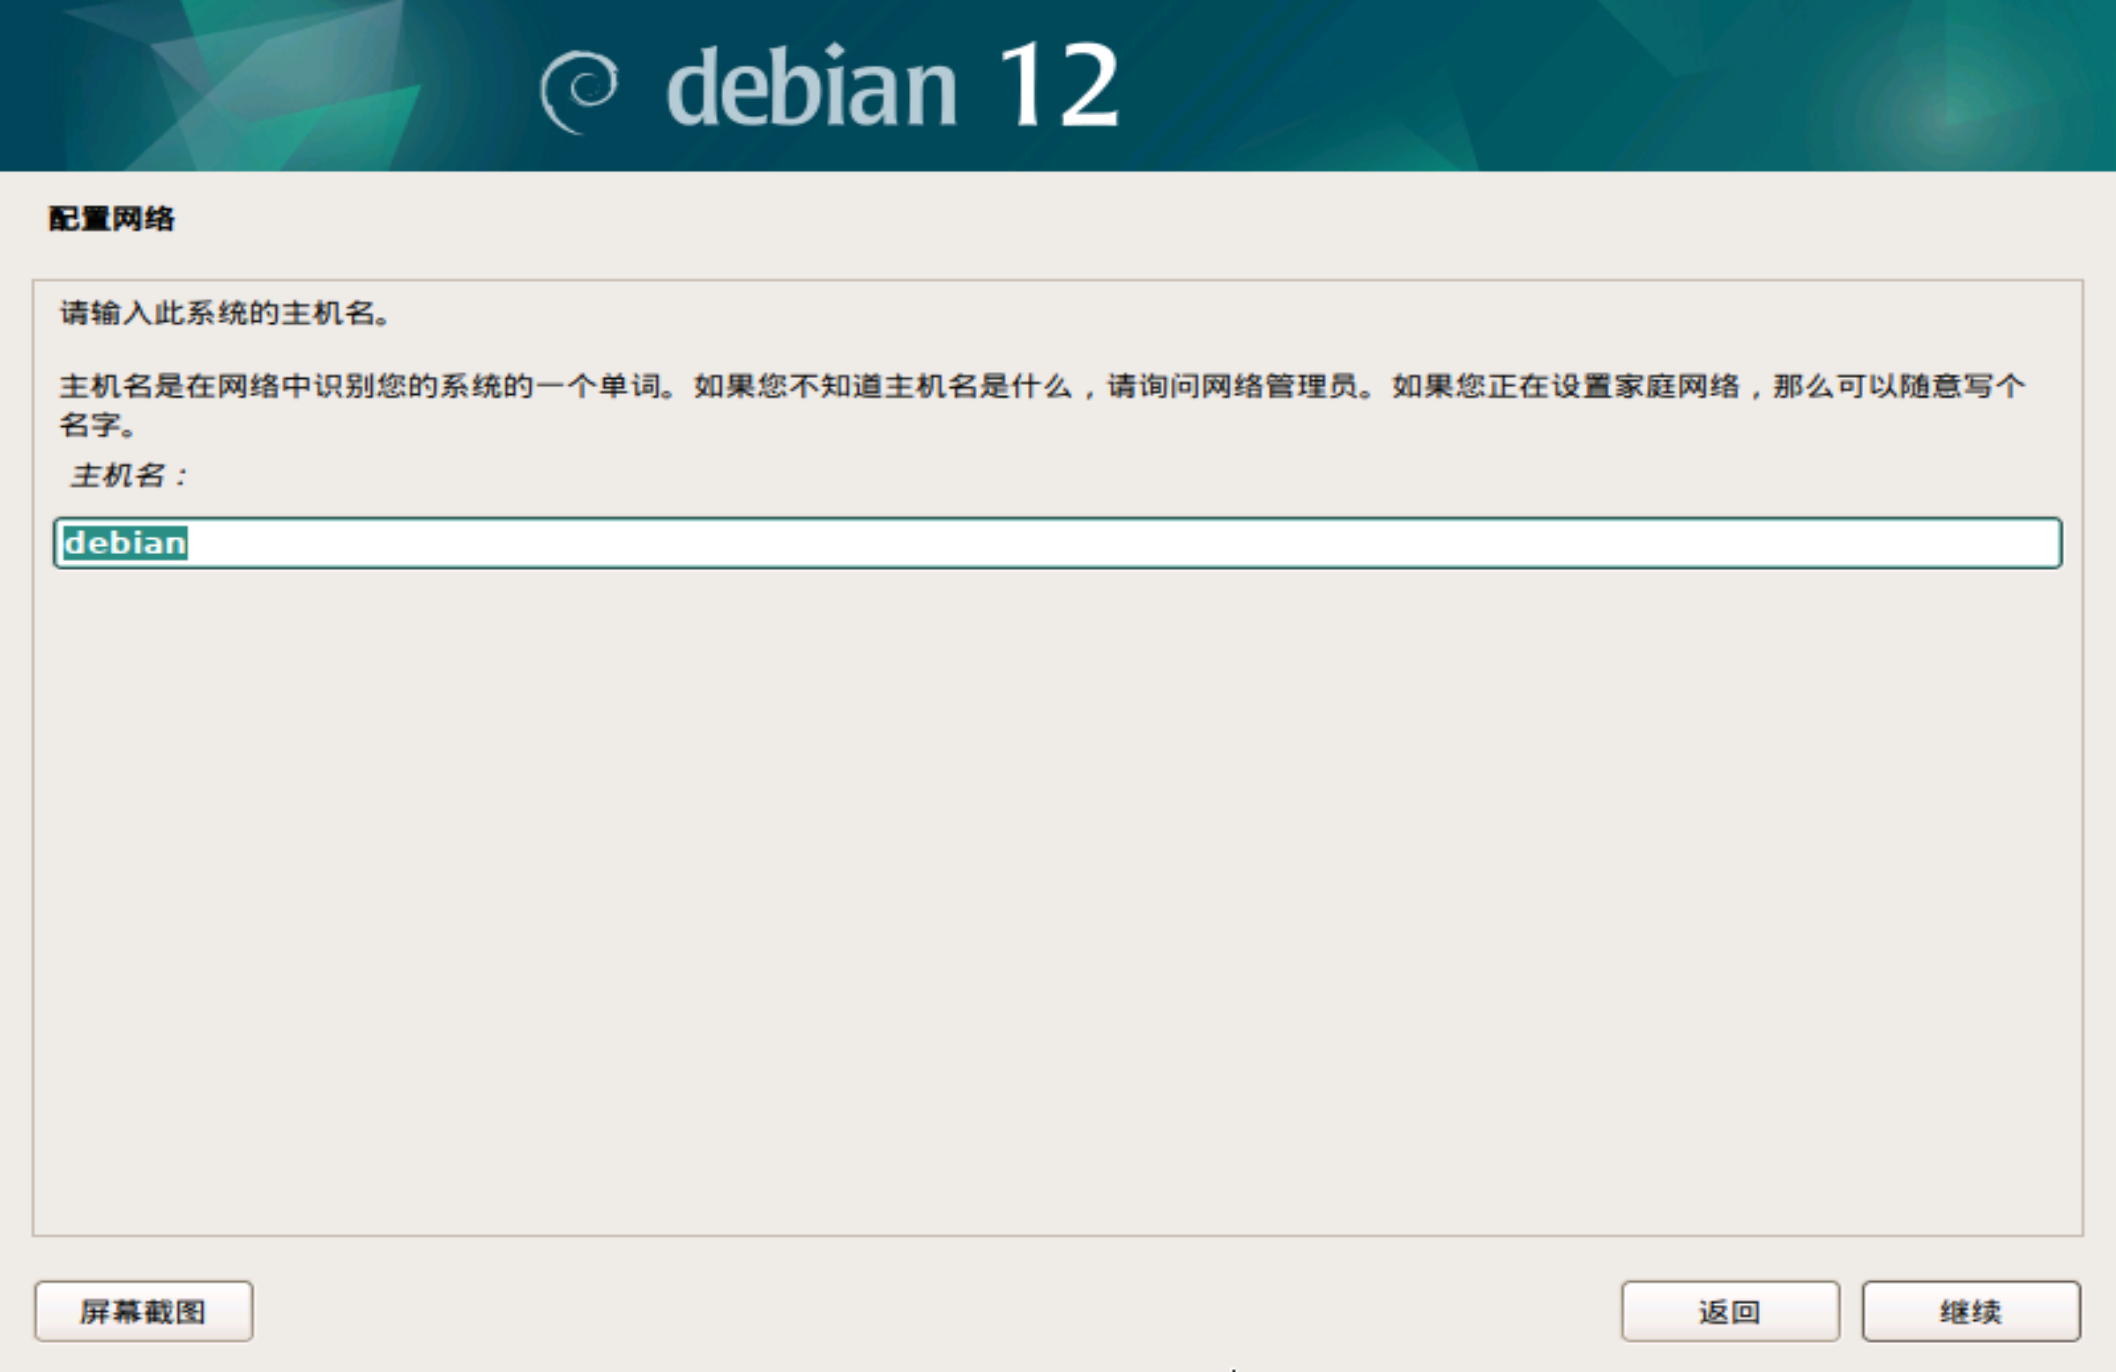
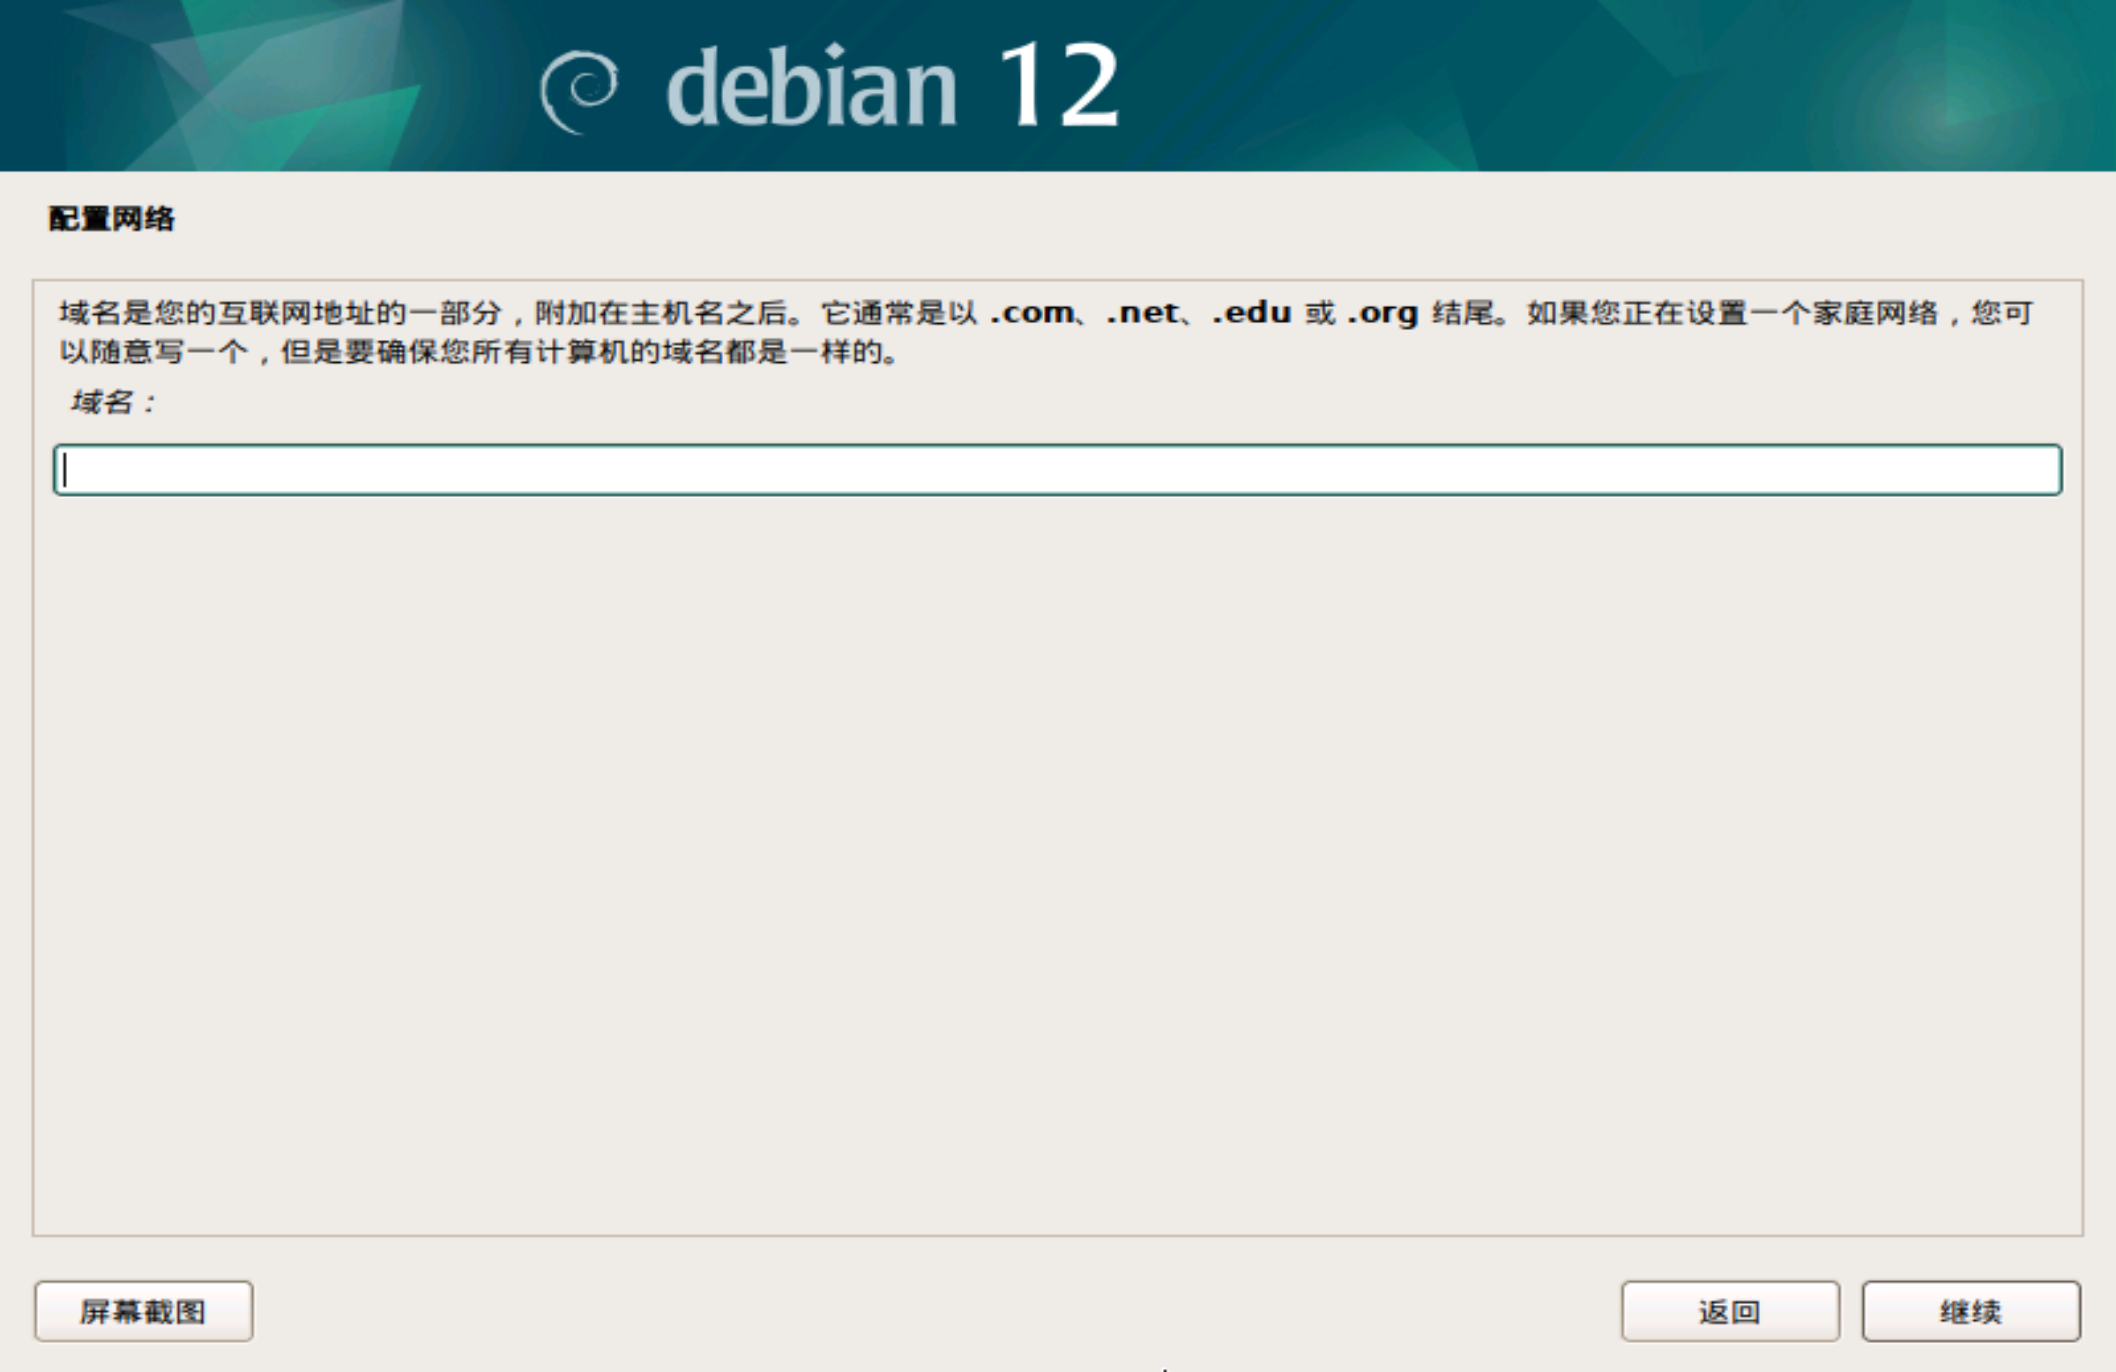
随后Debian会自动设置必要的安装组件以及配置网络,主机名随便取,域名建议留空
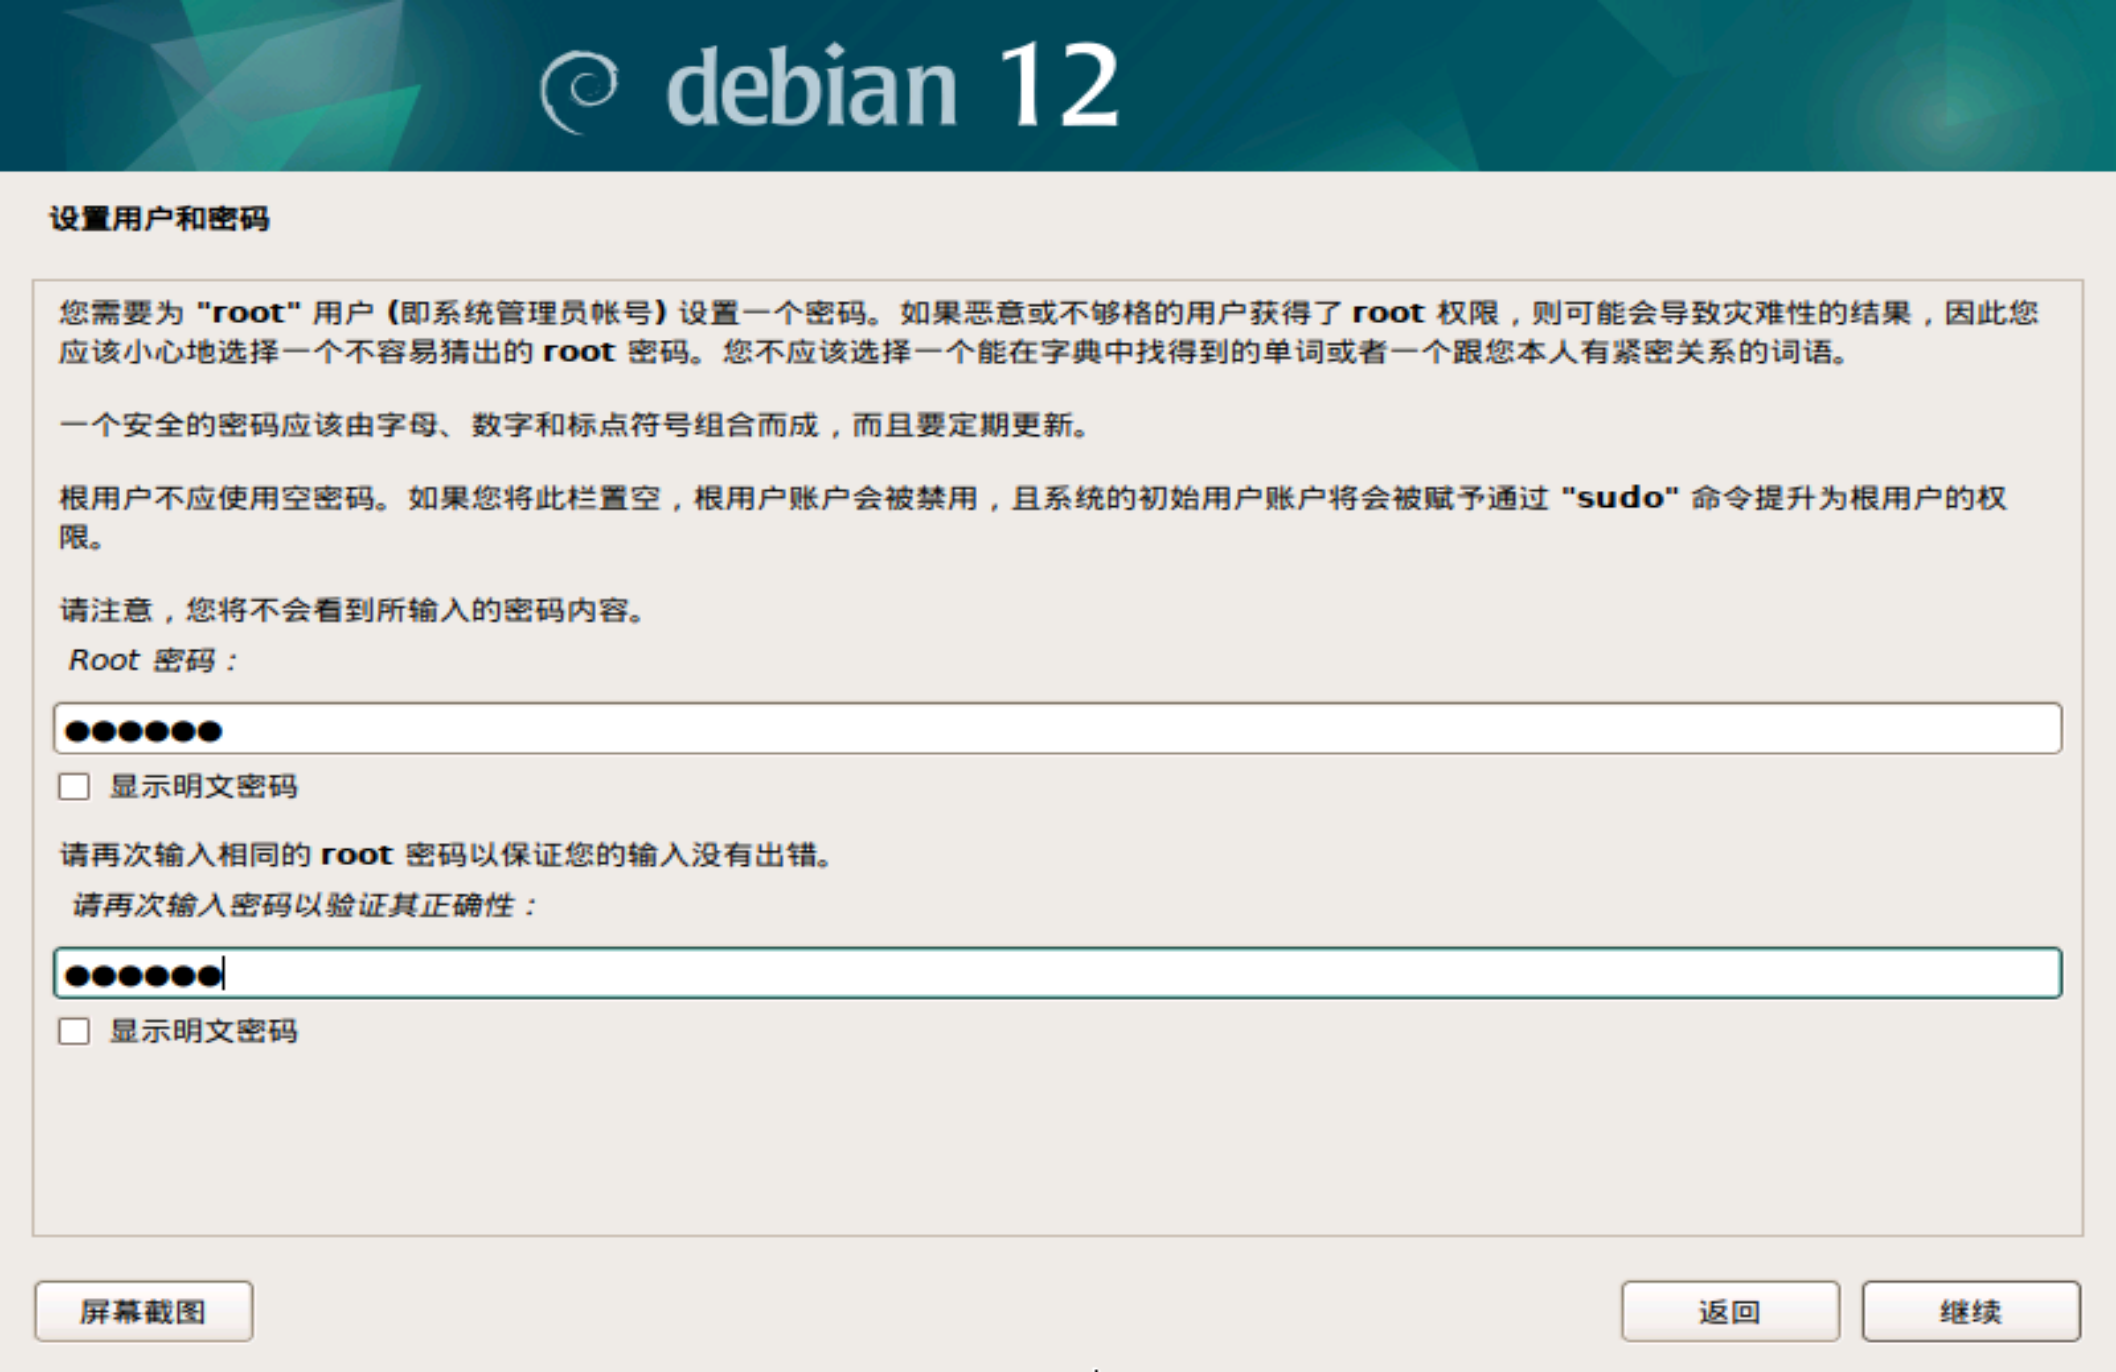
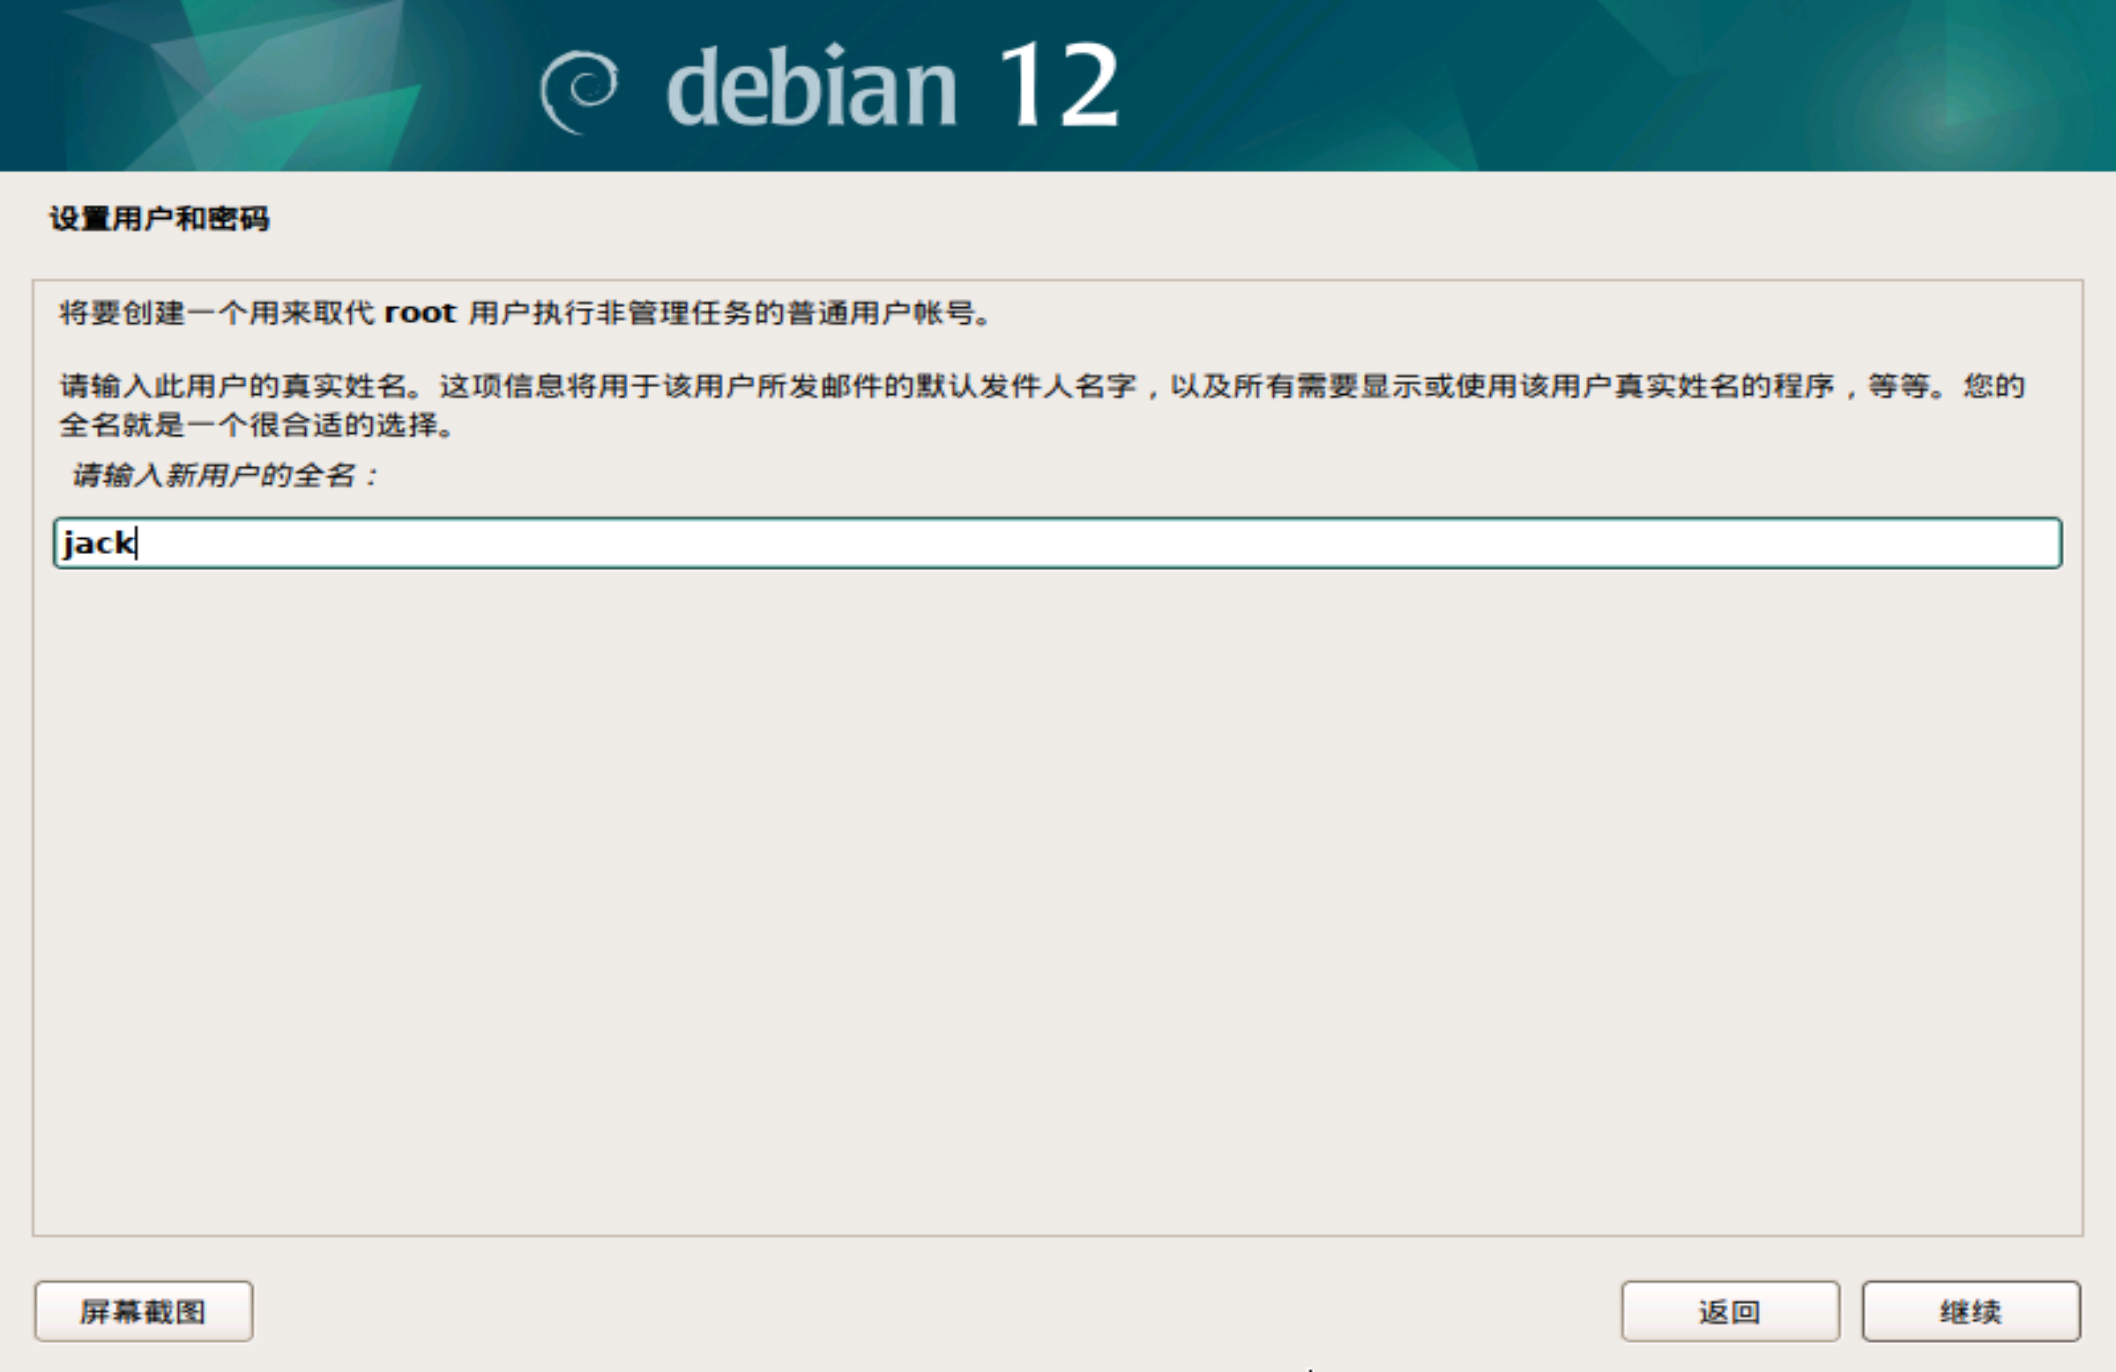
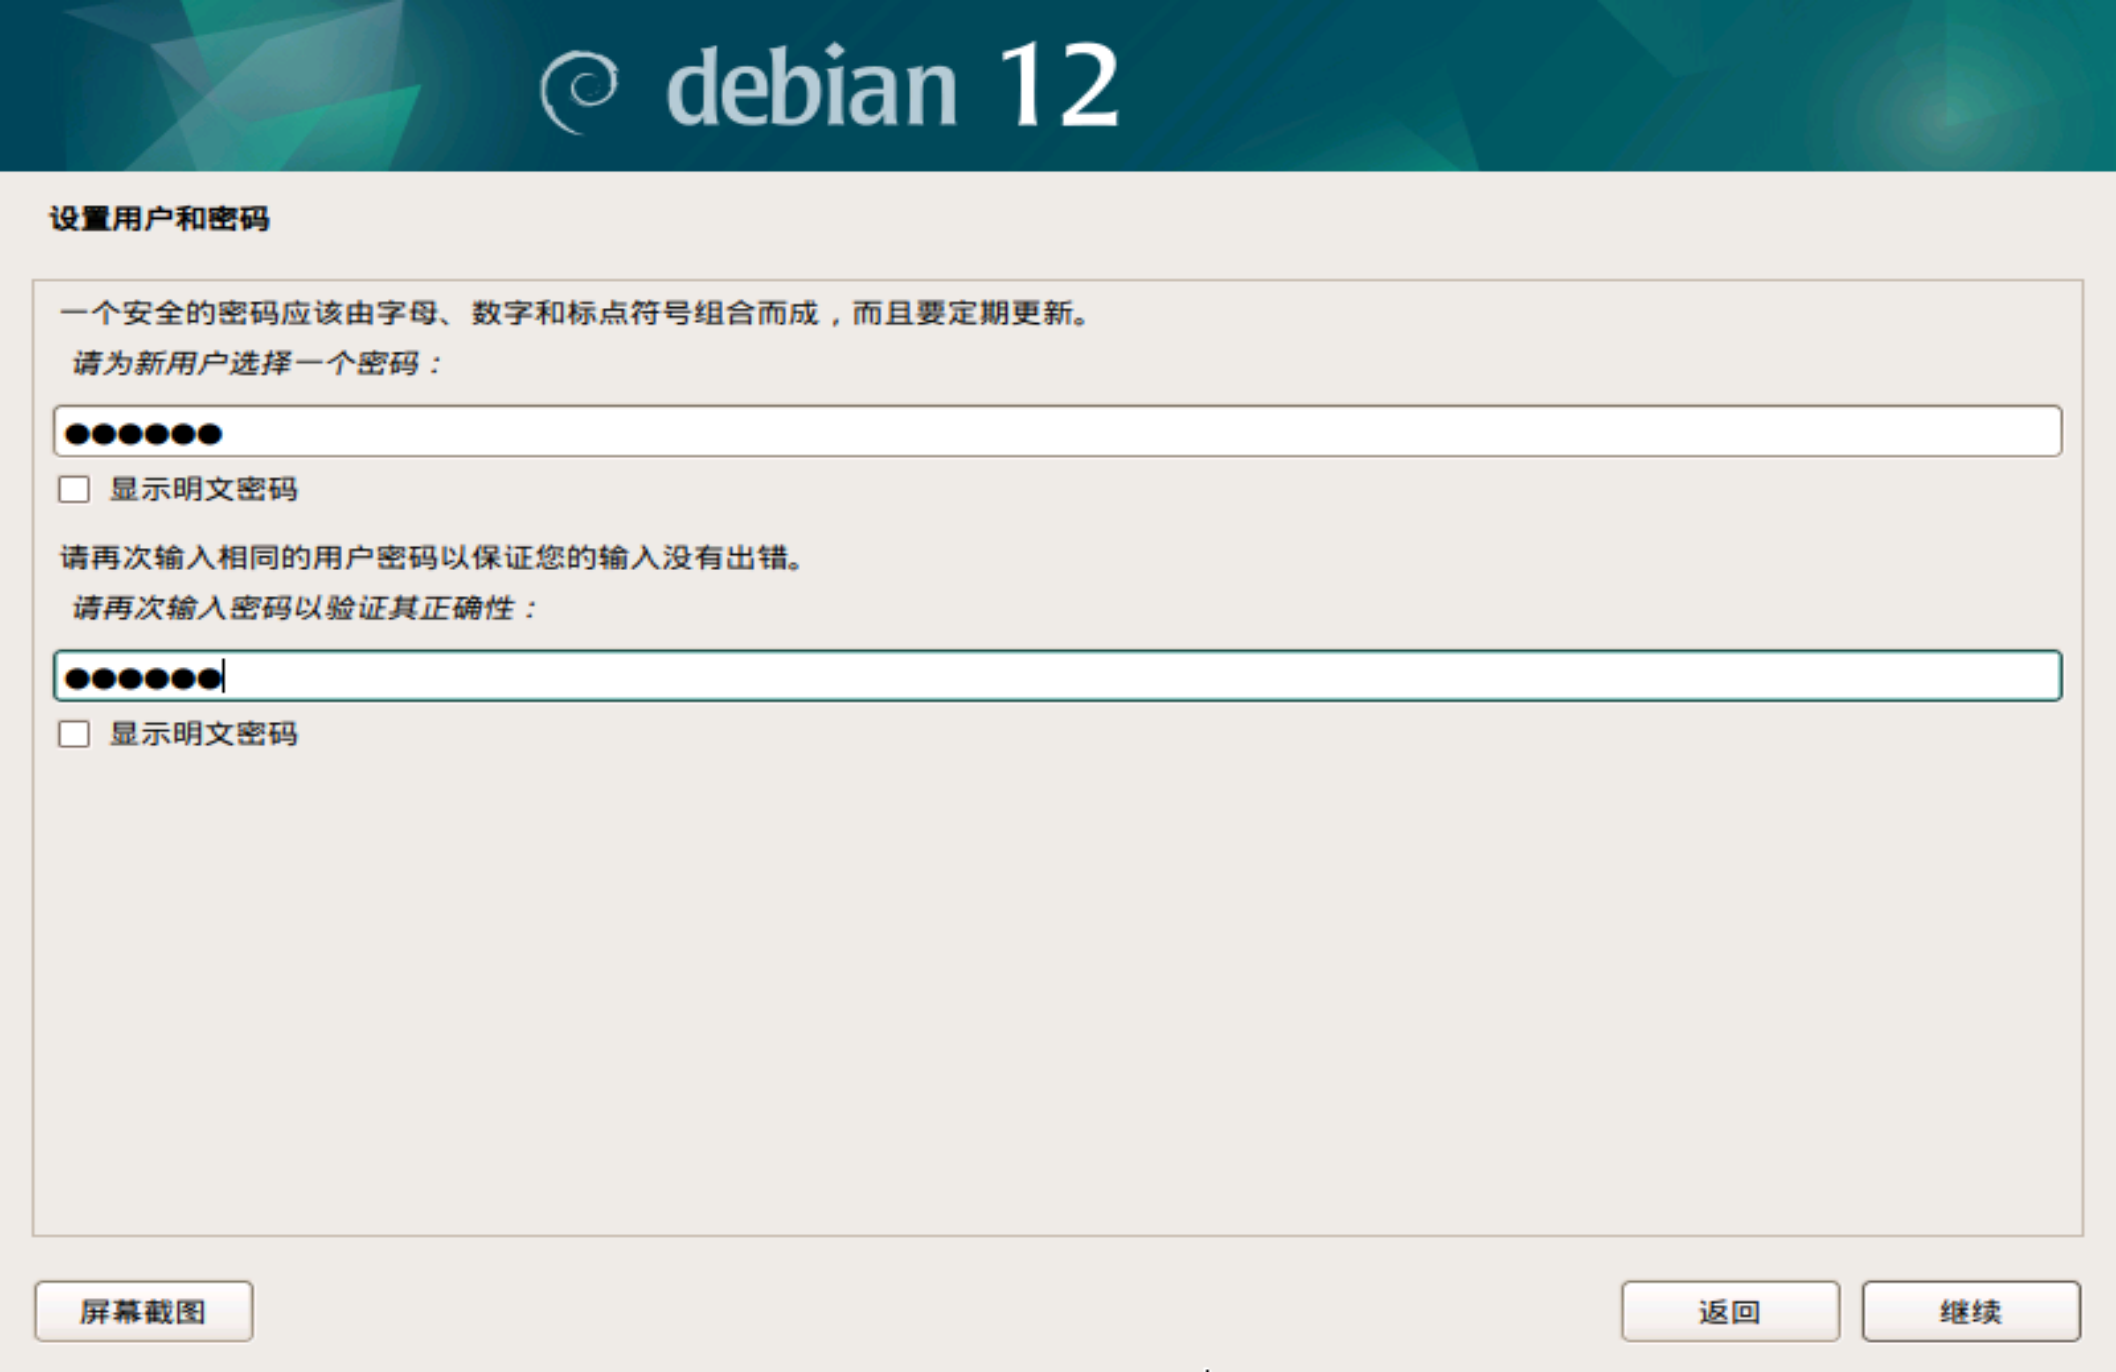
然后设置root用户和登录用户的账号密码
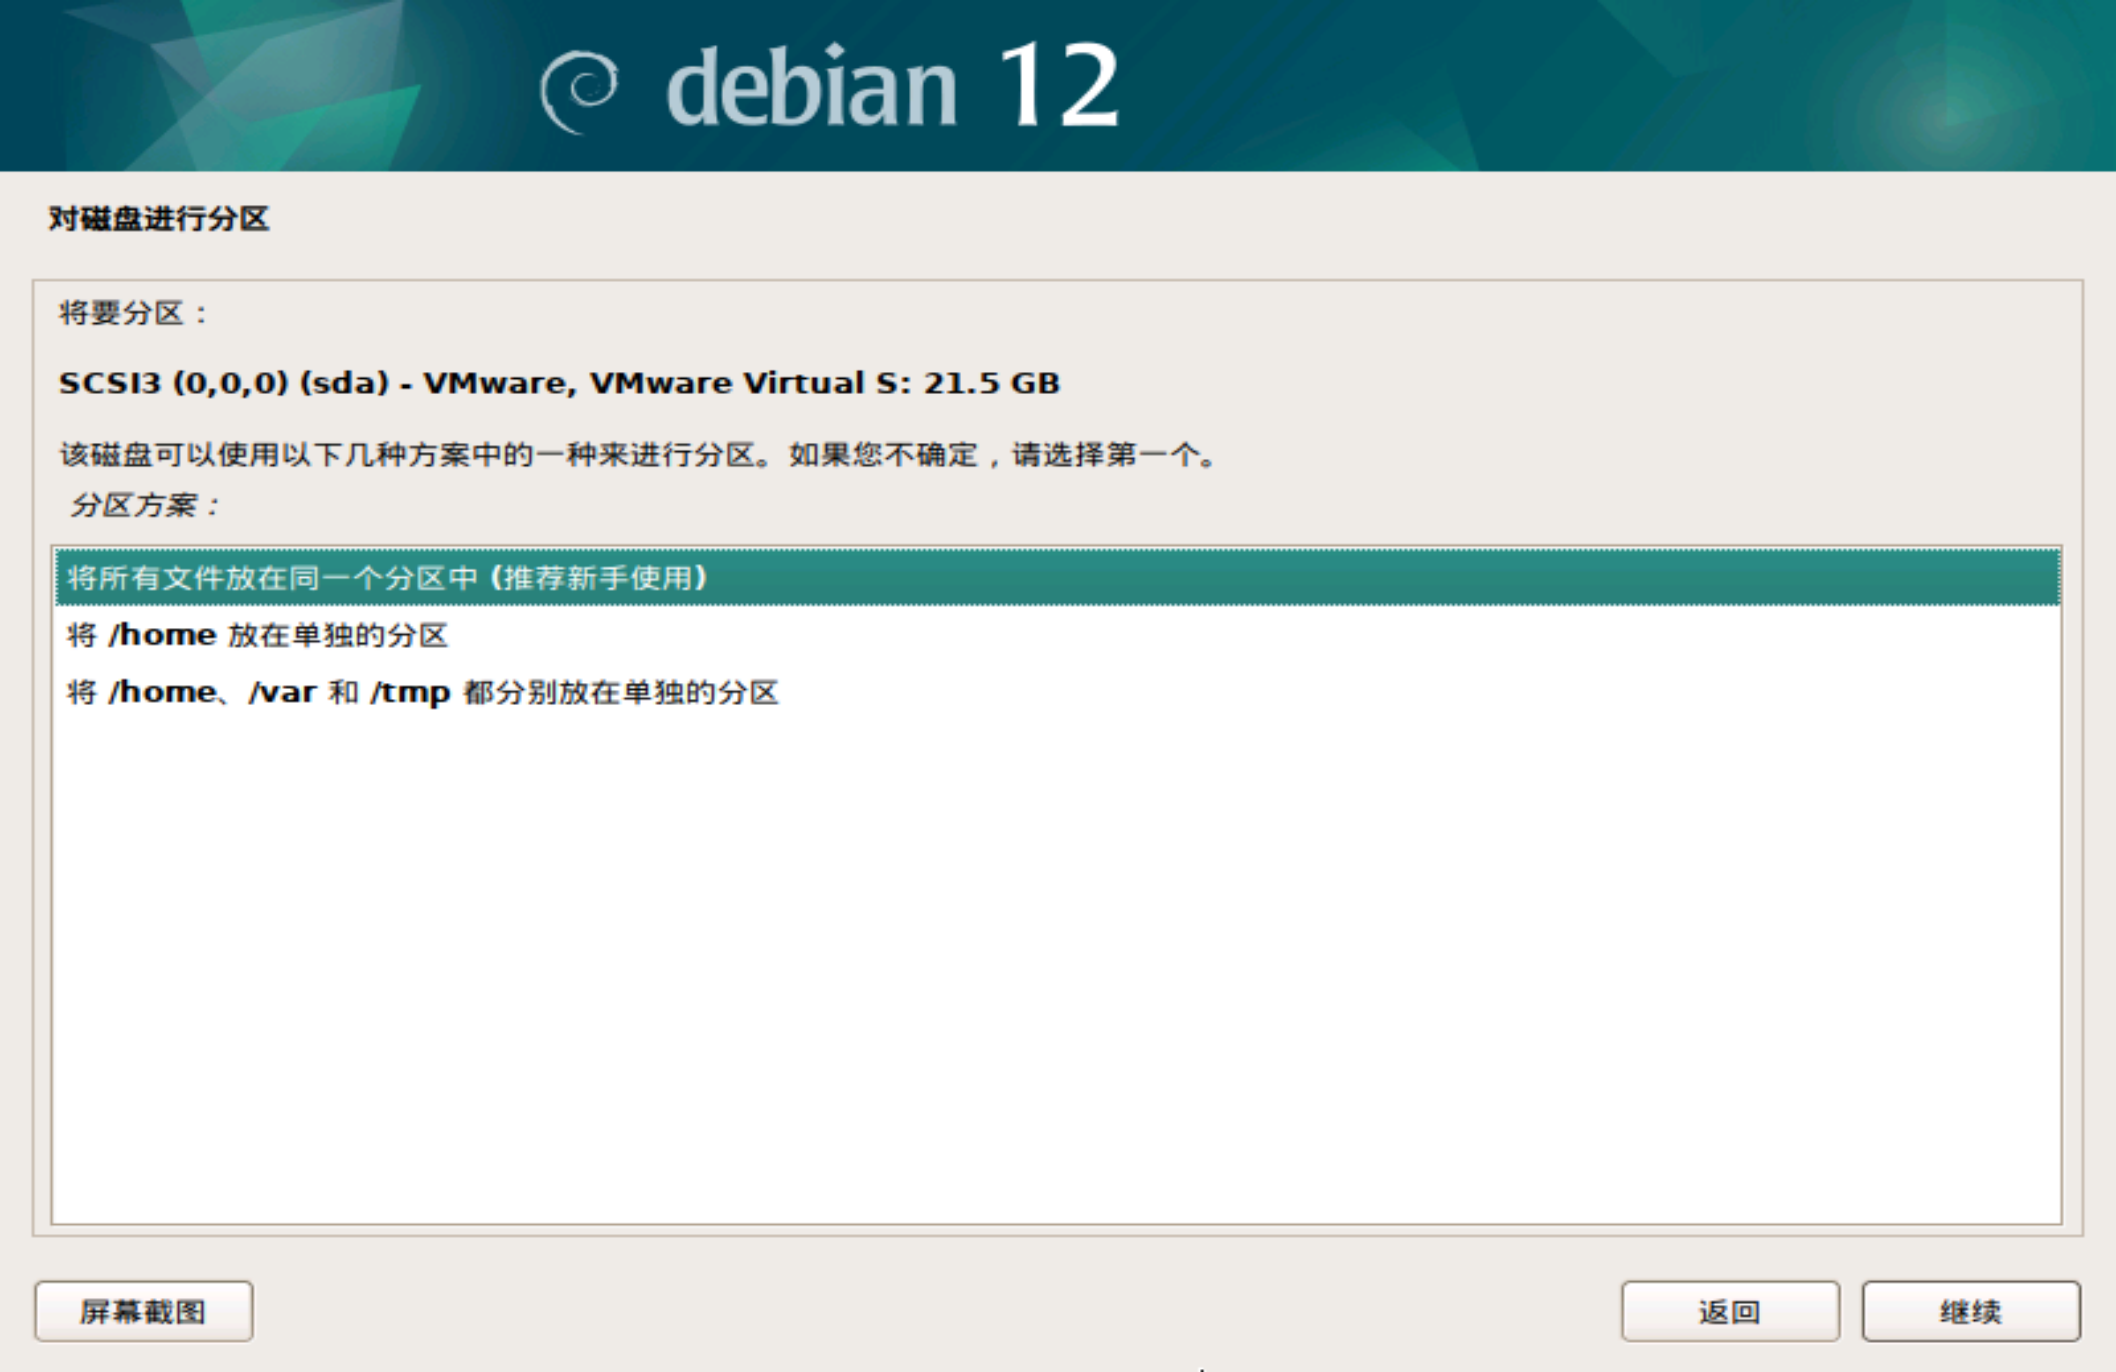
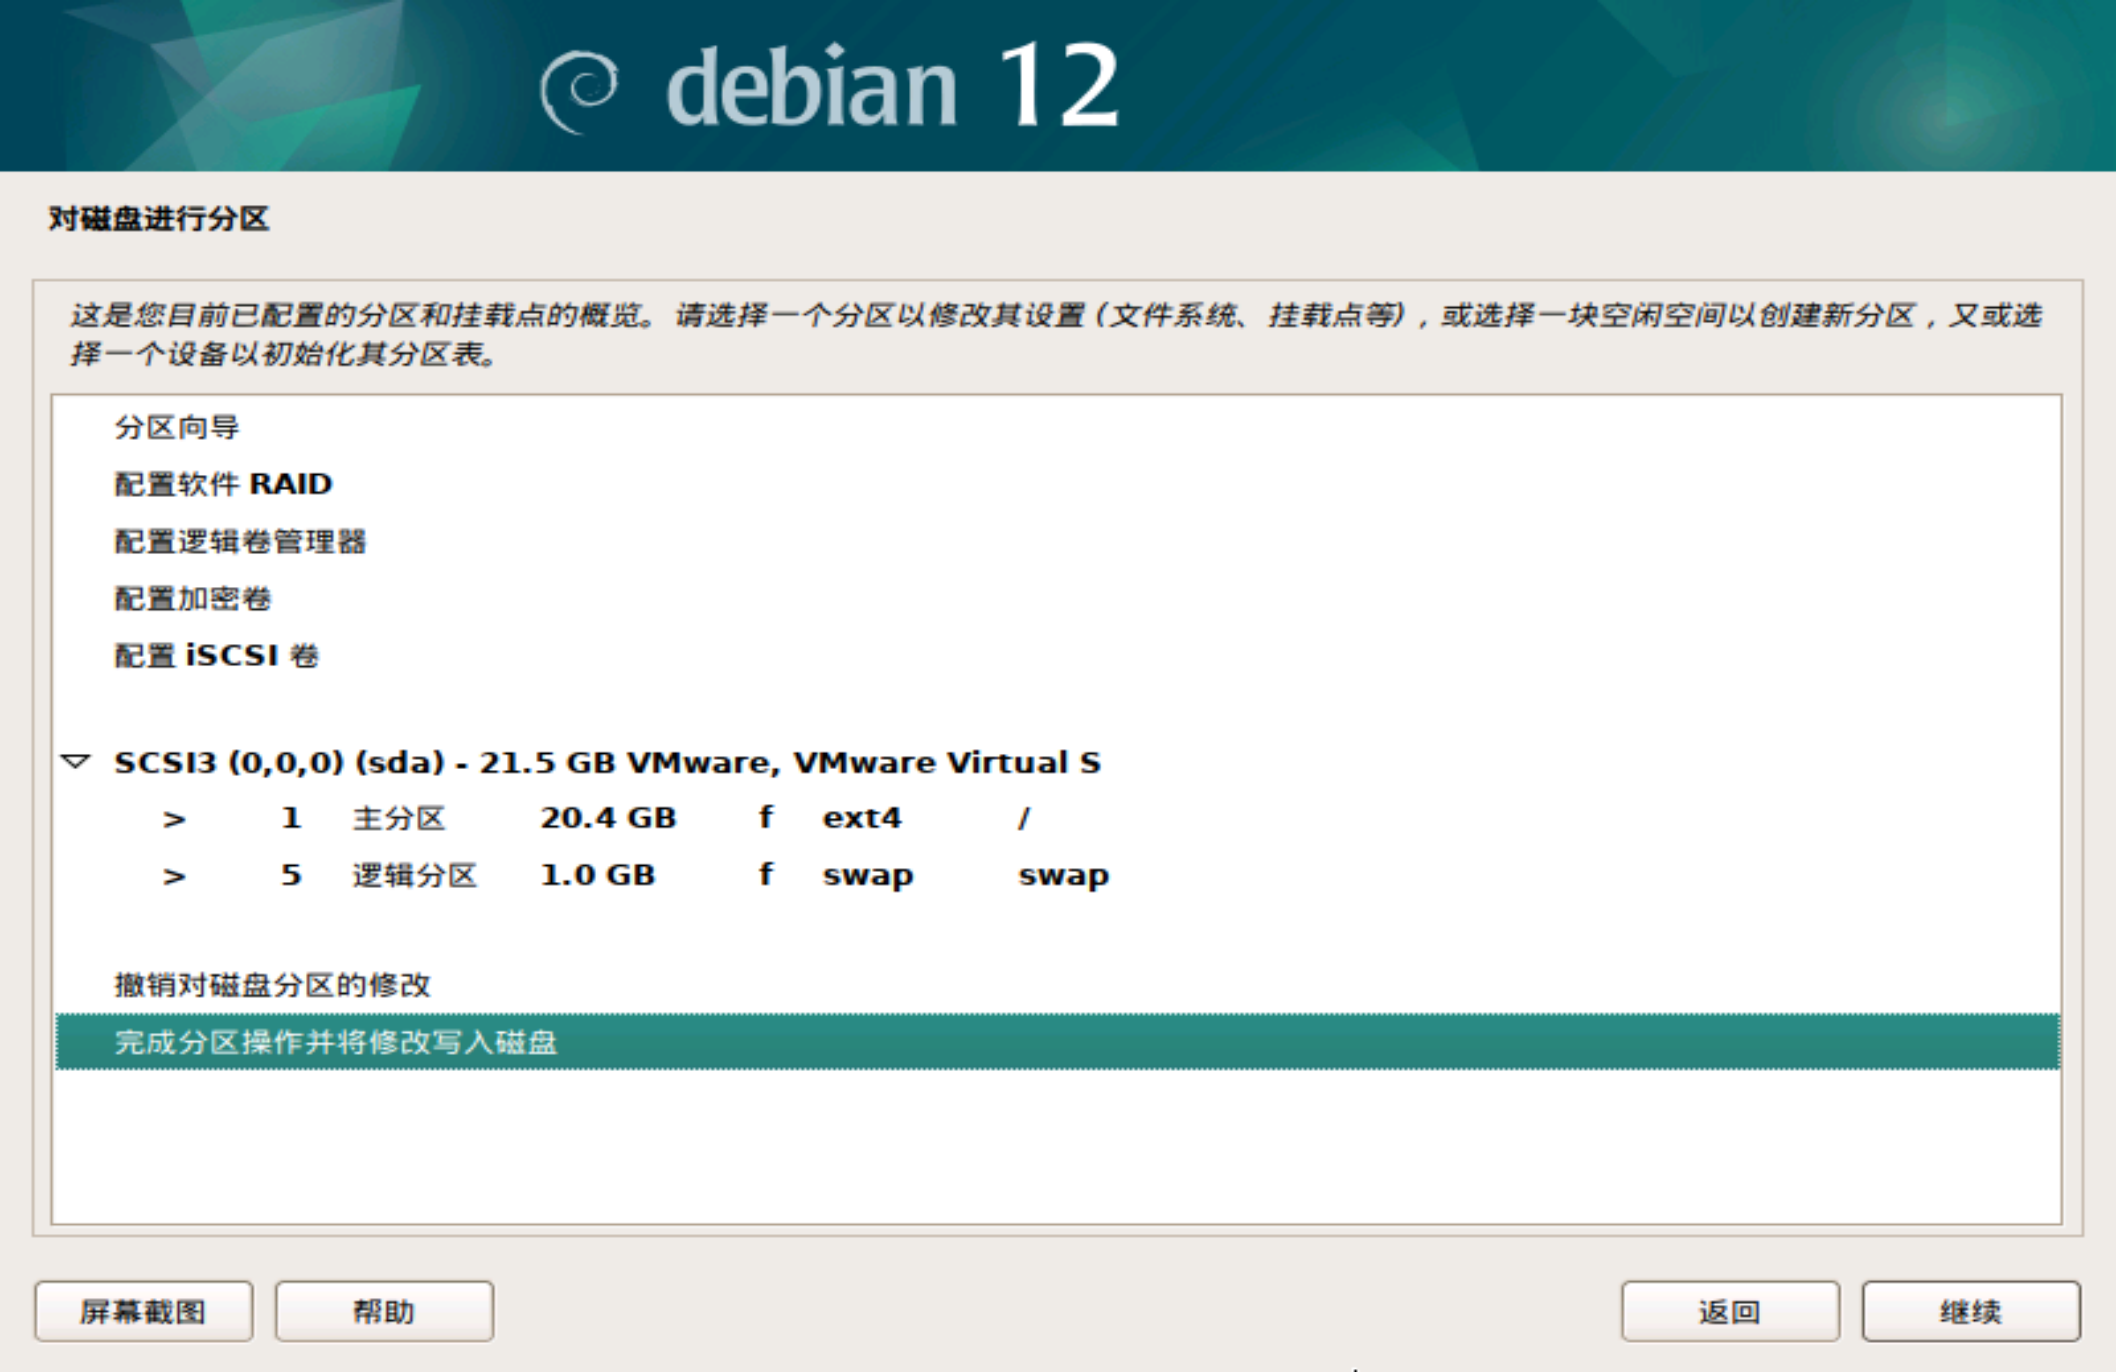
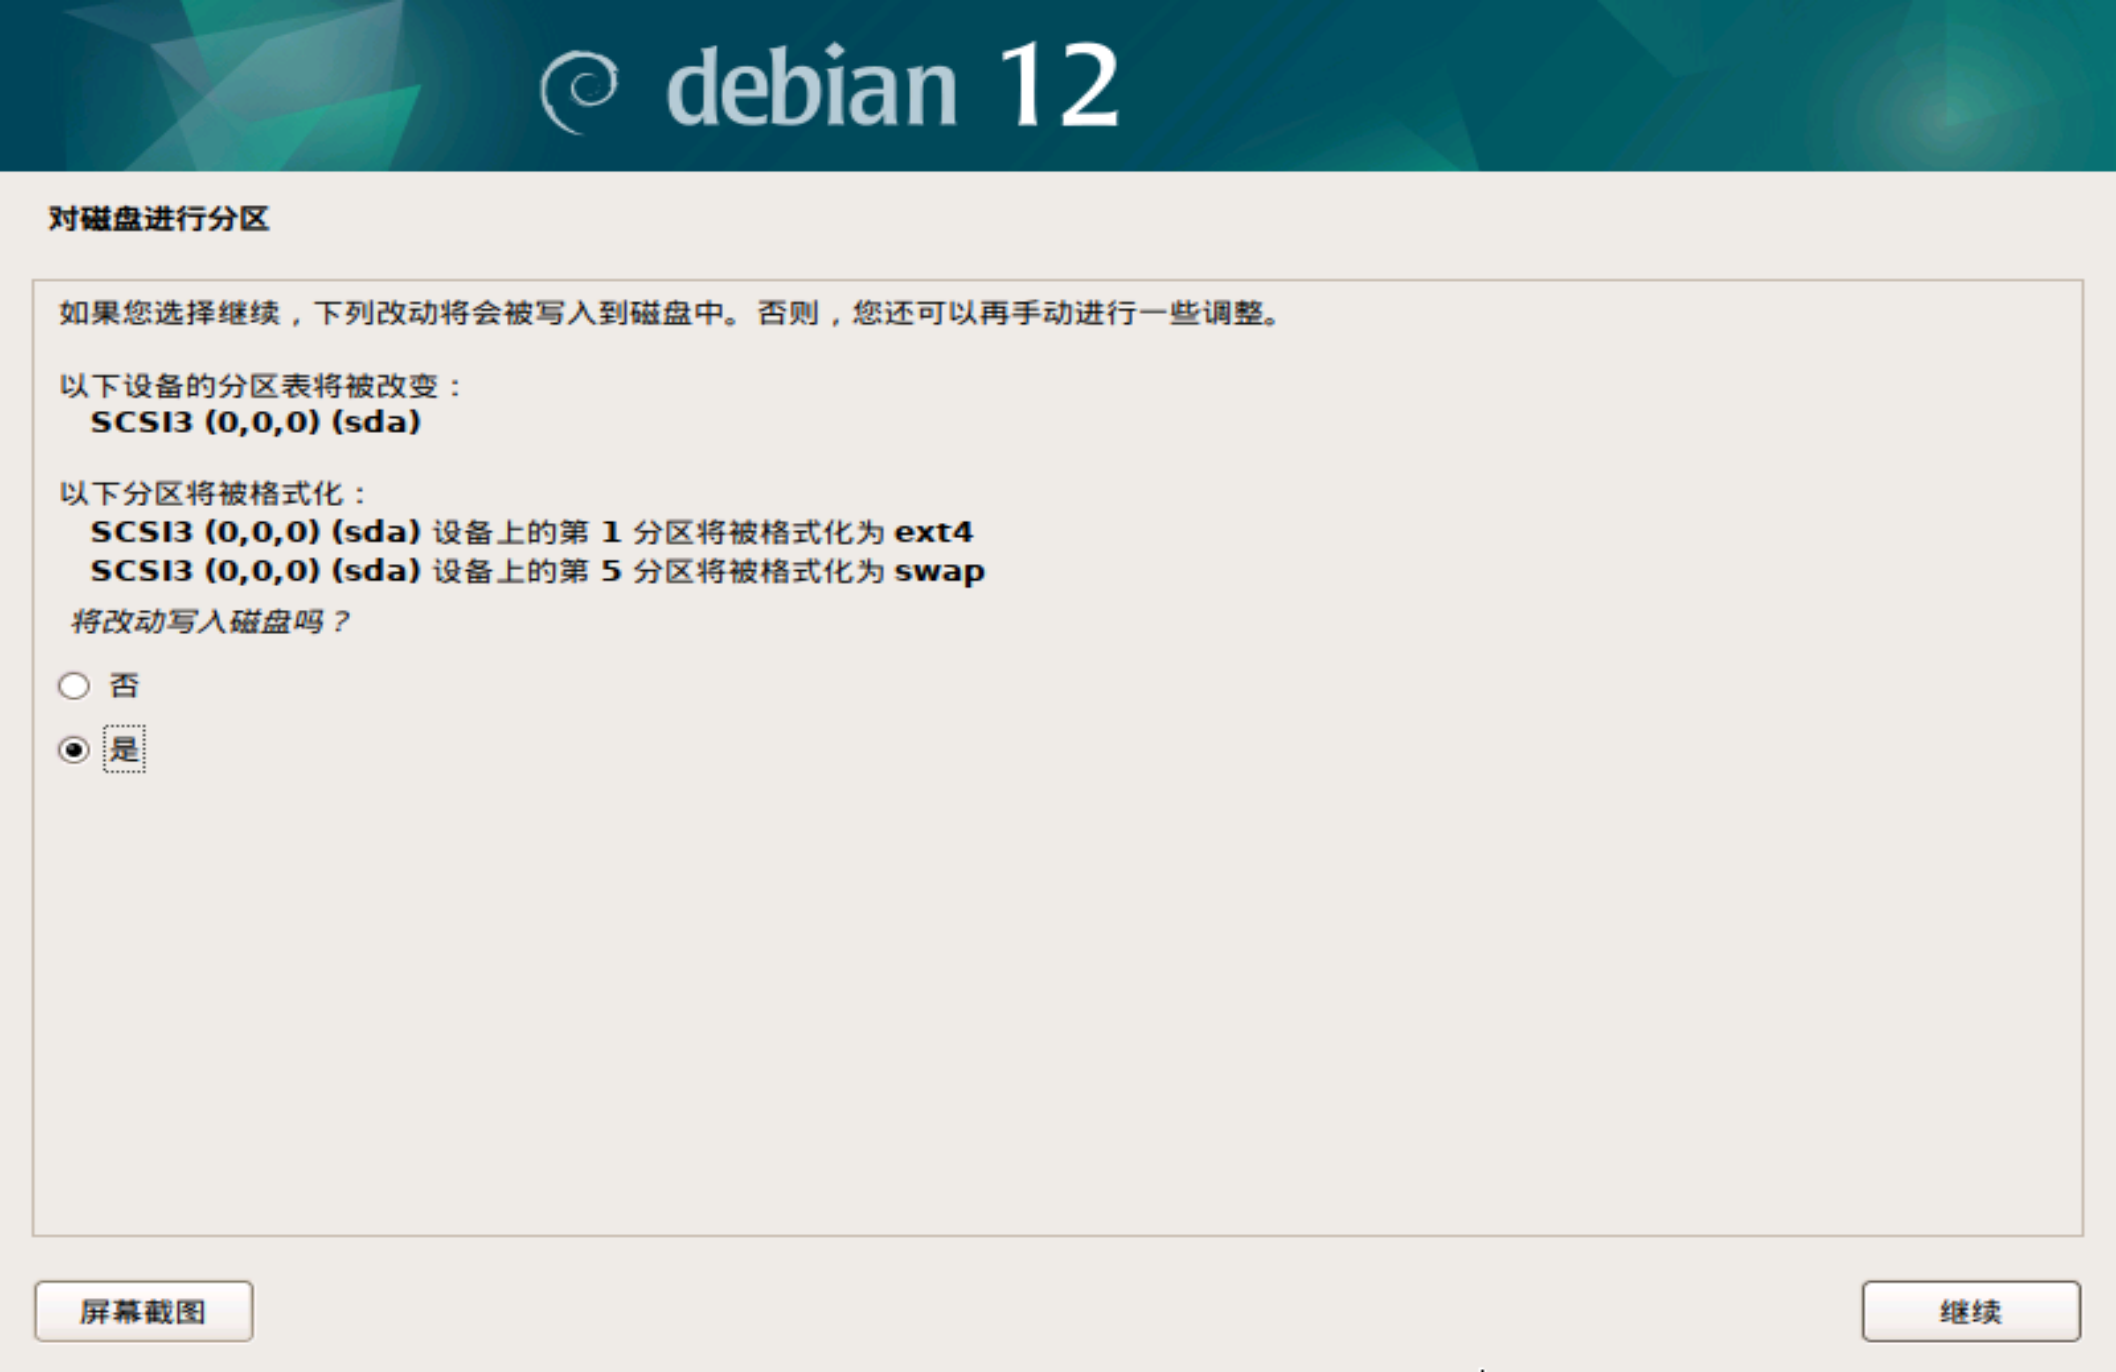
磁盘分区根据个人喜好来选择,第一种最省事
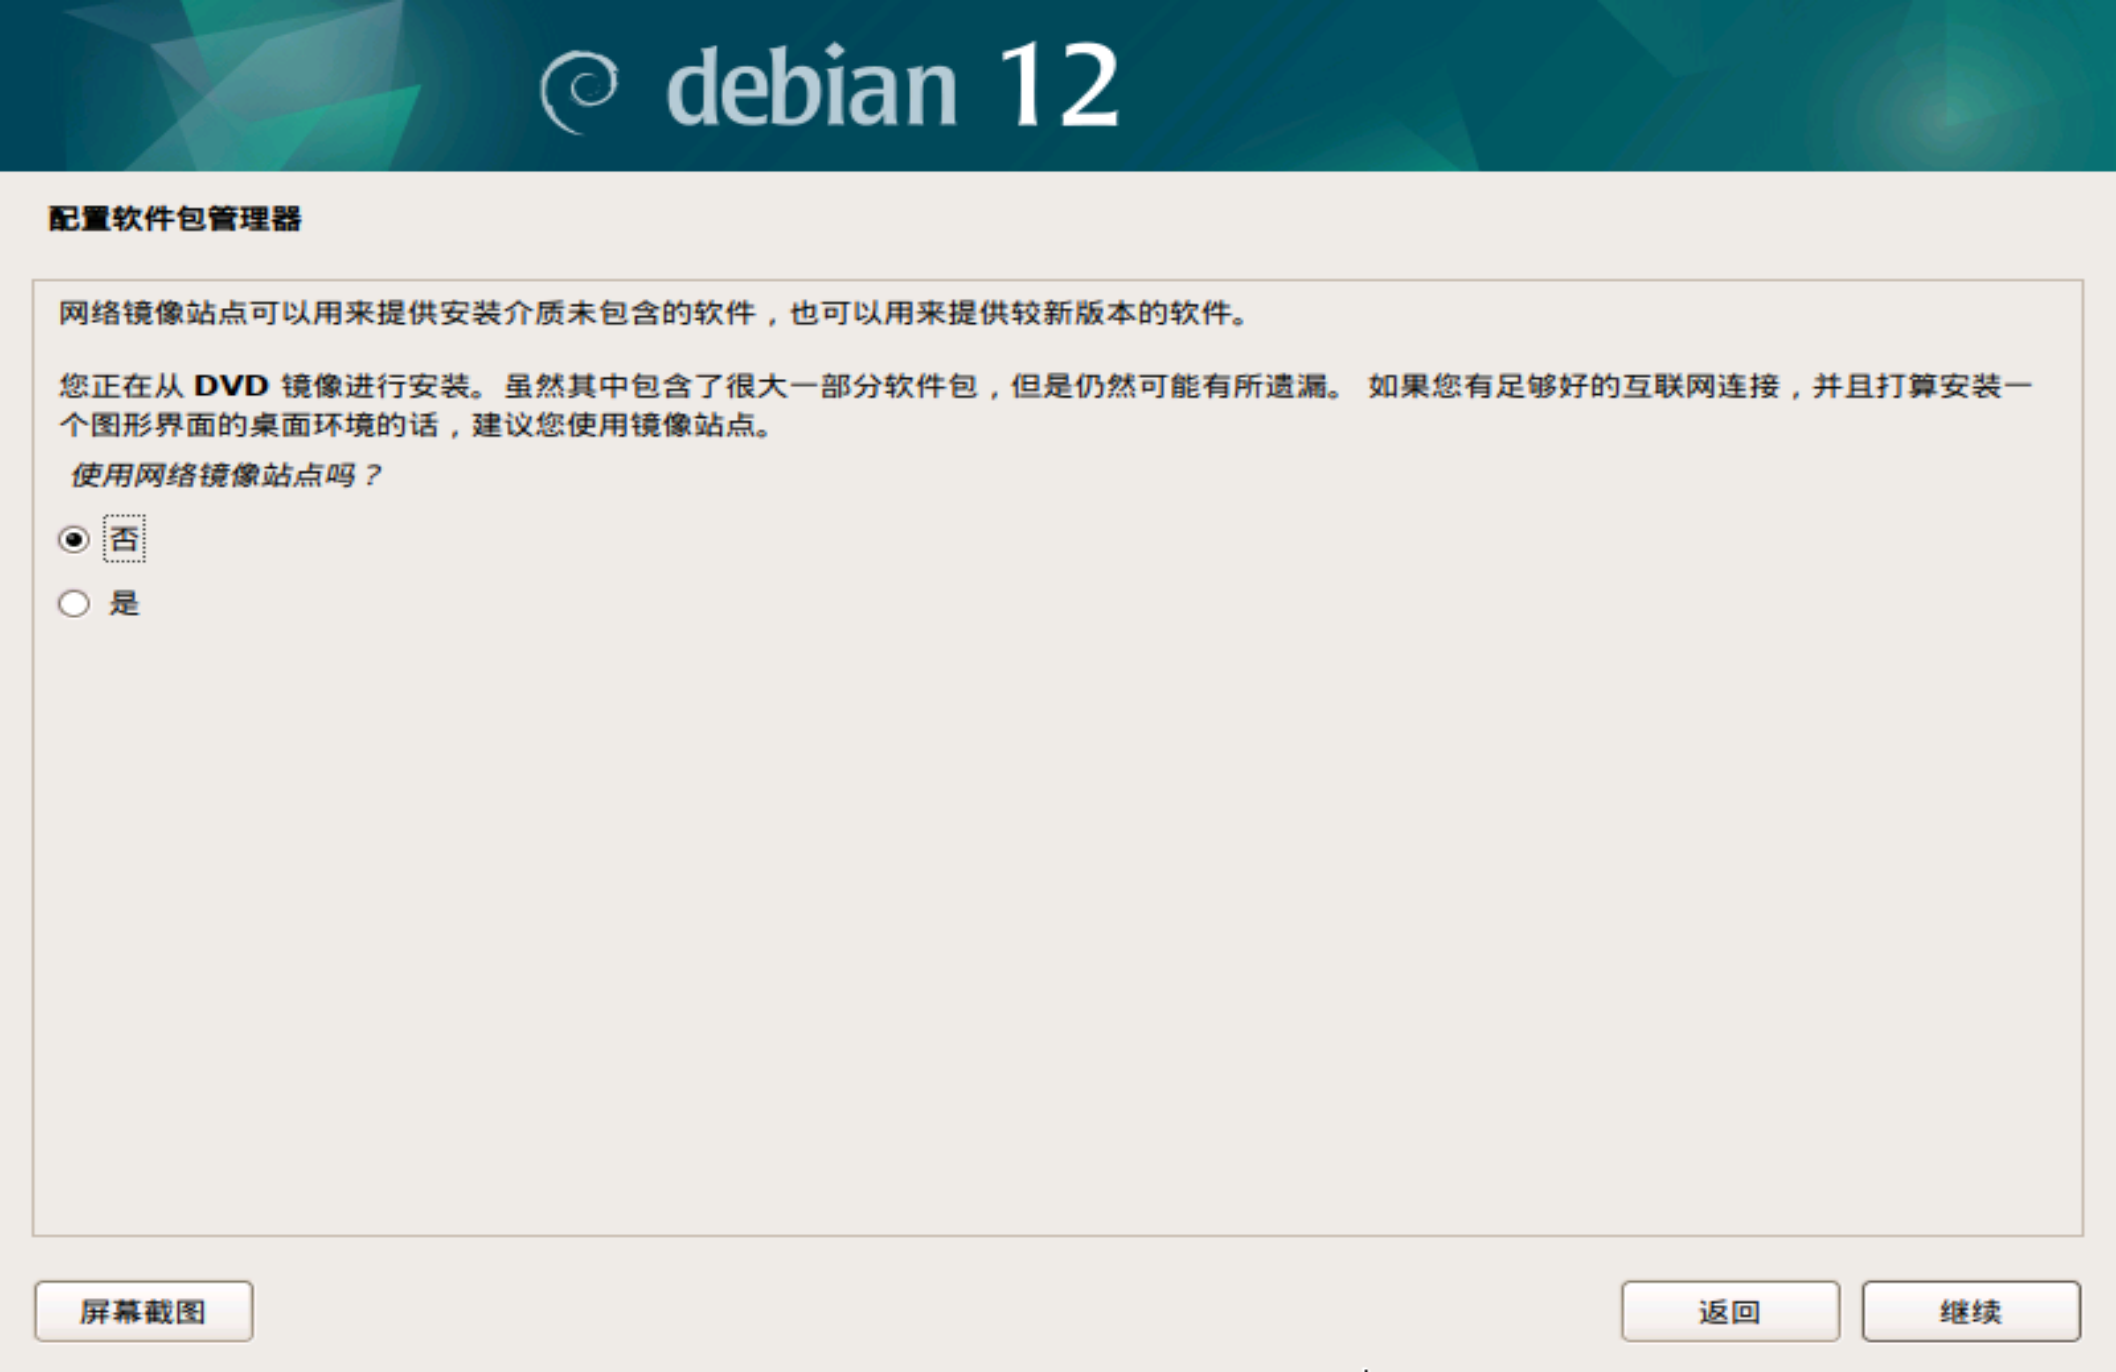
磁盘分区设置好后Debian就会进行系统的基本配置,然后接下来配置软件包管理器就是重点了。选择否不扫描其他安装介质,因为我们并没有用驱动器进行安装。

最重要的是镜像站点的选择这一步,如果你对自己的网速没有自信的话(不然下载三小时起步)建议选择否,即便你的网速很快我也建议不要使用镜像站点,因为系统安装好后有的是时间去配置镜像站点。
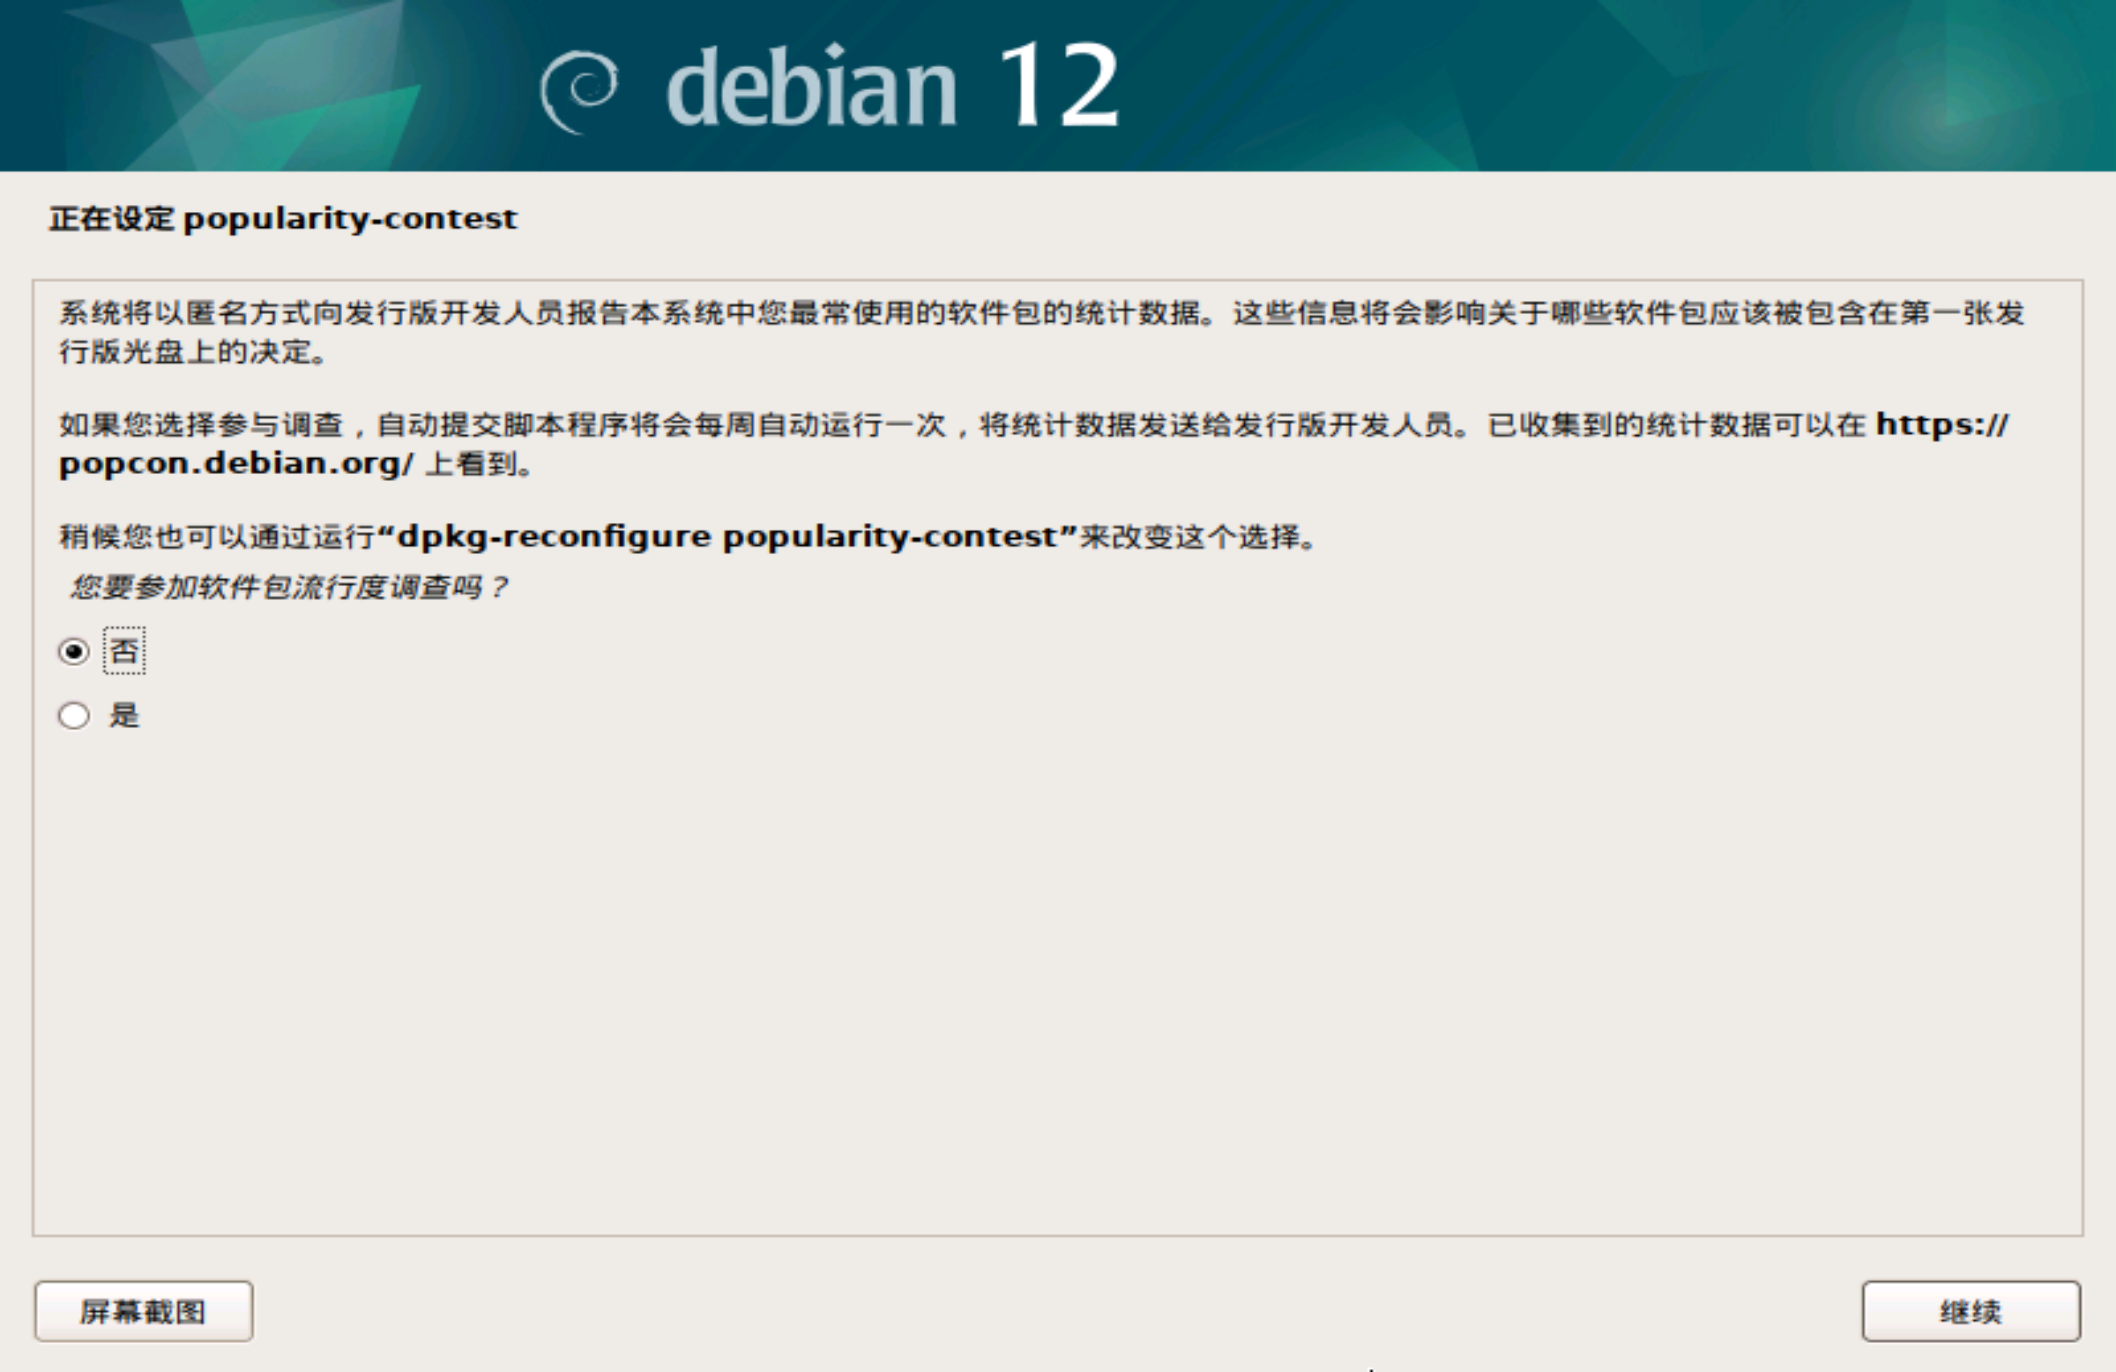
是否参与调查看自己
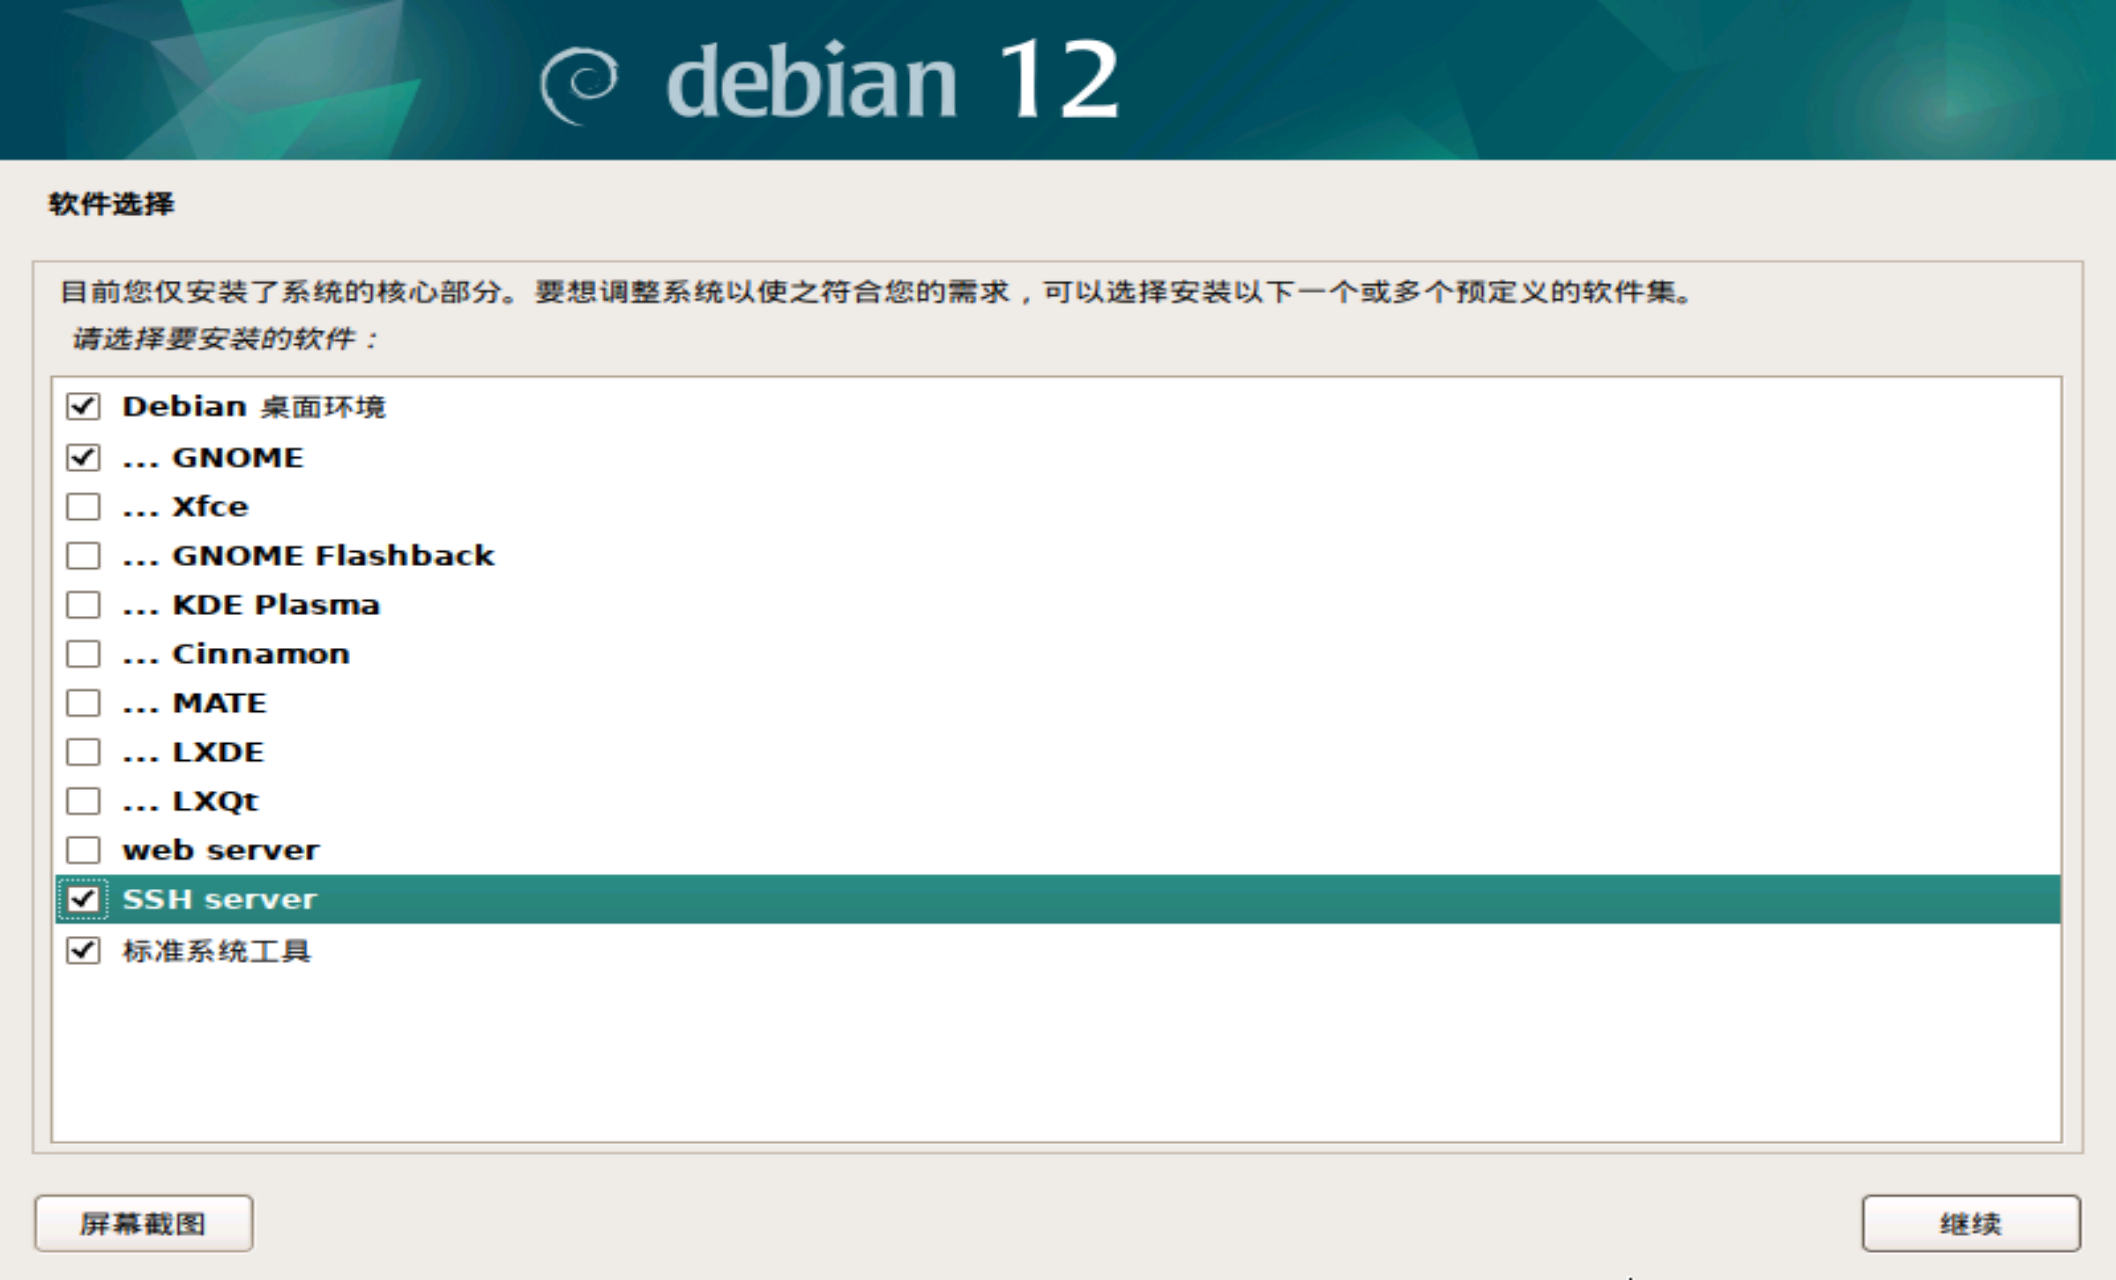
软件选择这块除了最下面三个,其他全是桌面环境,如果你不喜欢桌面环境也可以不要,不过记得勾选SSH Server。
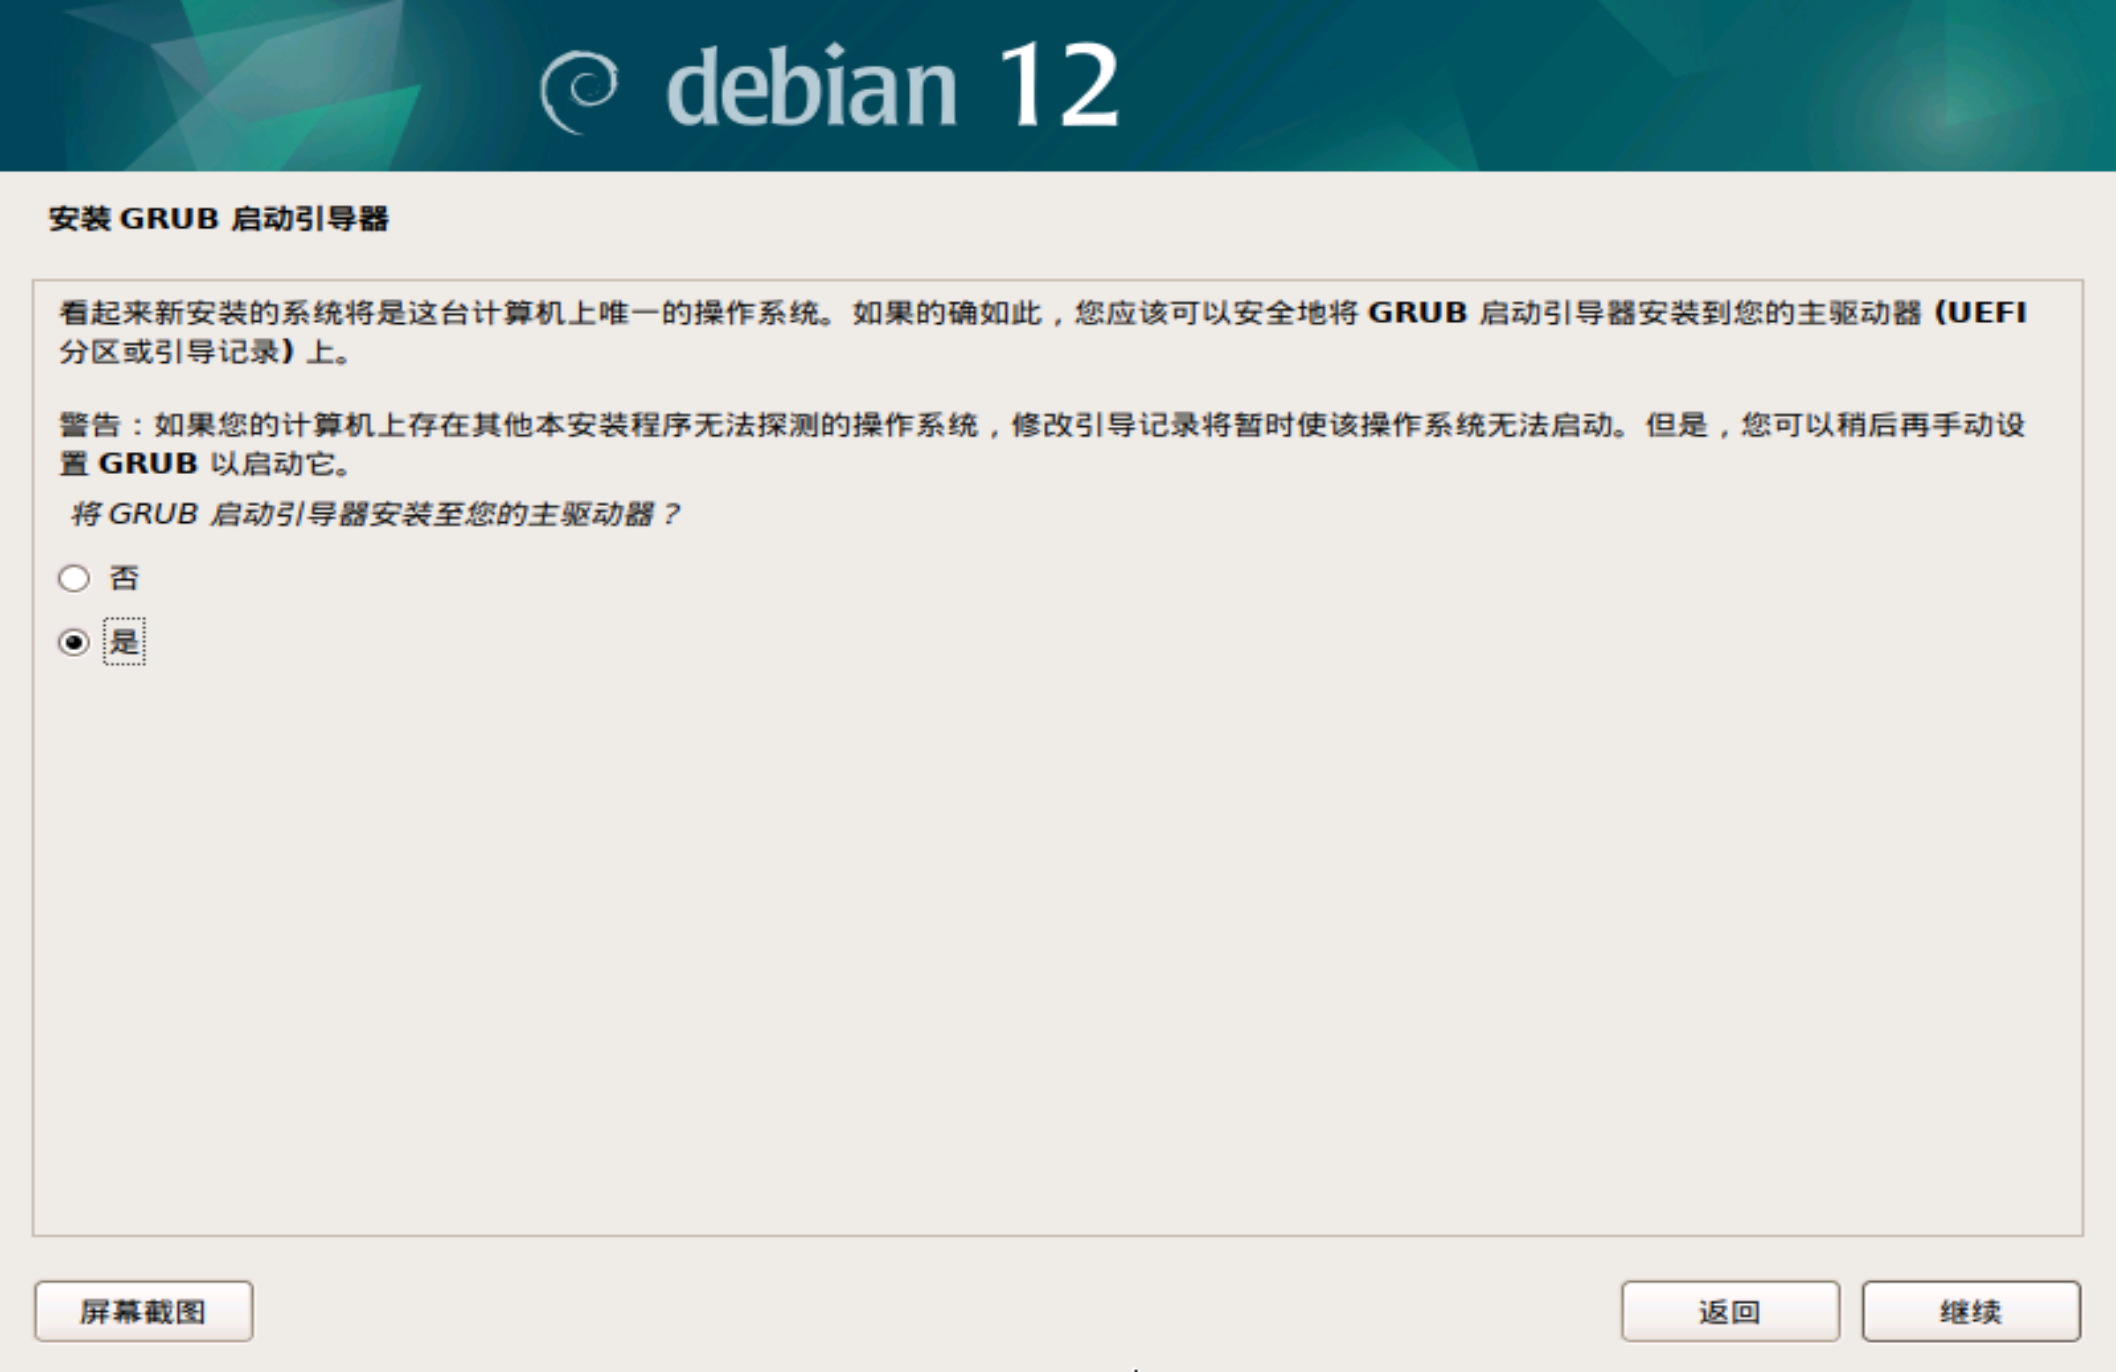
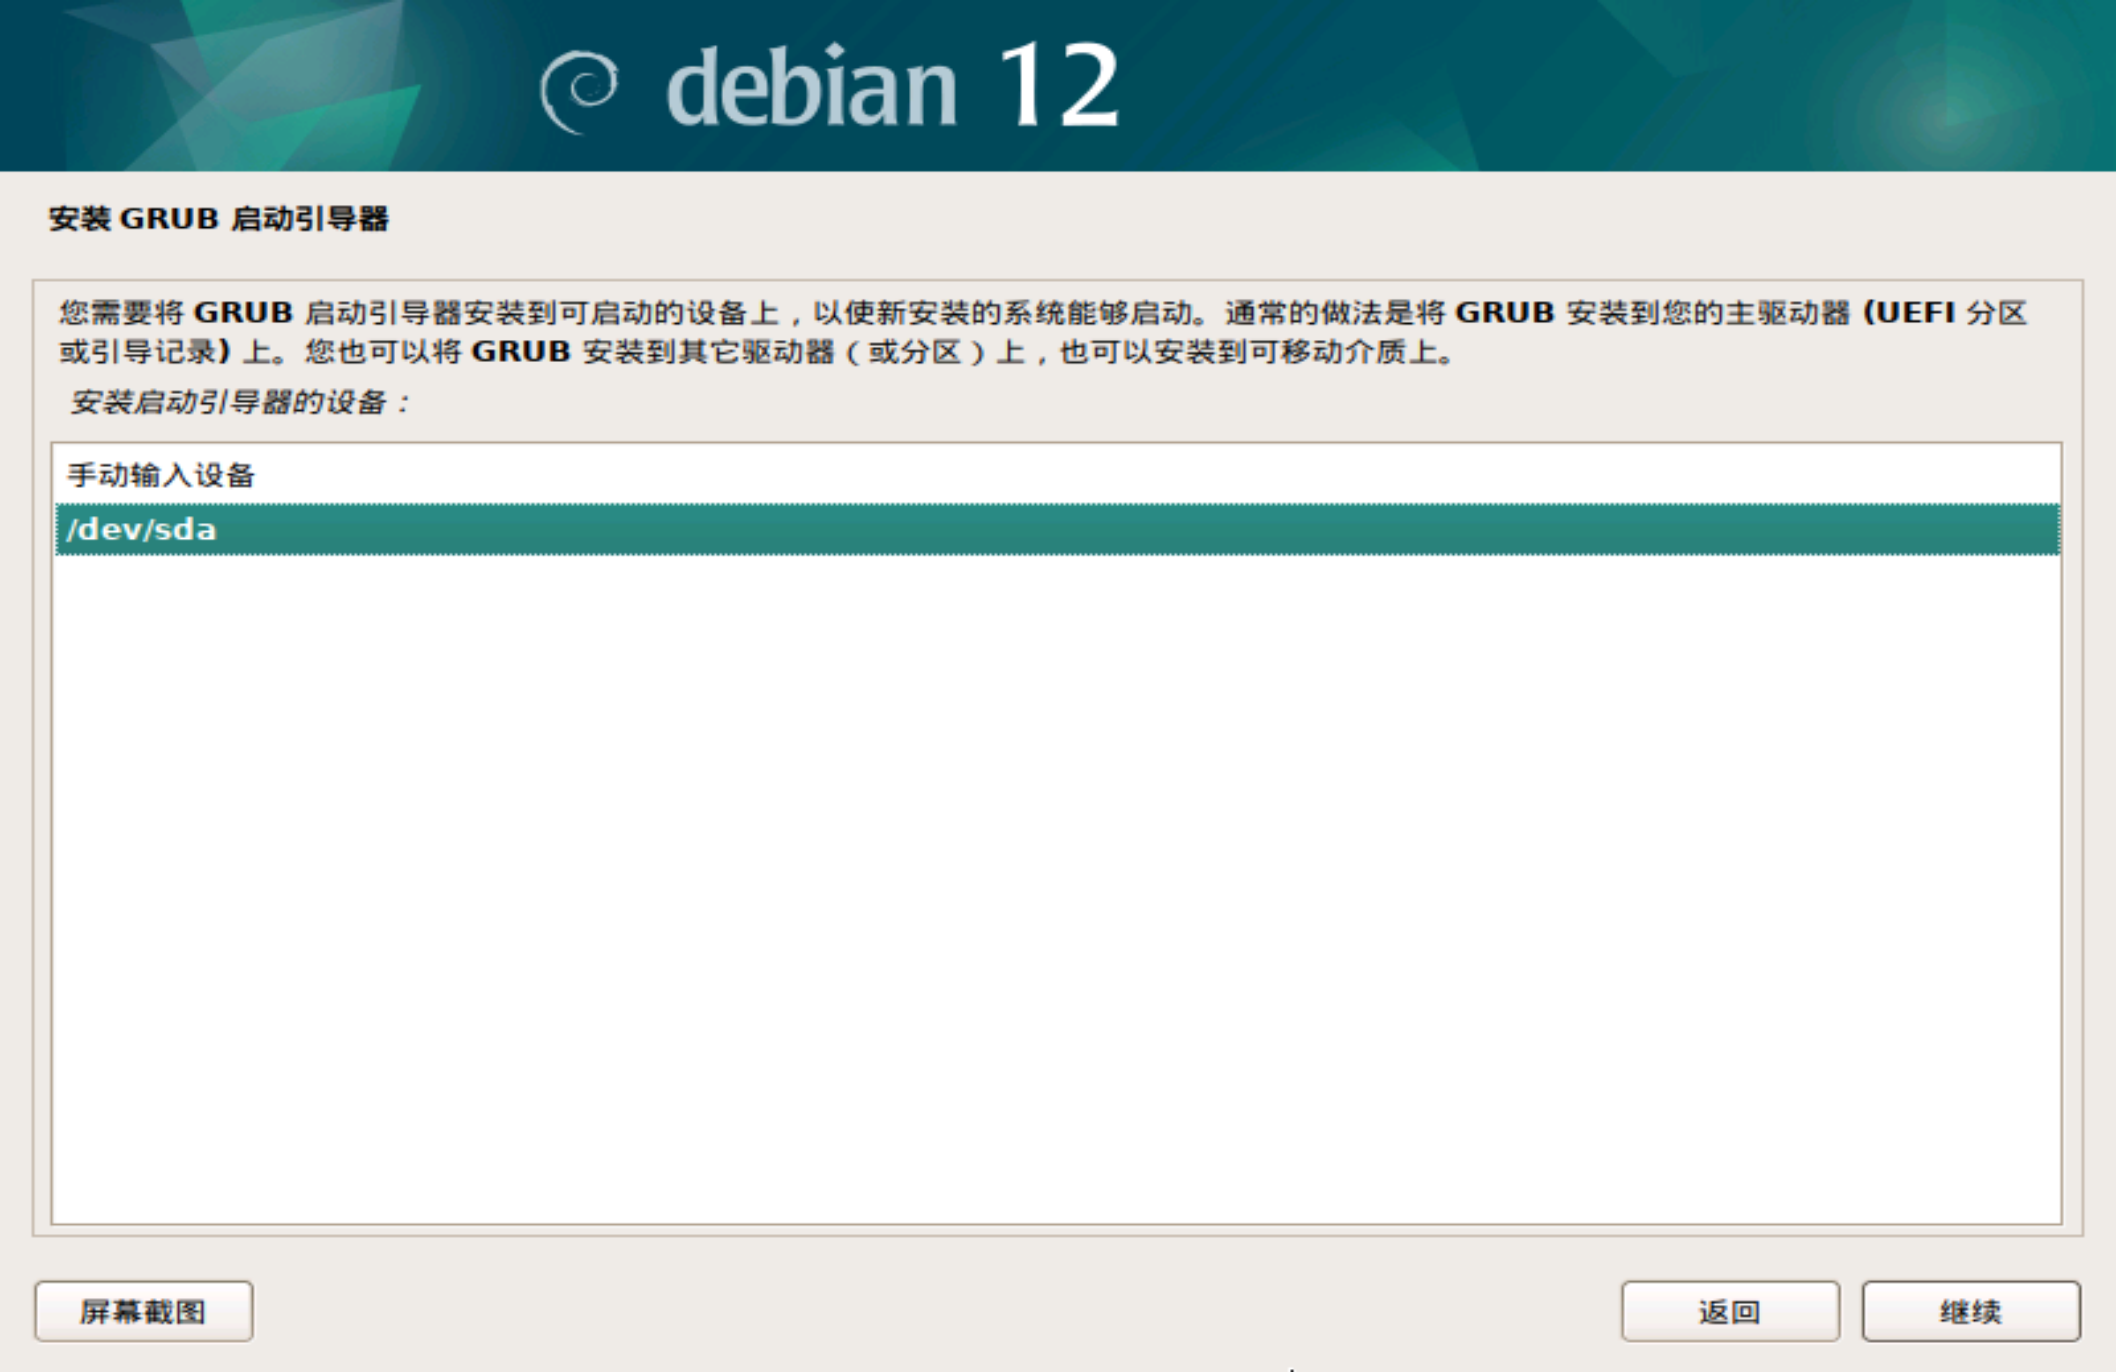
安装GRUB引导器,虚拟机不需要在乎这个,一般是电脑装有双系统的时候才需要注意。
选择/dev/sda分区,之前配置了全部文件都放在一个分区里面
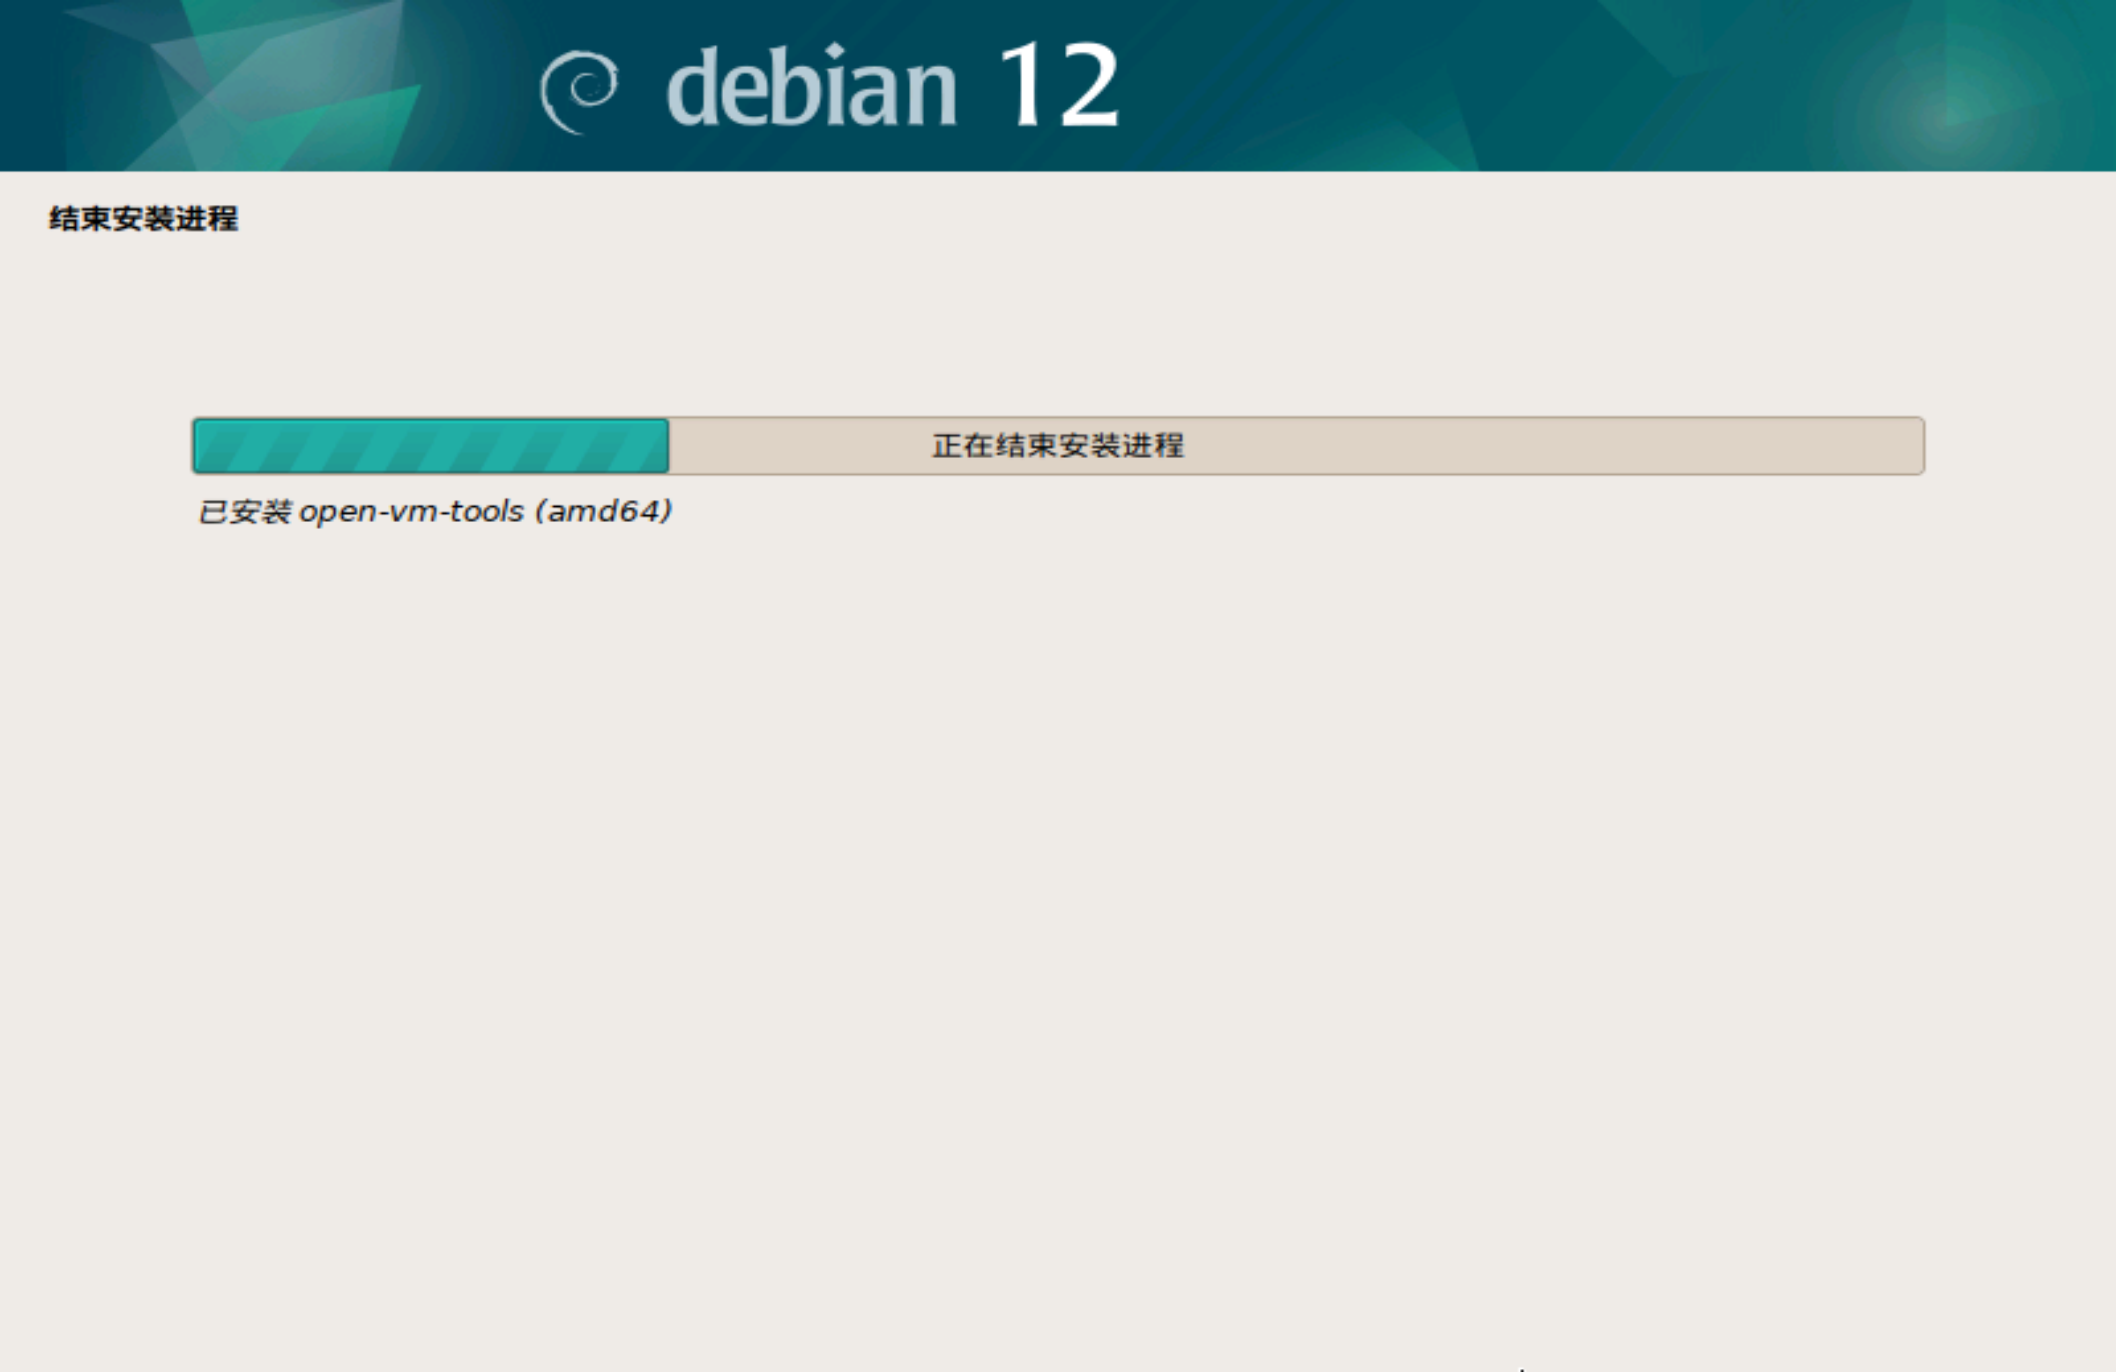
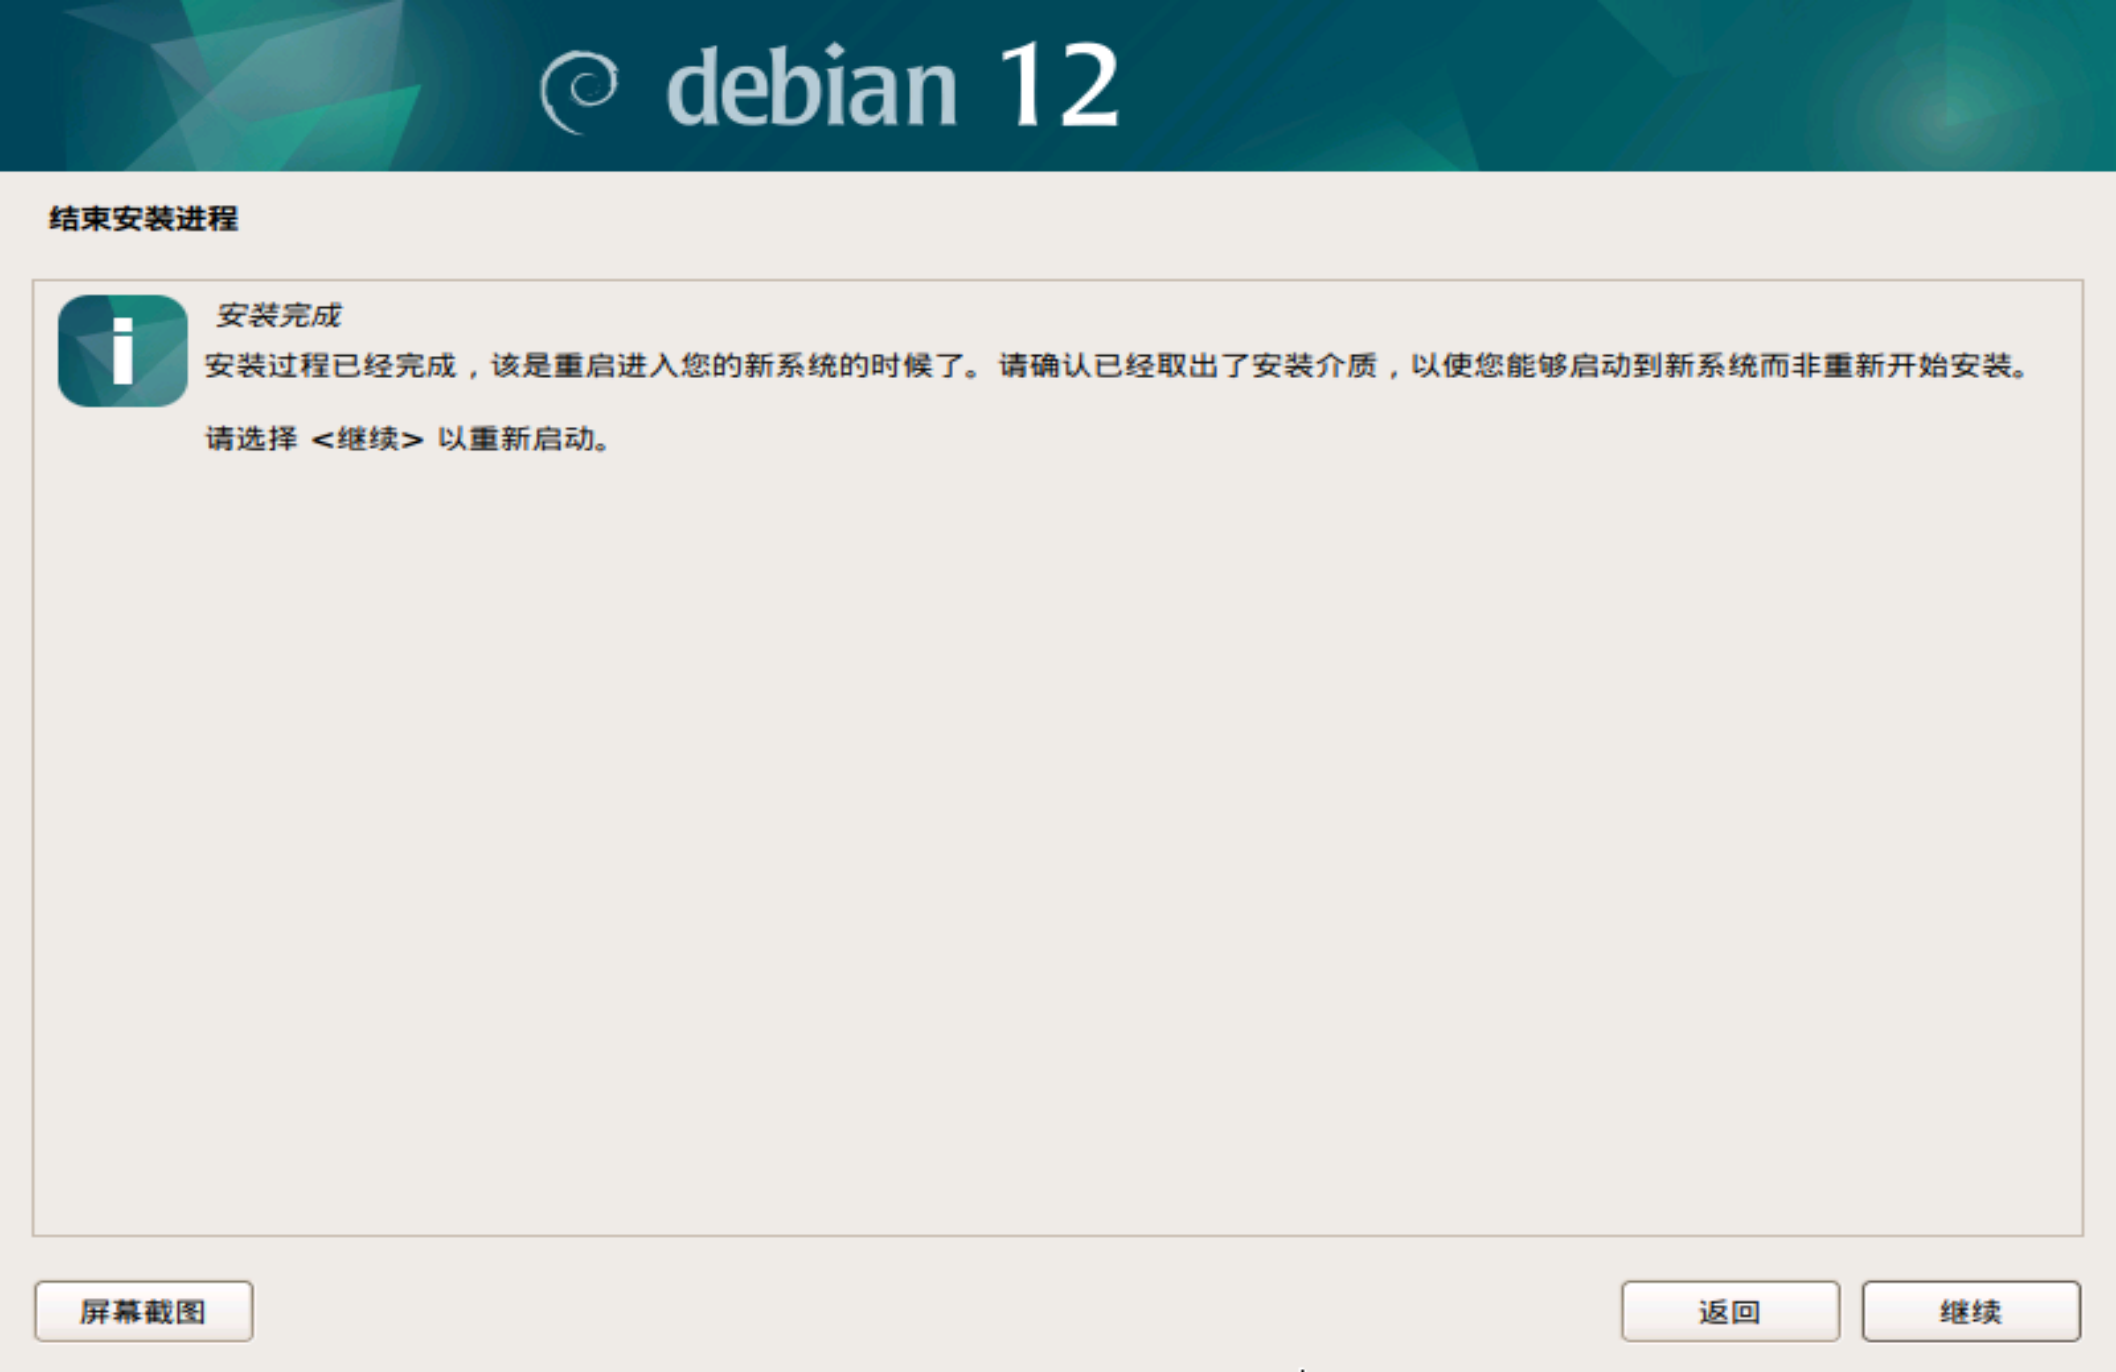
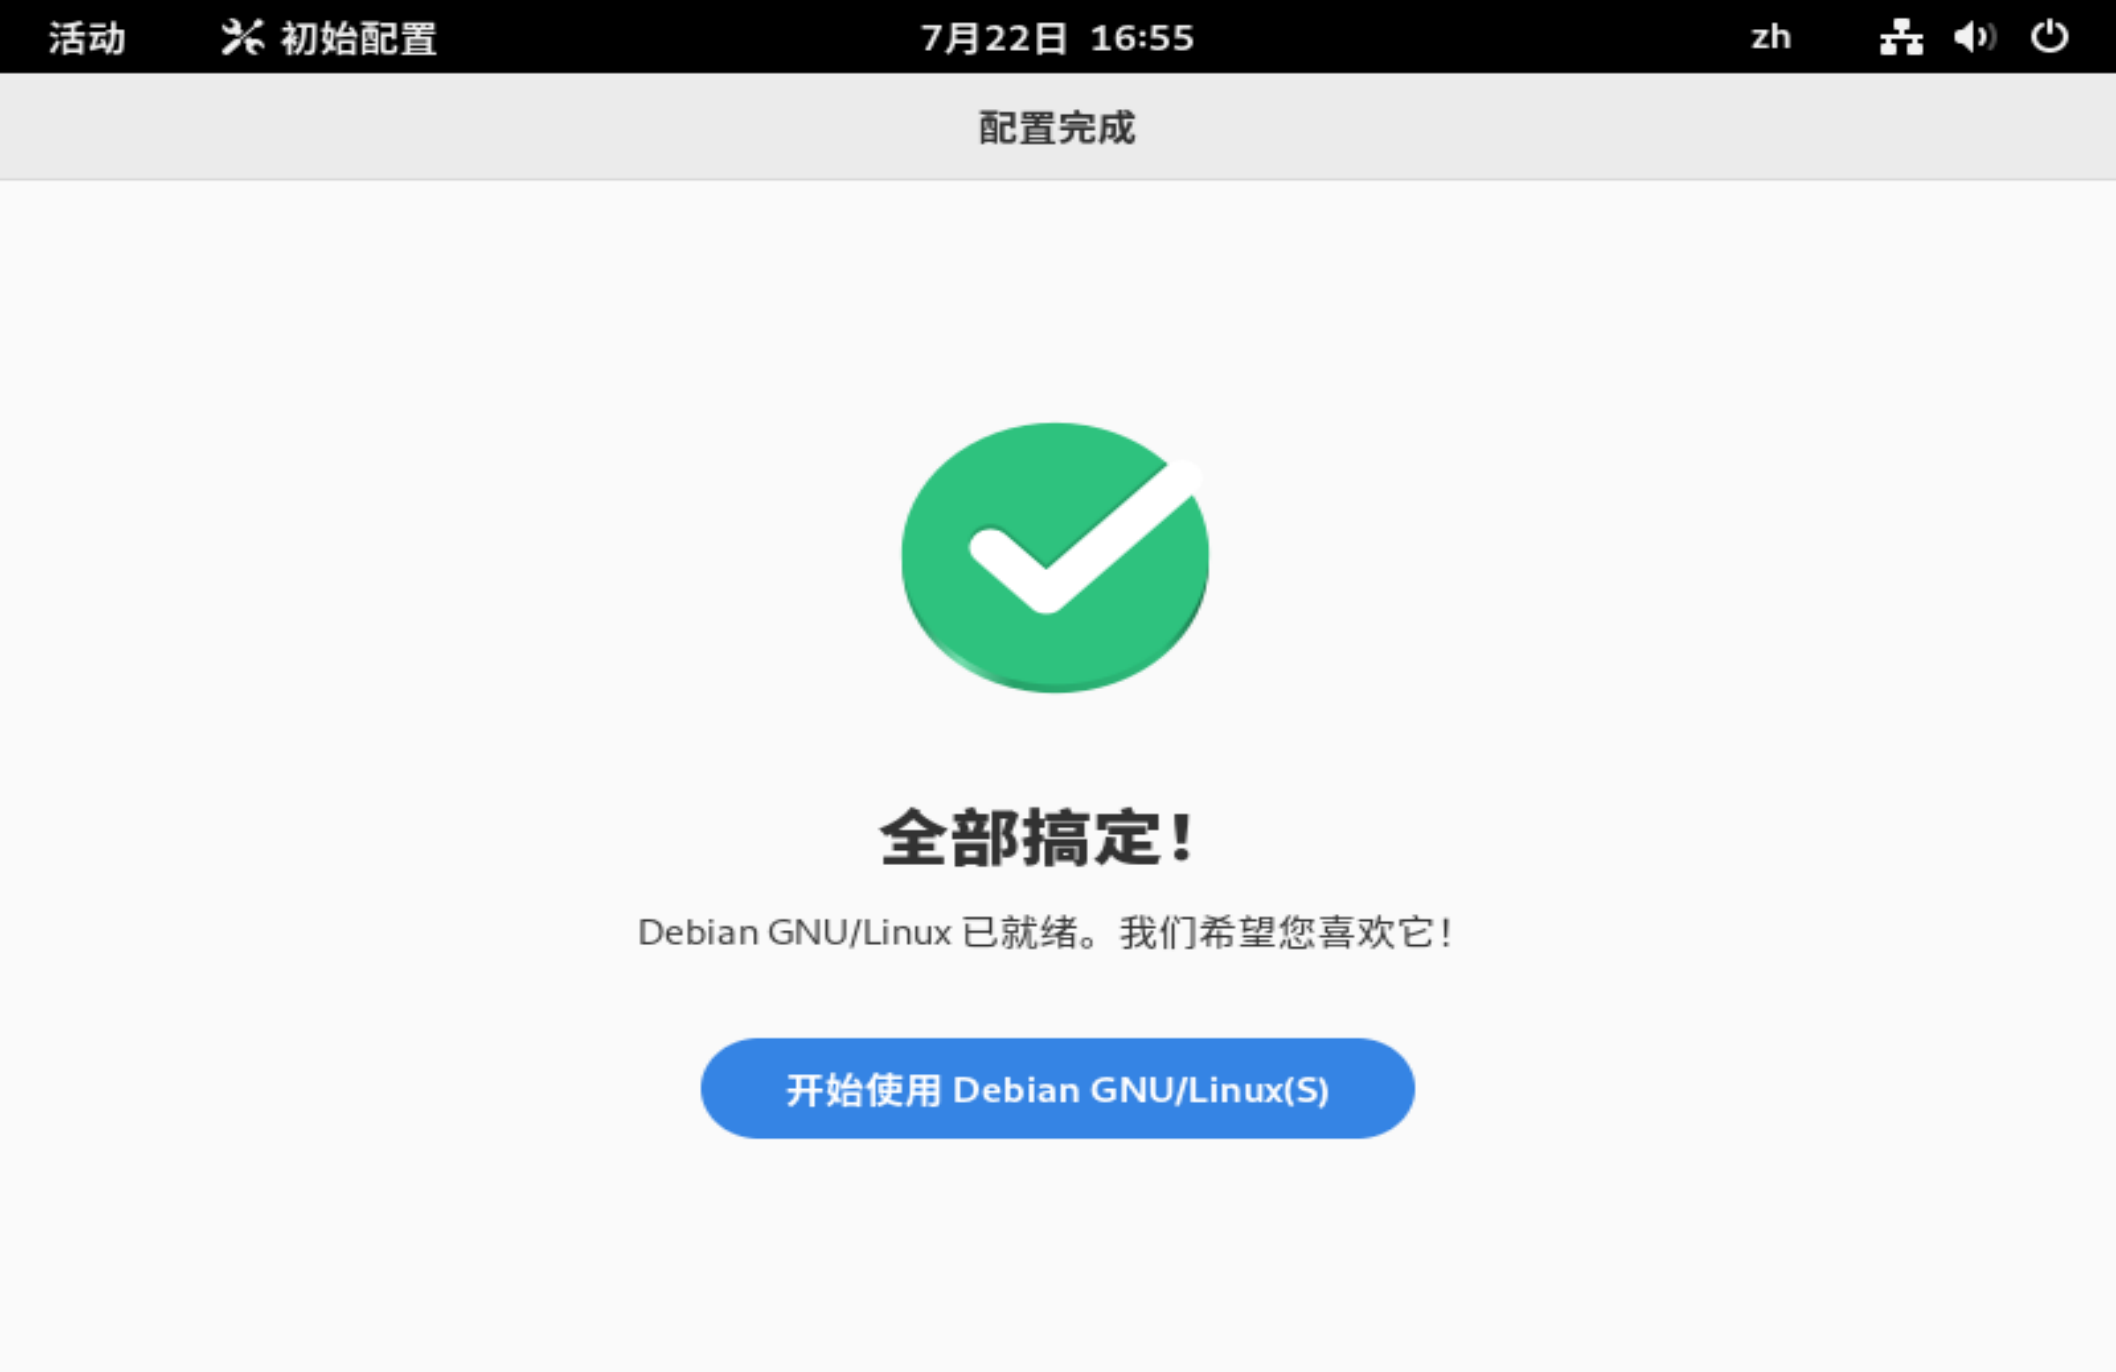
然后Debian会结束安装进程
配置
重启后登录用户
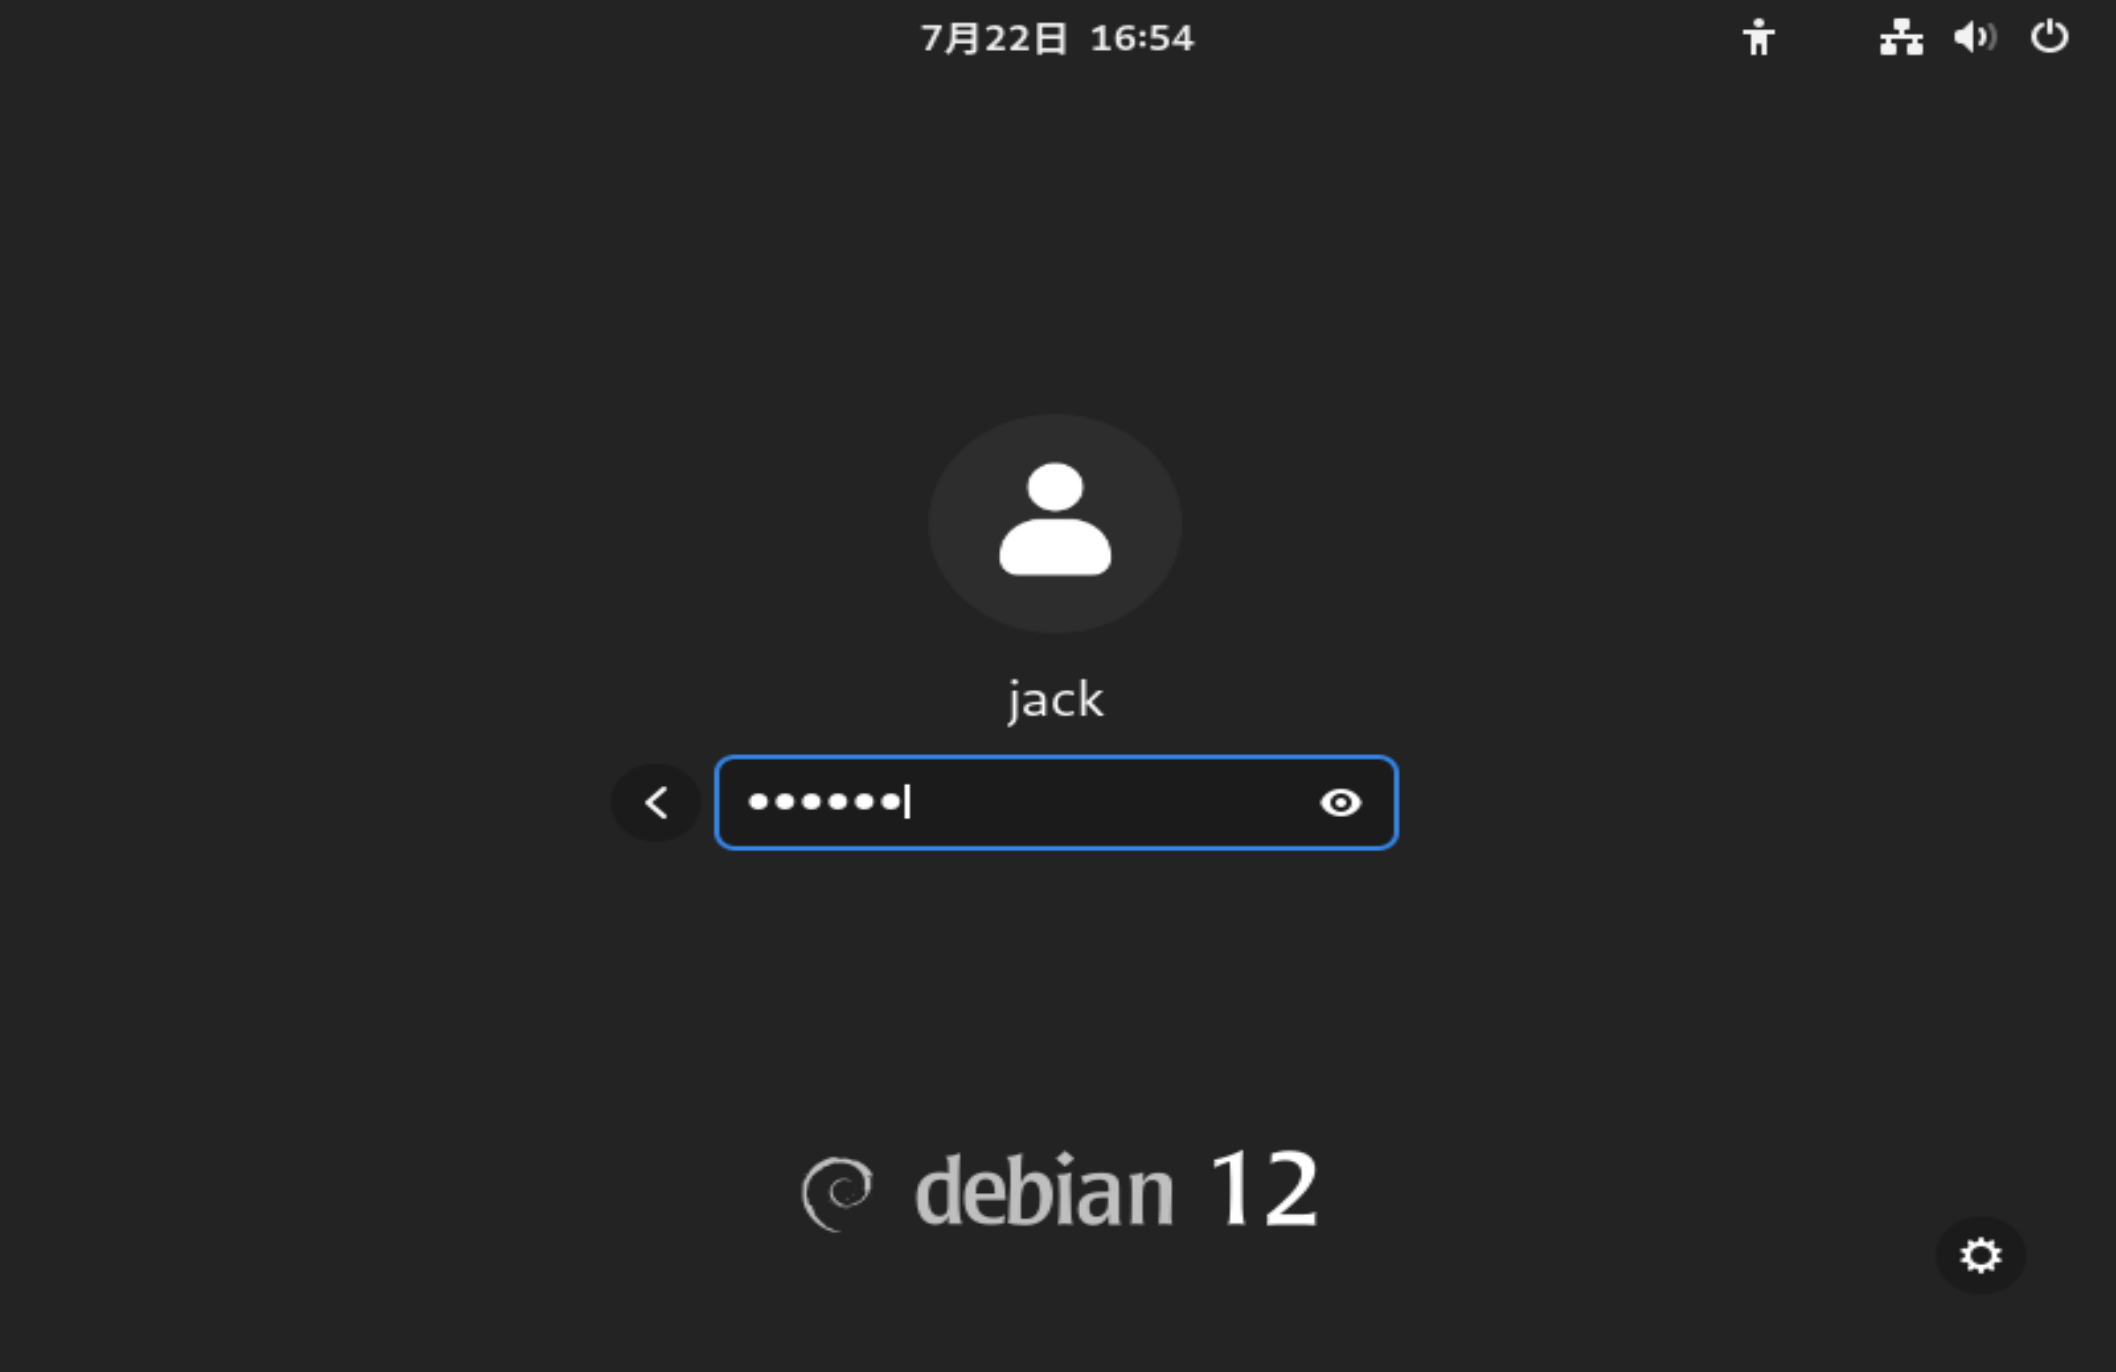
完成输入法语言账号之类的初始配置即可使用
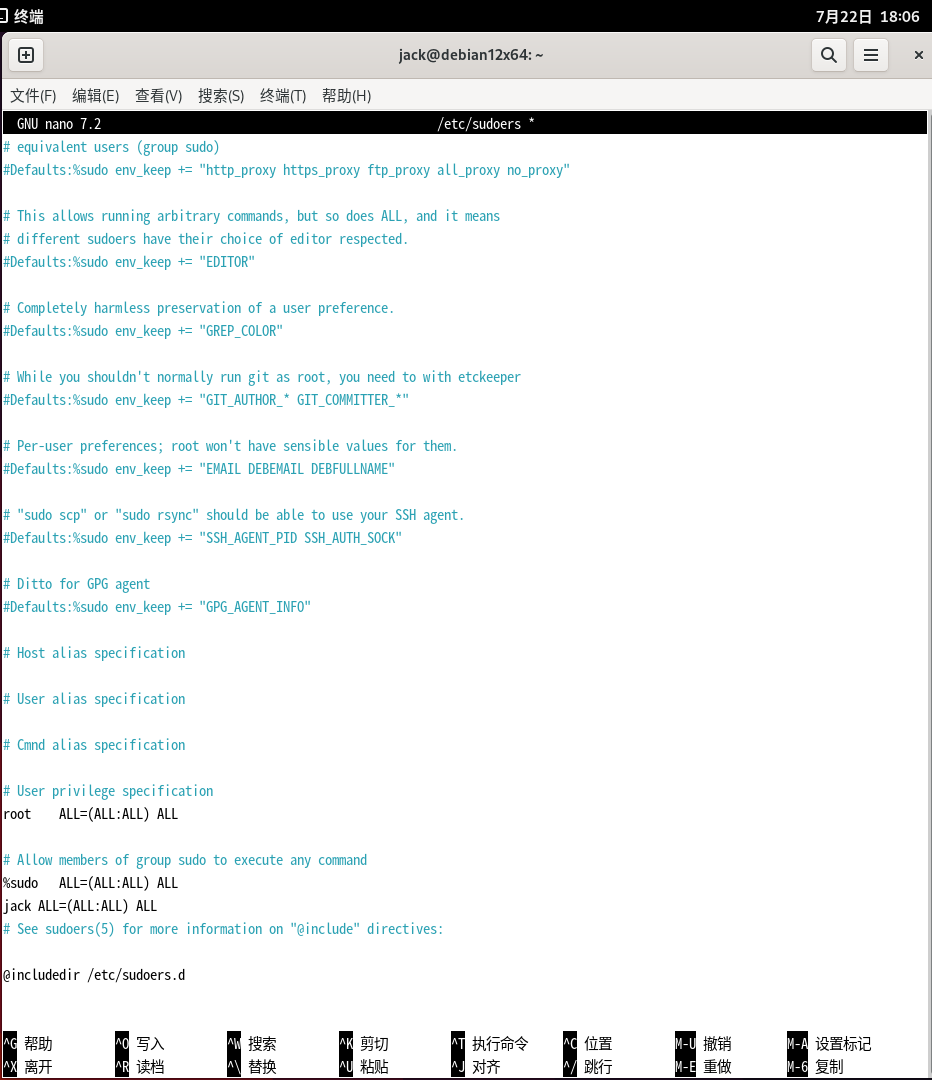
debian12的登陆用户默认不会拥有sudoer的权限,所以我们要手动添加,文件位于/etc/sudoers,在%sudo ALL=(ALL:ALL) ALL的下面添加下面这一行,然后保存。
jack ALL=(ALL:ALL) ALL
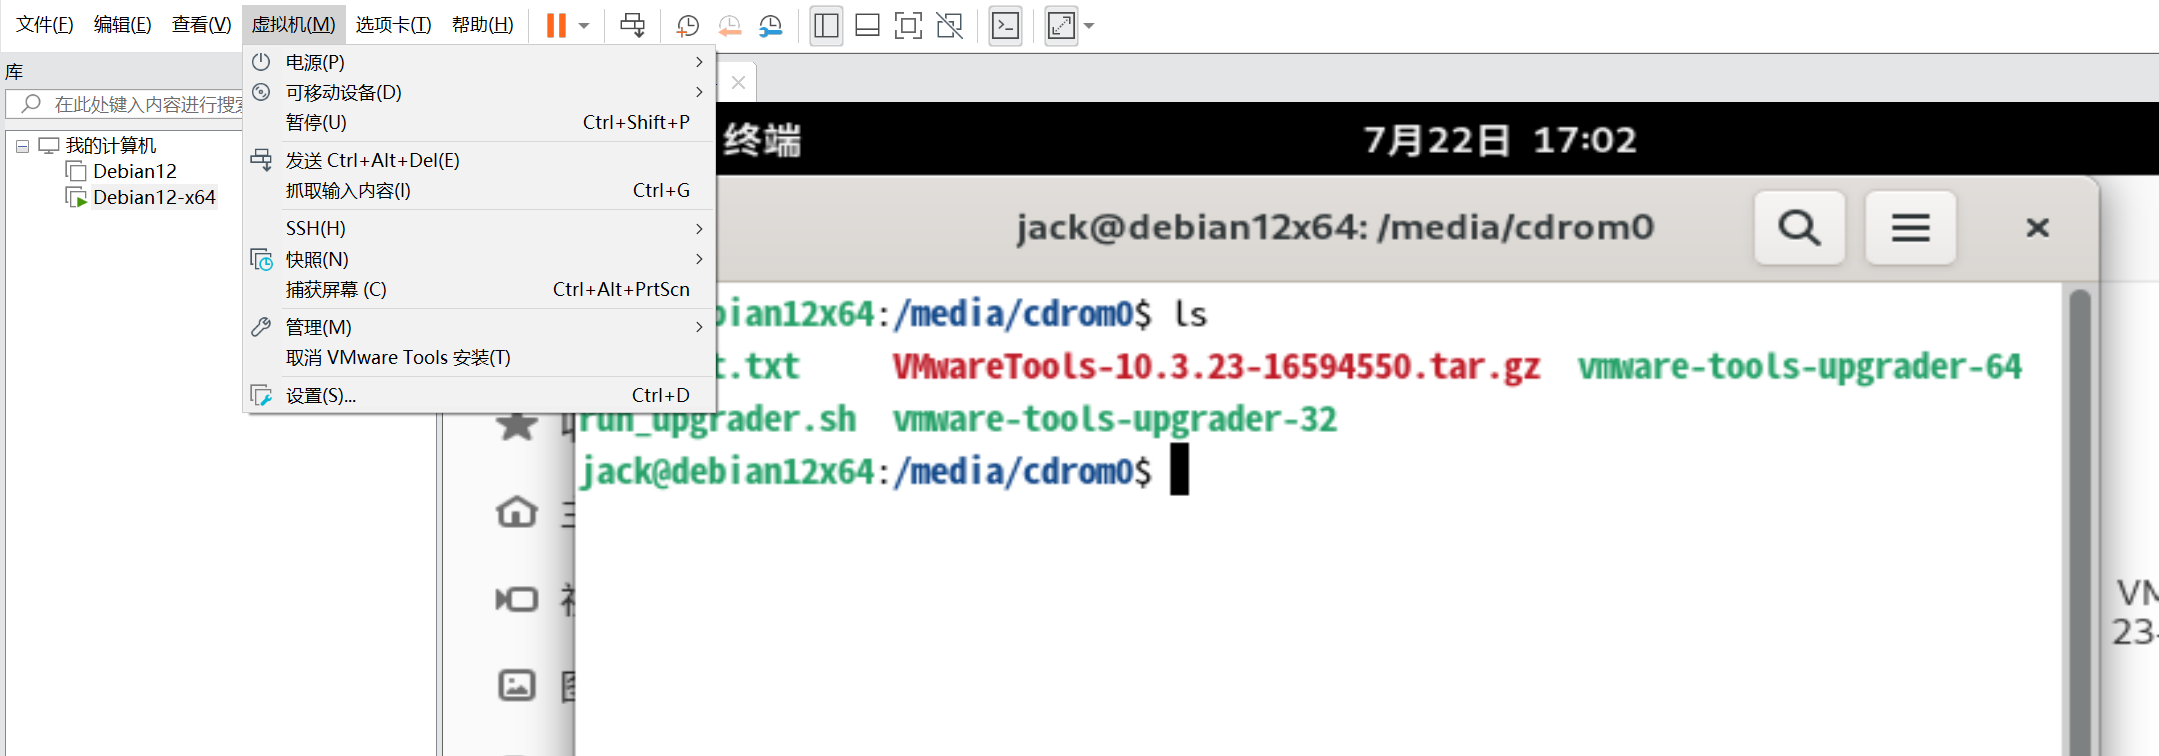
然后在Vmware中选择安装Vmware Tools,默认存放在/media/cdrom0文件夹中。
将其解压,建议解压到其他地方,我这里解压到了/var/lib下
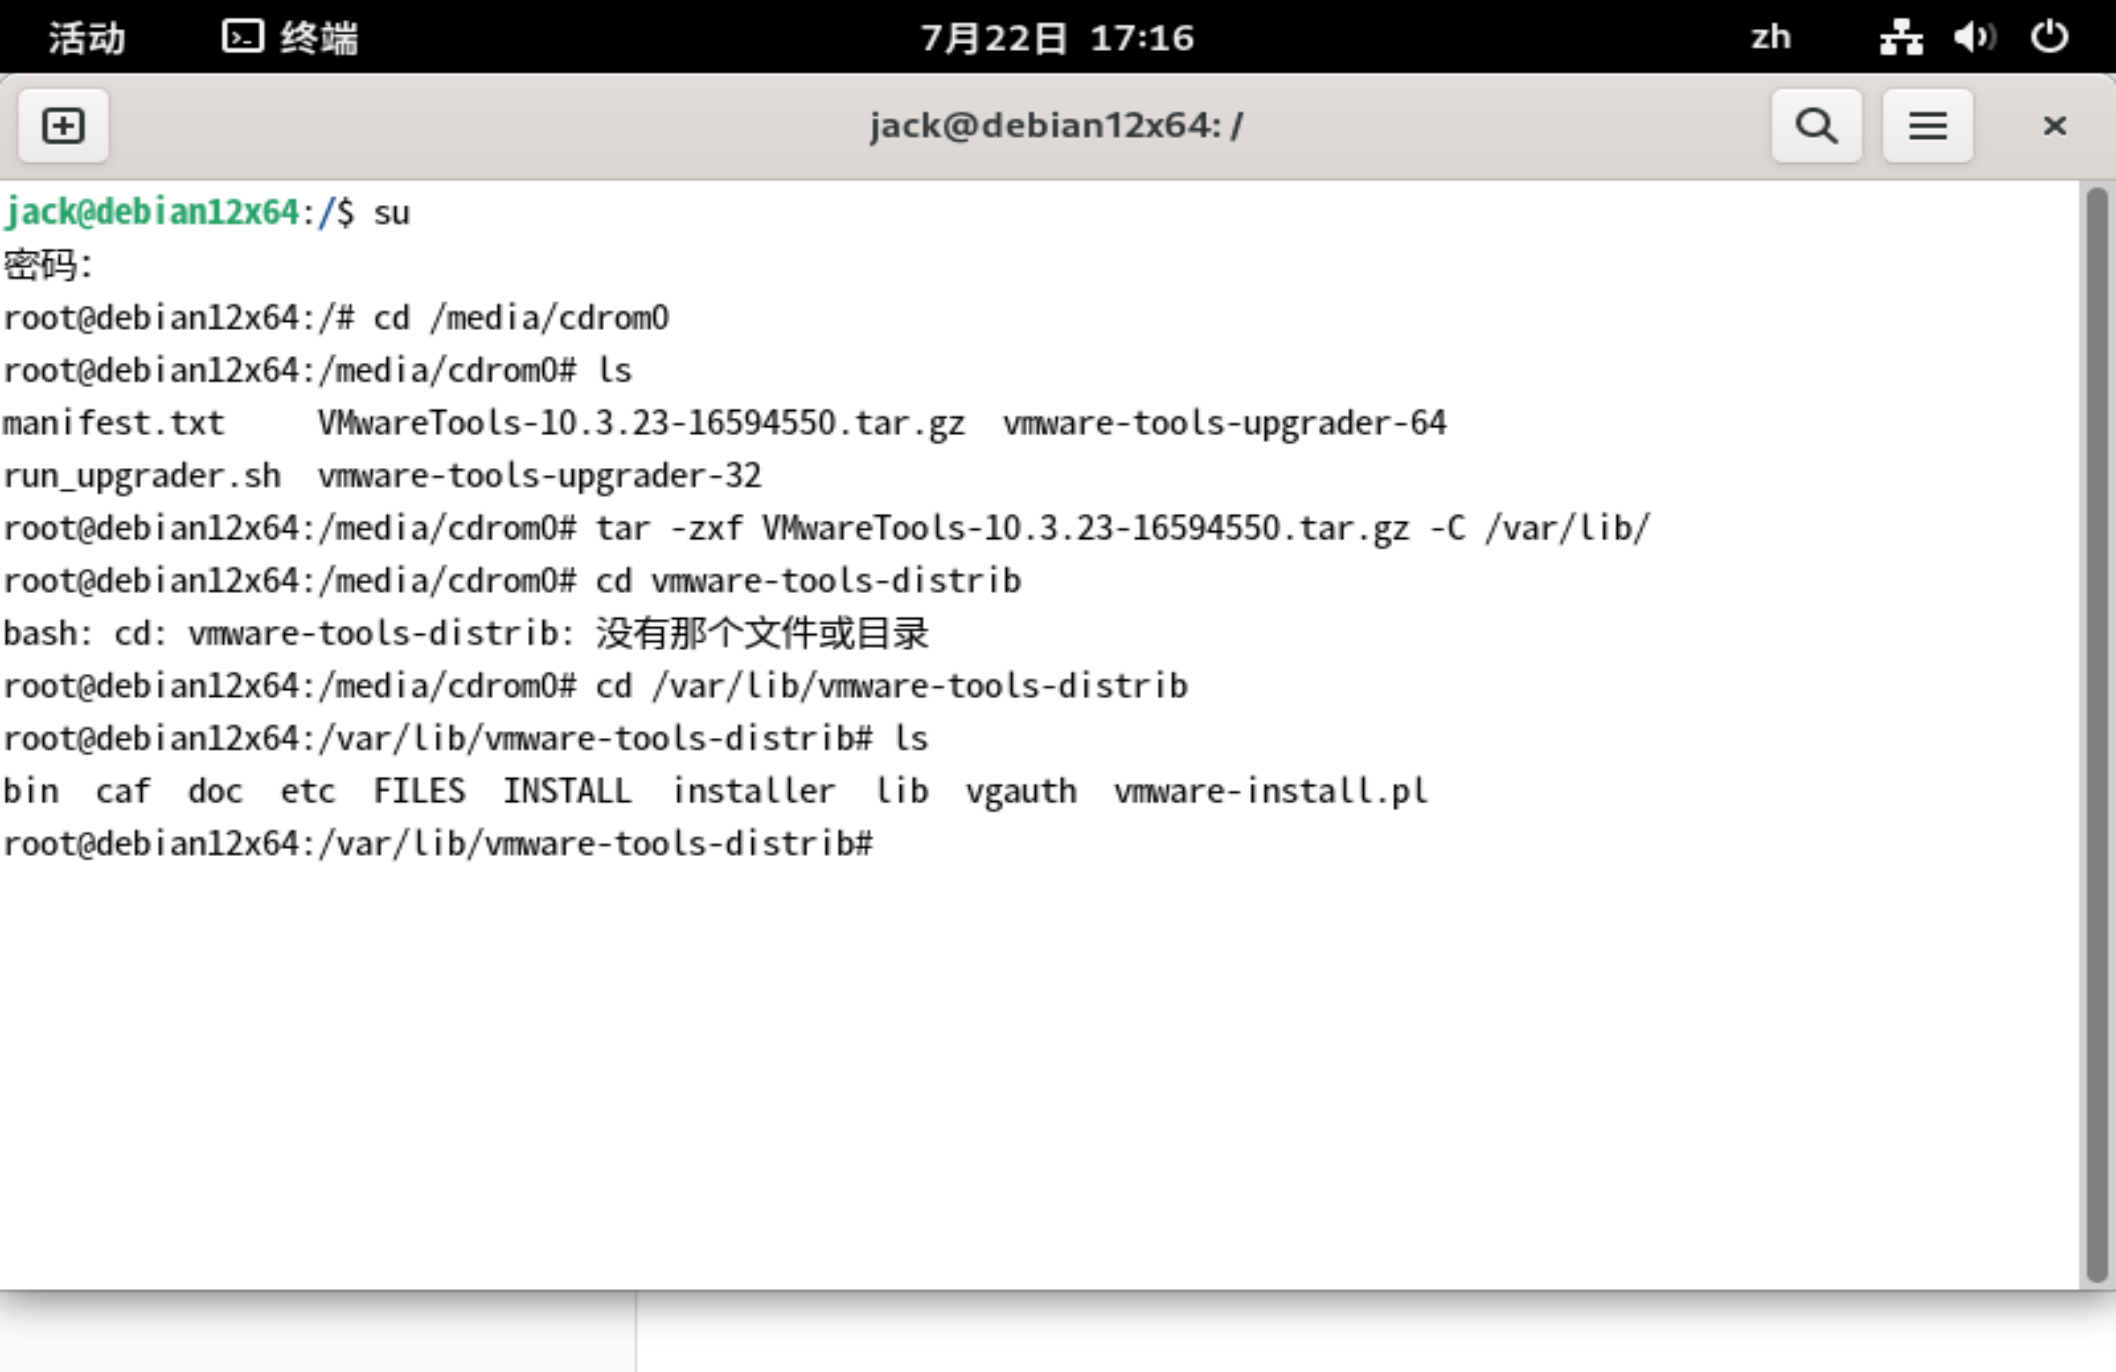
然后运行vmware-install.pl脚本,
$ sudo ./vmware-install.pl
过程中全部默认选项,完成后虚拟机就能以正常的分辨率显示了。
ping一下网络确实可以访问

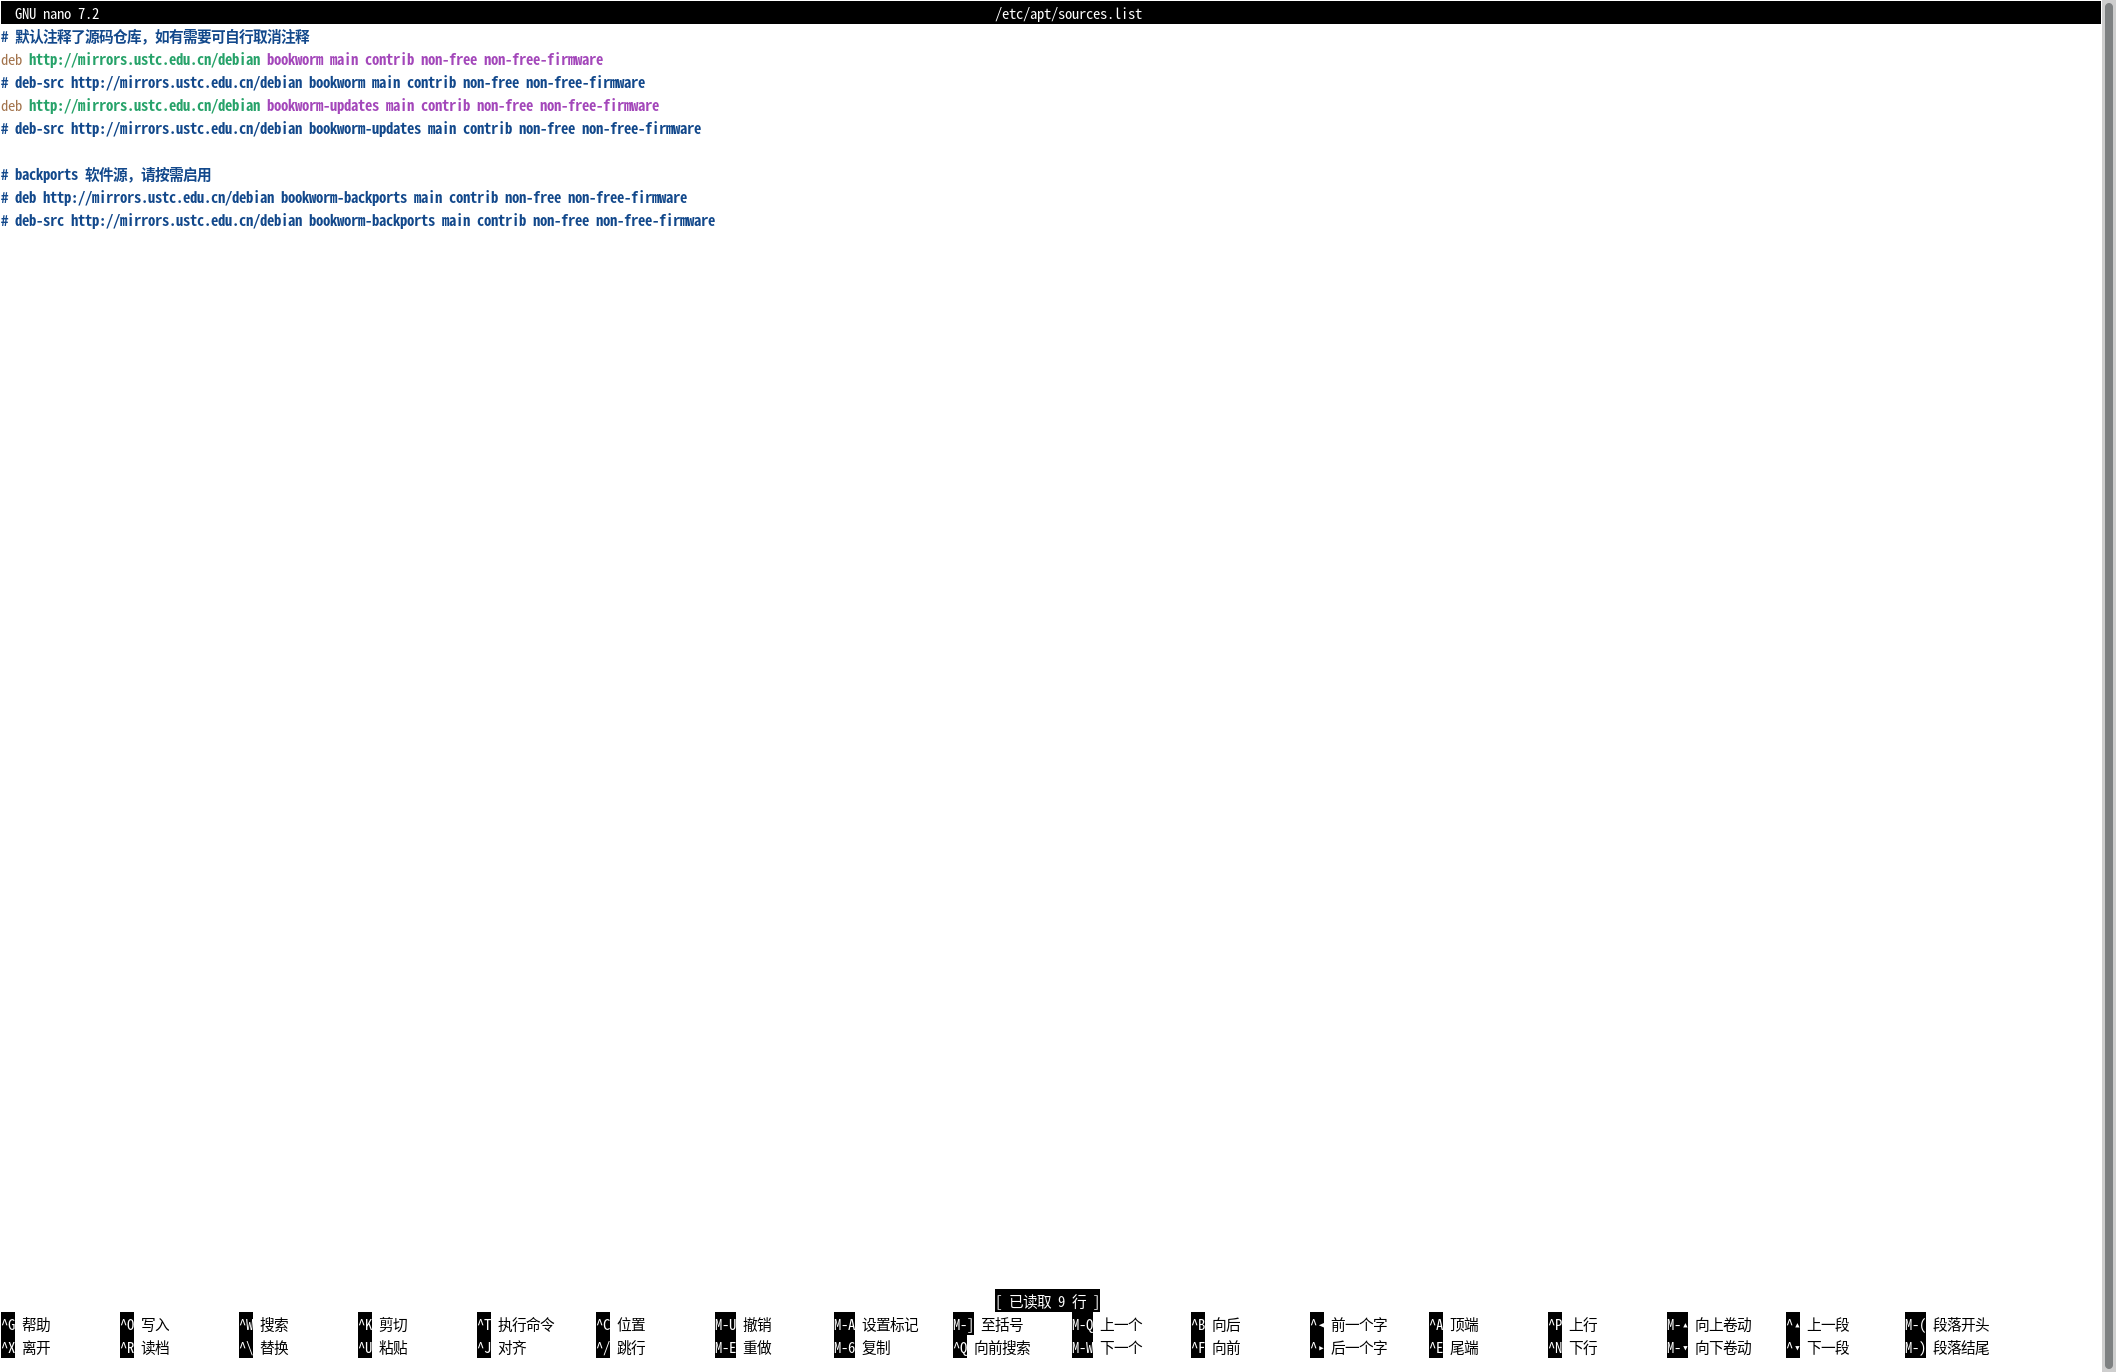
但此时apt是用不了的,因为我们是离线安装,需要去修改/etc/apt/sources.list里面的内容,这里使用的是中科大源。
# 默认注释了源码仓库,如有需要可自行取消注释
deb http://mirrors.ustc.edu.cn/debian bookworm main contrib non-free non-free-firmware
# deb-src http://mirrors.ustc.edu.cn/debian bookworm main contrib non-free non-free-firmware
deb http://mirrors.ustc.edu.cn/debian bookworm-updates main contrib non-free non-free-firmware
# deb-src http://mirrors.ustc.edu.cn/debian bookworm-updates main contrib non-free non-free-firmware

# backports 软件源,请按需启用
# deb http://mirrors.ustc.edu.cn/debian bookworm-backports main contrib non-free non-free-firmware
# deb-src http://mirrors.ustc.edu.cn/debian bookworm-backports main contrib non-free non-free-firmware
使用nano编辑(因为此时vim还没有安装)
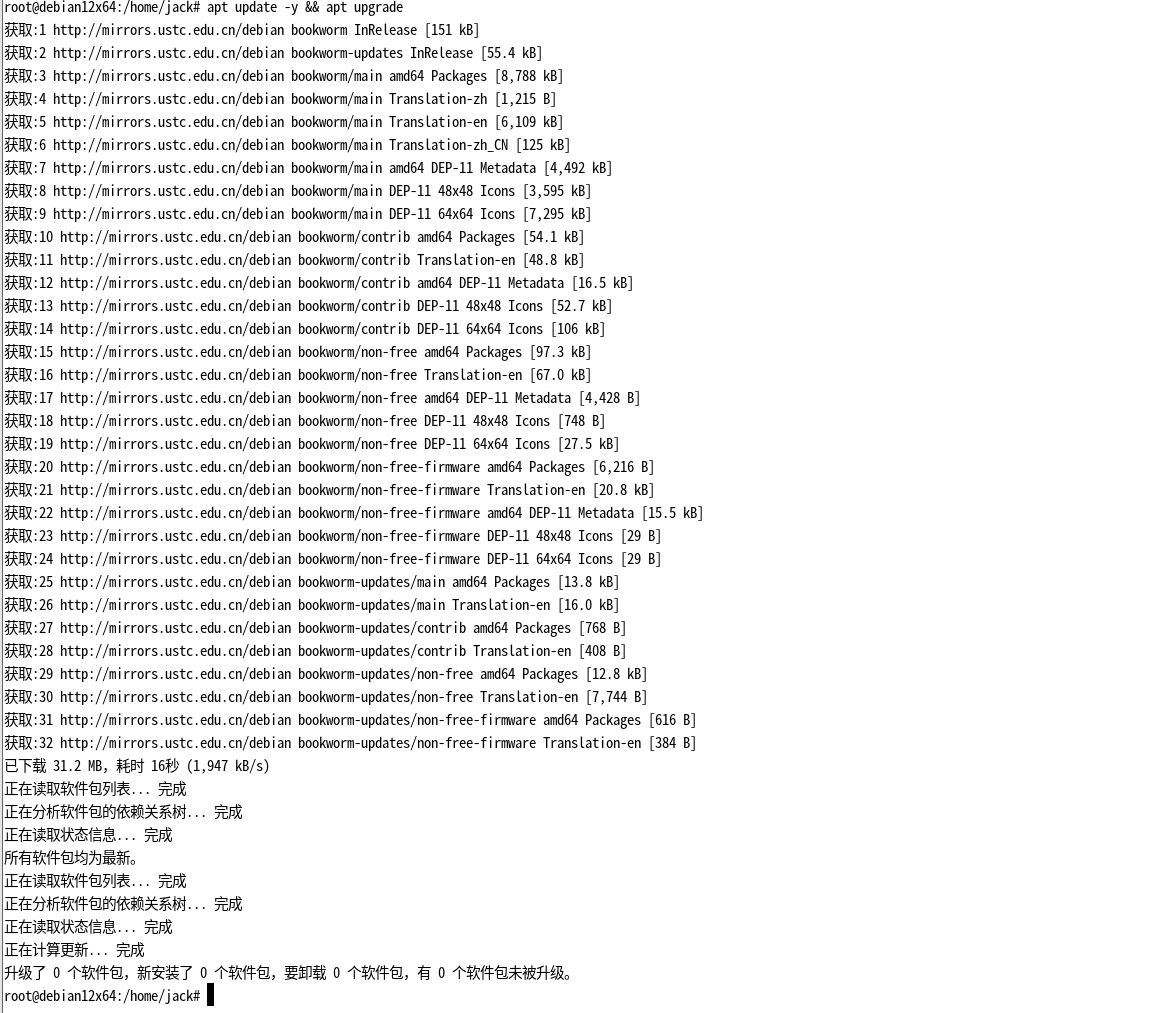
执行命令更新源
apt update -y && apt upgrade
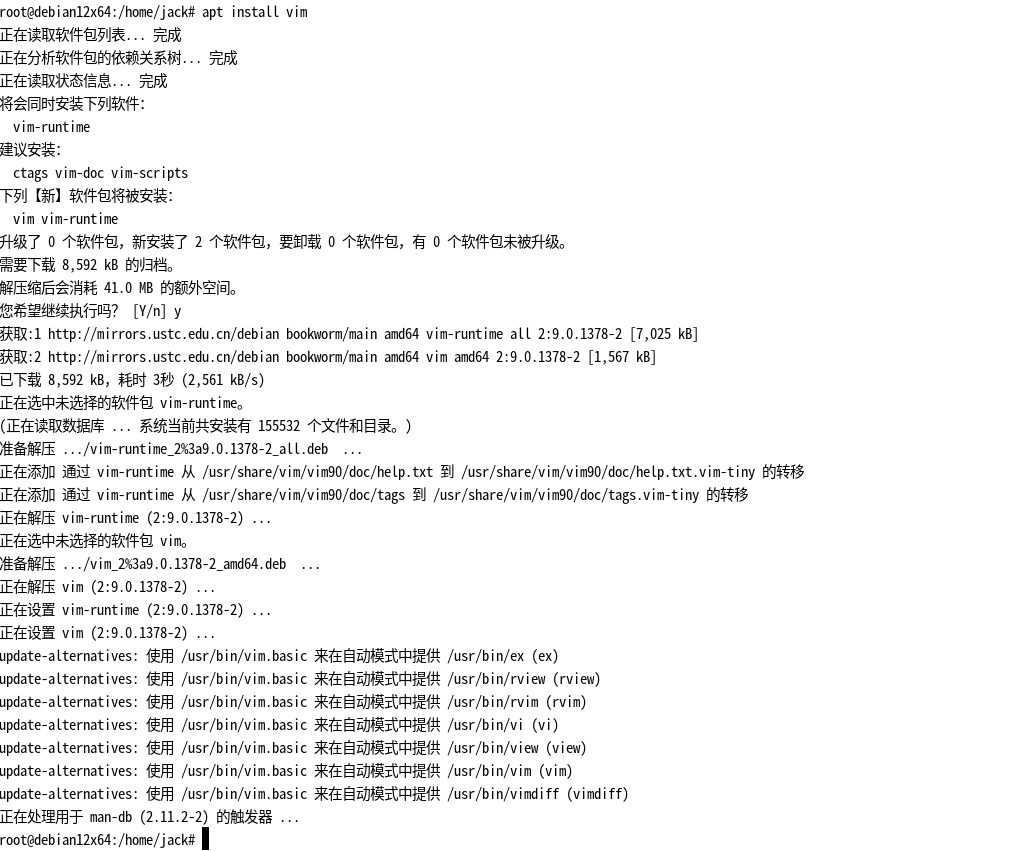
安装vim测试一下
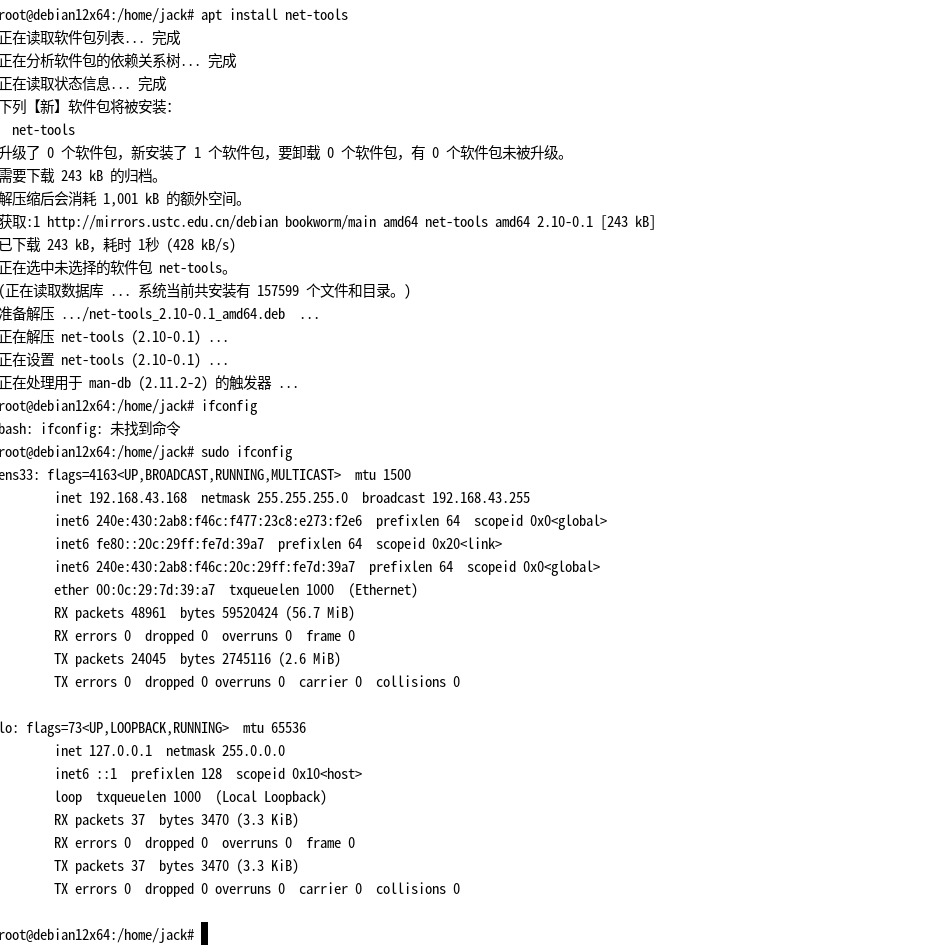
目前基本上已经安装完毕,但还差最后一步,就是ssh,安装net-tools后执行sudo ifconfig命令查看虚拟机IP。
然后宿主机尝试下是否能ping通,可以看到并没有问题

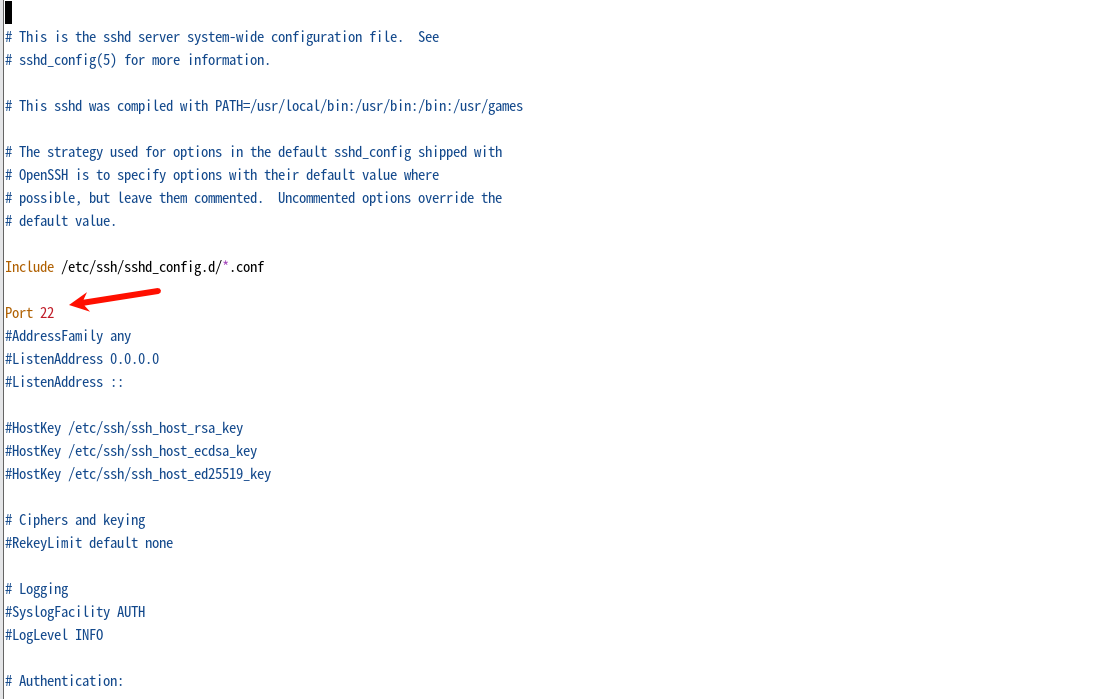
修改ssh配置文件/etc/ssh/sshd_config,设置端口22。
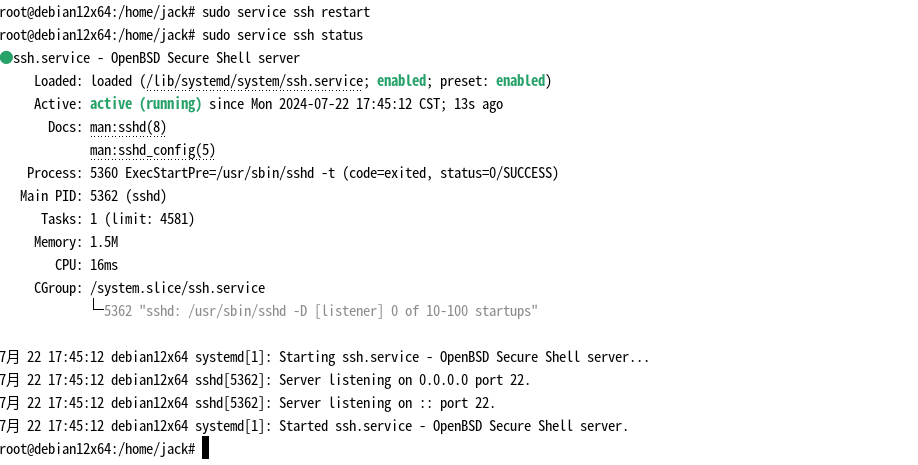
重启ssh服务
sudo service ssh restart
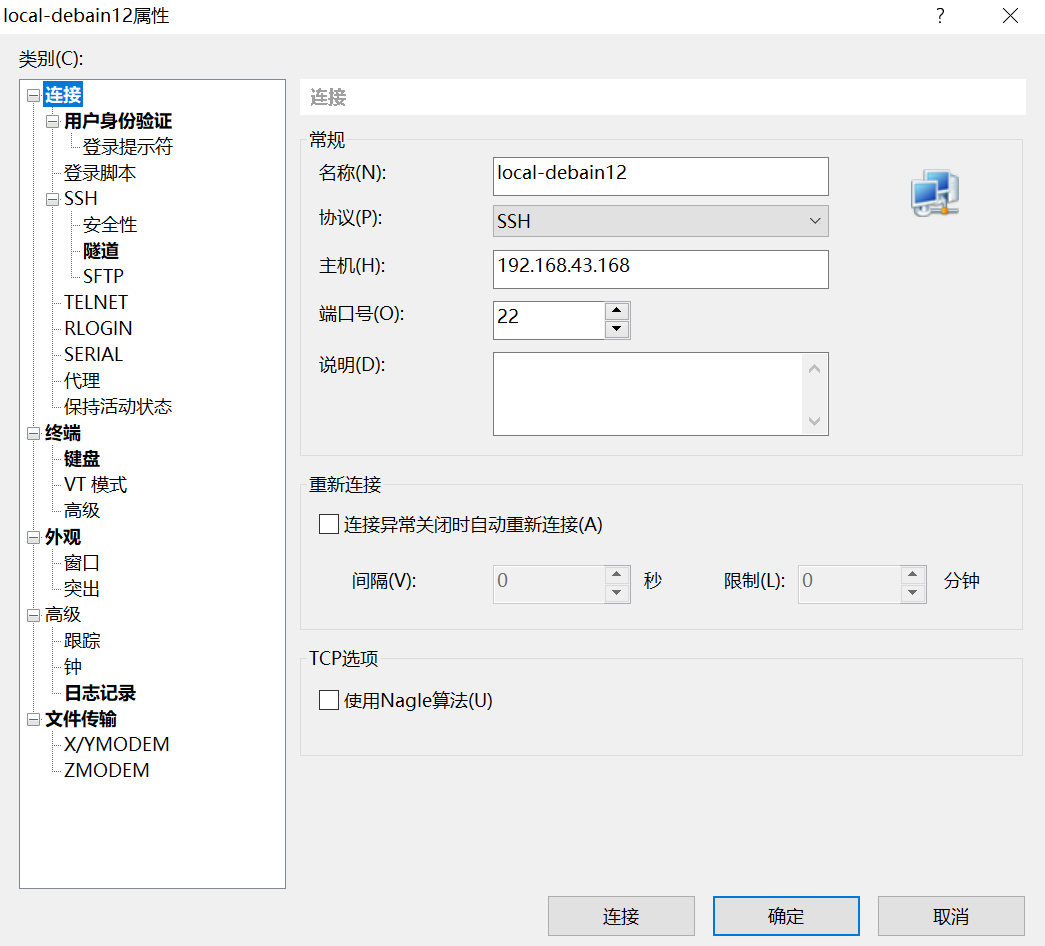
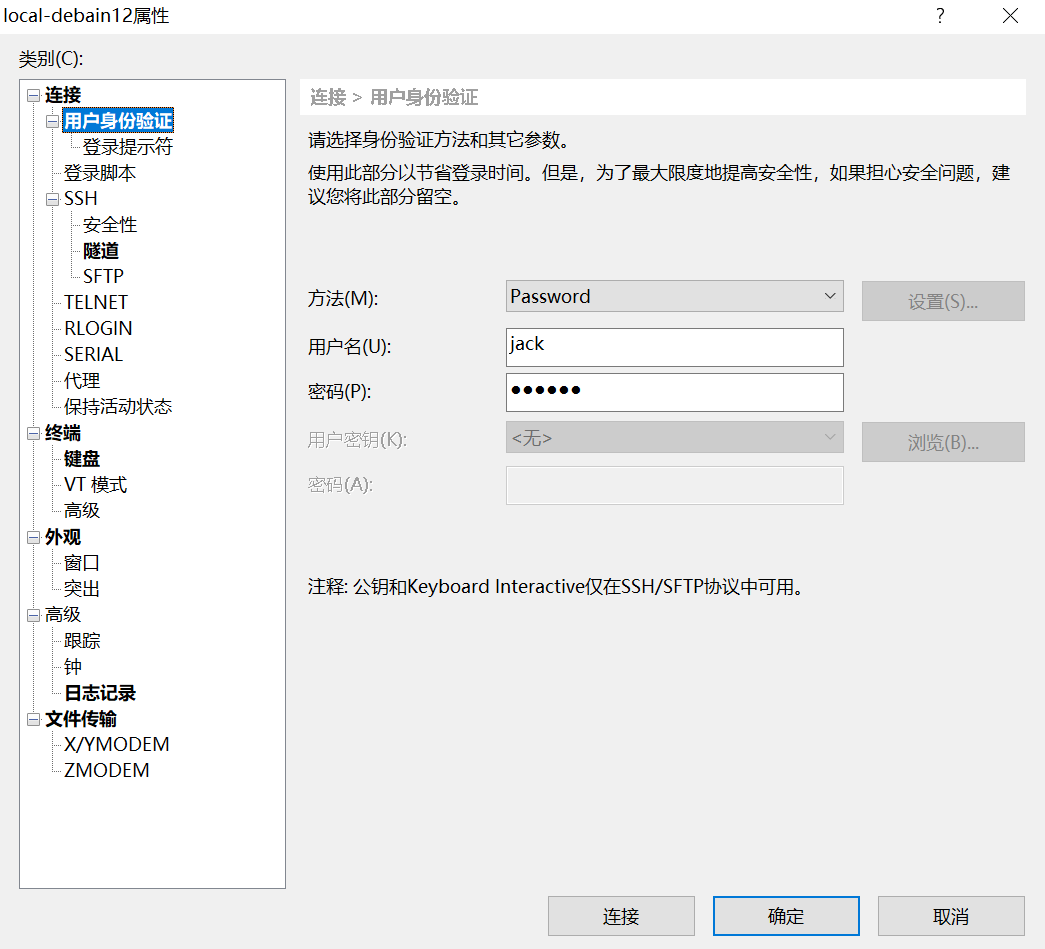
此时虚拟IP地址为192.168.43.168:22,最后能进行ssh连接即可,我这里用的是xshell,用的密码登录。
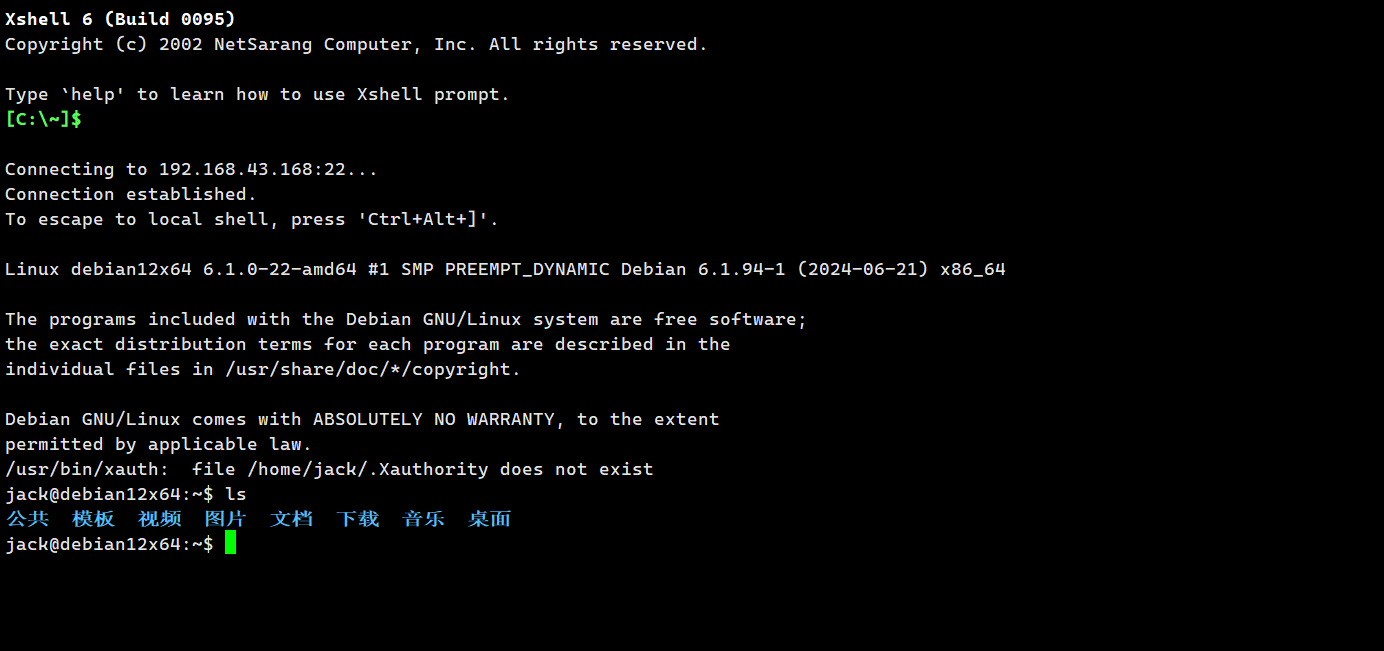
到此debian12的安装已经完成。